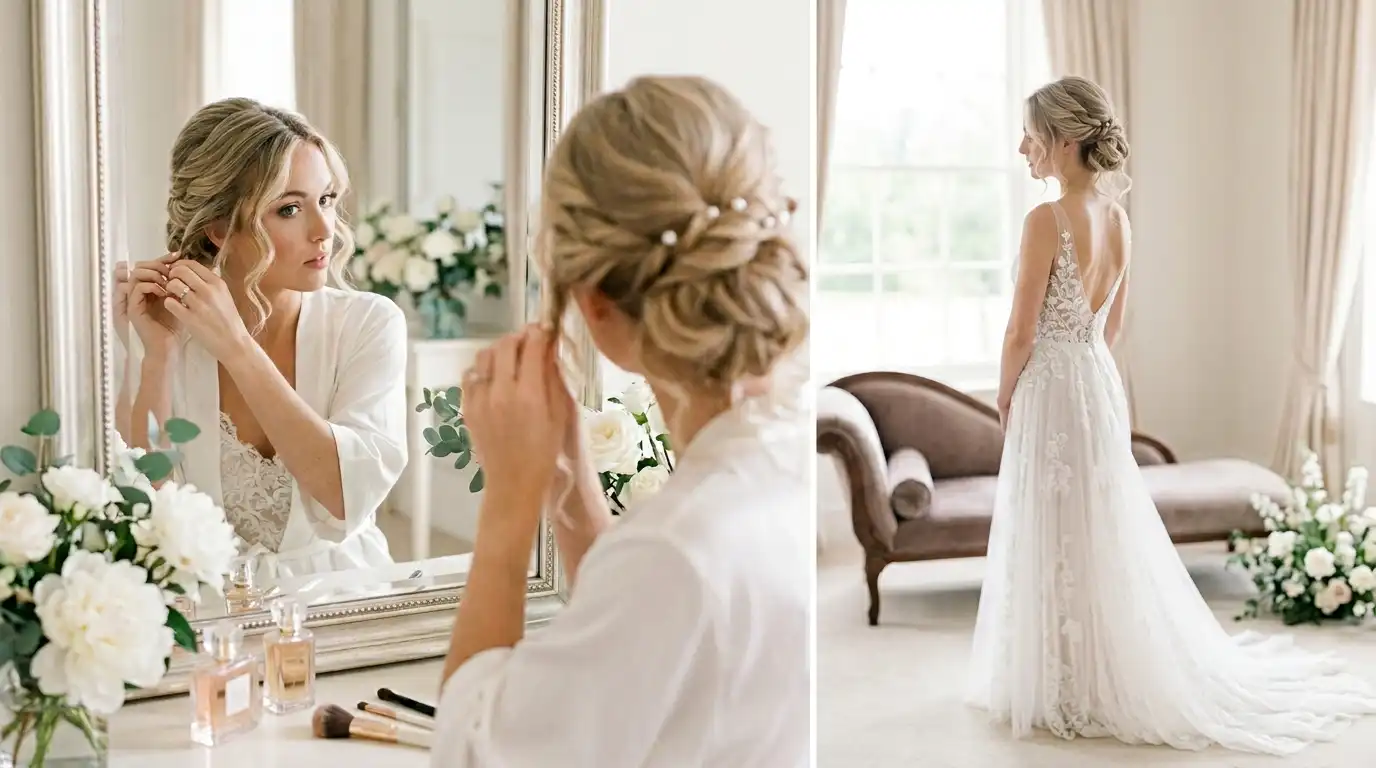
DIY Bridal Hair: How to Style Your Own Wedding Updo
Your wedding day deserves a hairstyle that feels as personal as your vows. DIY bridal hair gives you full control over every twist, pin, and curl, so the final look truly reflects you. I’ve noticed that brides who practice their own updo feel calmer, more confident, and more connected to their reflection on the morning of the wedding. This guide walks through twelve beautiful wedding updo ideas you can style at home, from soft chignons to braided crowns. Each one solves a common bridal styling worry, whether it’s frizz, slipping pins, or limp curls, and gives you a polished, picture-ready result.
Twisted Low Chignon
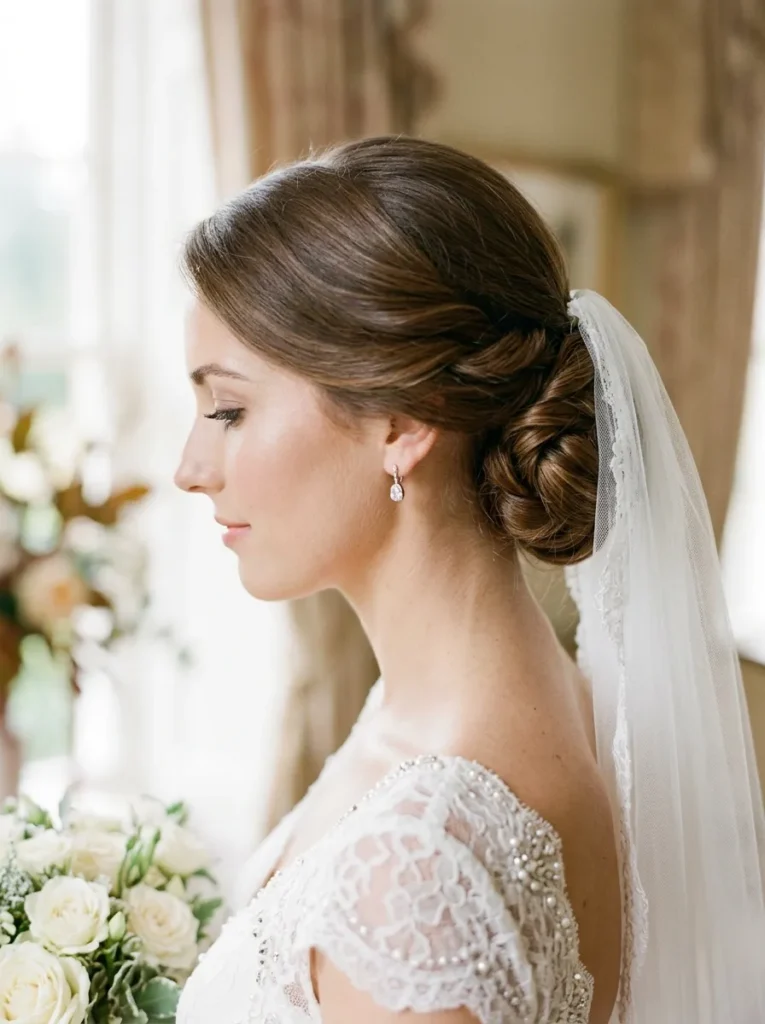
The twisted low chignon is the easiest place to start when you want a bridal updo that looks expensive but takes minimal effort. Smooth your hair into a low ponytail, split it in two, twist each side, and wrap them around the base. This style holds beautifully through long ceremonies and emotional first dances. It sits softly at the nape, which flatters most face shapes and lets your veil or earrings stand out. For more inspiration on similar shapes, the romantic bridal updo ideas gallery is a lovely visual reference.
What makes this style so wedding-friendly is its quiet elegance. The twisted texture catches light without screaming for attention, which means your face and dress stay the focus. Brides love this look for outdoor weddings, garden ceremonies, and intimate church settings. It pairs beautifully with a delicate hairpiece tucked right above the chignon. If your hair is fine, a light teasing at the crown adds height before you twist. Spritz a flexible-hold spray, not a stiff one, so the finish stays touchable through hugs, kisses, and every emotional moment ahead.
Braided Crown Updo
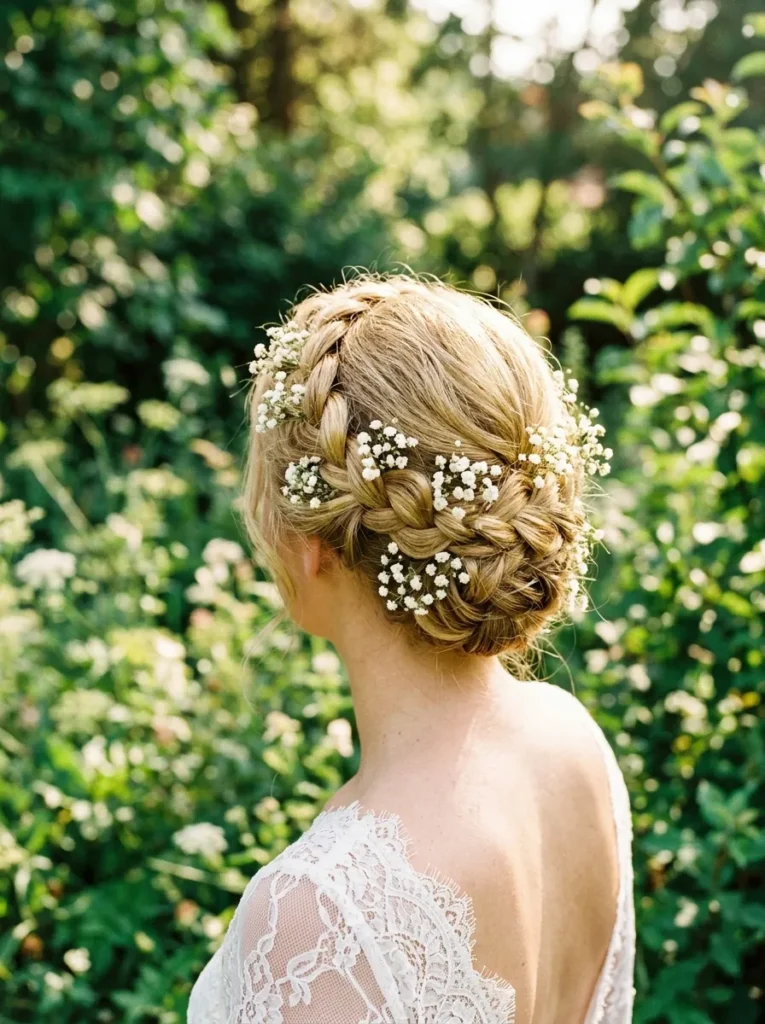
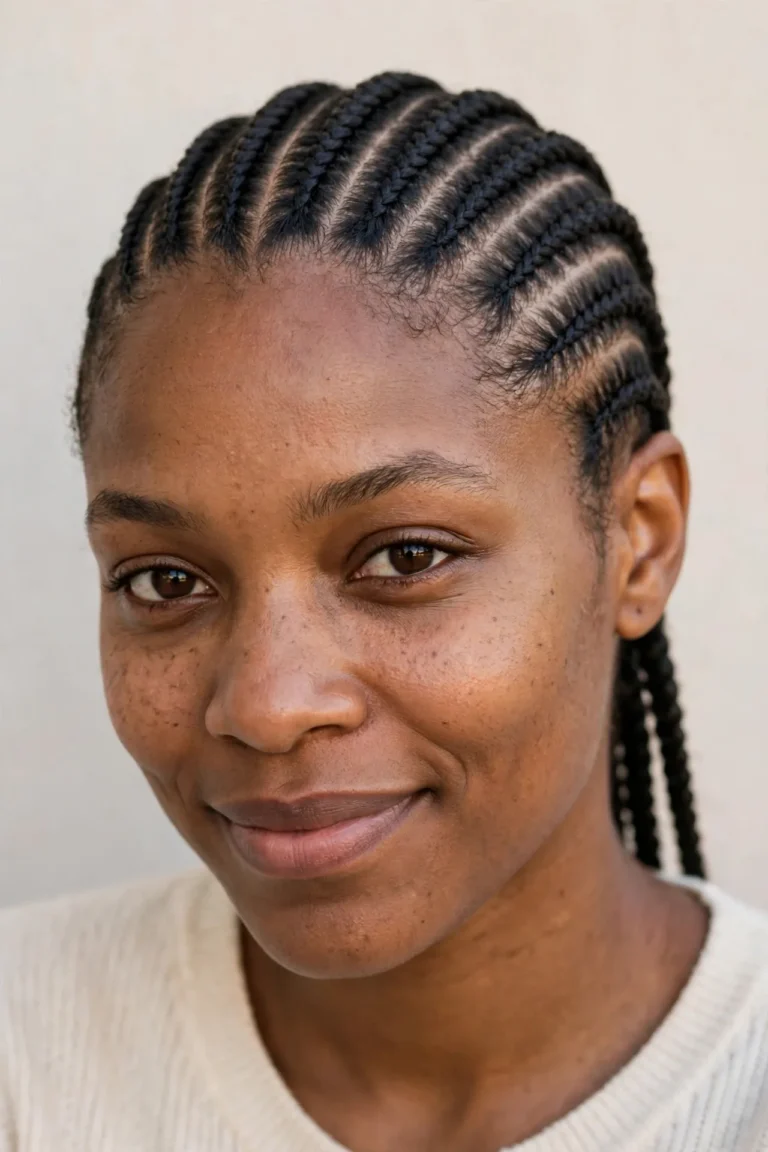
A braided crown wraps a soft halo of plaits across the top of your head, which instantly makes any bride feel like she’s stepped out of a fairytale. Start with a center part, braid both sides loosely, and pin them across the crown. I’ve tried this on second-day hair, and it actually holds better when your strands have a little grip. It works for long hair, medium lengths, and even shoulder-skimming styles. Brides drawn to natural, earthy weddings often love how the texture pairs with greenery and wildflower bouquets without ever feeling overdone.
It sits at the heart of many boho bridal hairstyles, and it’s a beautiful match for outdoor venues, vineyards, and forest ceremonies. The braid adds dimension that photographers love, especially in golden-hour light. Tuck small flowers, baby’s breath, or pearl pins between the plaits for an extra romantic finish. Softer, hand-pulled braids photograph better than tight ones because they show off shape and movement. Practice the pinning step a few times before the big day so you can adjust without frustration when the morning excitement kicks in.
Messy Romantic Bun
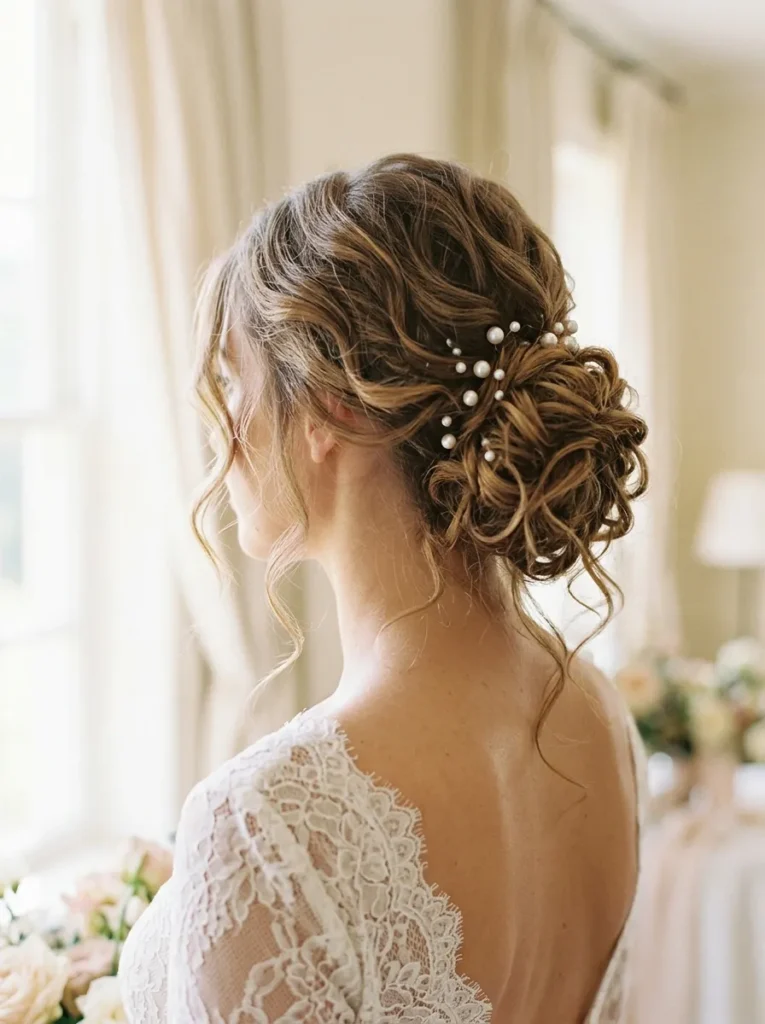
A messy romantic bun is the kind of style that looks effortless but actually rewards a bit of preparation. Curl your hair the night before, gather it loosely at the back, twist into a bun, and pull pieces free around your face. The beauty lies in the imperfection. This style works beautifully for brides who want a relaxed, lived-in feel without losing elegance. It sits perfectly under a soft veil or works equally well alone, with a few sparkling pins scattered through the loops for a touch of light.
This shape suits brides who want a hairstyle that moves with them through every emotional moment of the day. It frames the face gently and softens strong jawlines or sharp updos. In my experience, the secret is finishing with a flexible hairspray rather than a stiff one, so the bun keeps that breathable, airy texture in photos. Pair it with delicate drop earrings, a thin headband, or a small floral comb. It also moves easily from ceremony to reception, which means less stress about touch-ups between the speeches and the first slow dance.
Knotted Half Updo
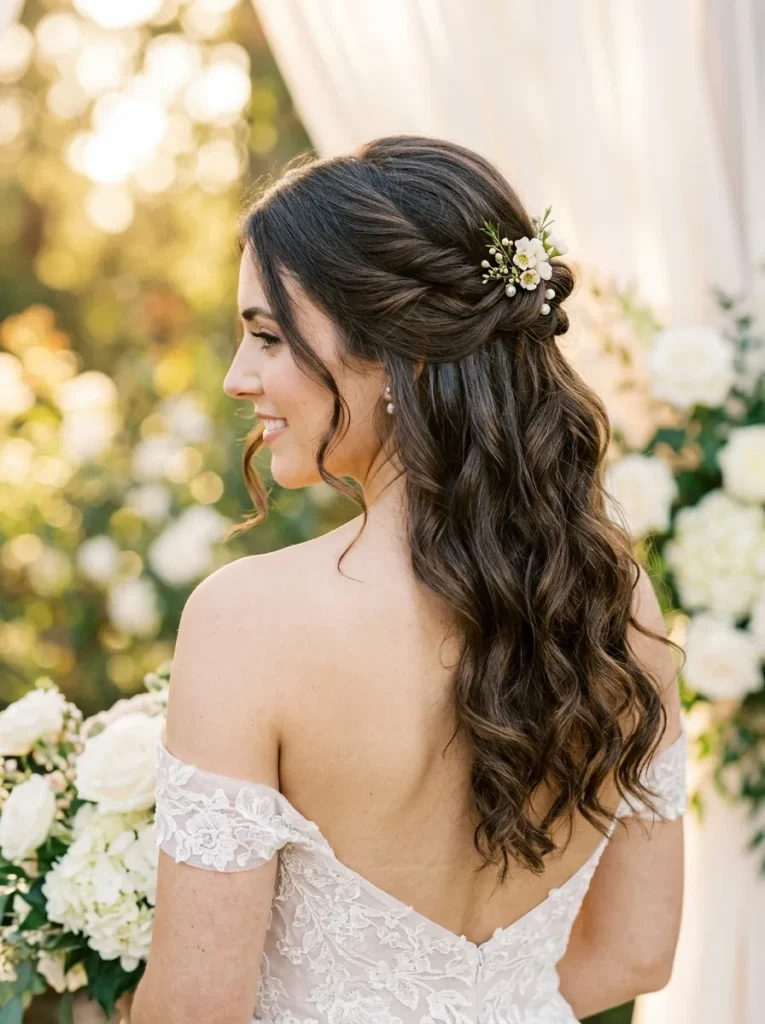
The knotted half updo is a clever choice for brides who love the polished feel of an updo but still want their length to flow. Pull the top section back, tie it into a small knot, and secure it with pins under the twist. The rest of your hair cascades freely down your back. It photographs especially well from the side, where the knot adds an unexpected detail. It works on straight, wavy, and curly textures and feels right at home with both modern minimalist gowns and dreamy lace dresses.
This style sits comfortably alongside other elegant updo hairstyles for long hair, and it’s one of the easier looks to try yourself. The knot keeps strands out of your face for the ceremony while still showing off your length for portraits and dancing. Add a small jeweled pin near the knot if you want a touch of sparkle. On practice runs with a tutorial open on your phone, the second attempt usually feels much smoother than the first. Patience makes all the difference here.
Pinned Side Swirl
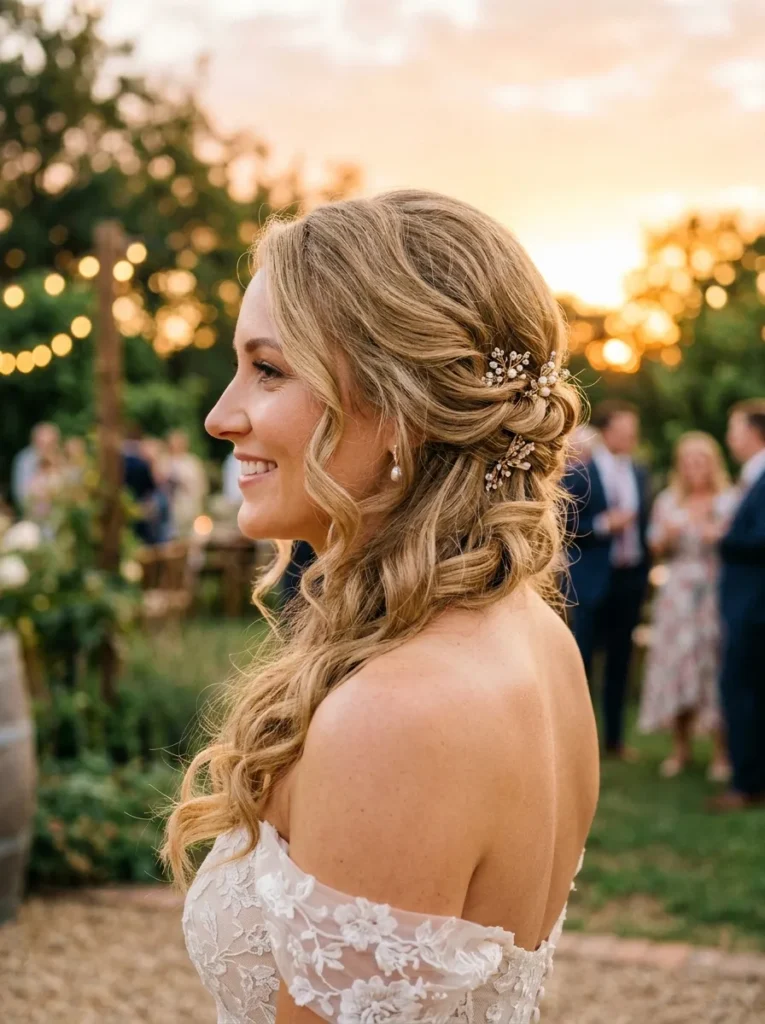
A pinned side swirl gathers your hair to one shoulder and creates a soft, sweeping shape that flatters almost every neckline. Curl your hair first for hold, sweep it to one side, and pin the back into loose swirls with decorative bobby pins. This works beautifully on brides wearing one-shoulder gowns or strapless dresses where the bare shoulder becomes part of the styling. The asymmetry feels modern but still romantic, and it makes a beautiful frame for statement earrings or a single floral accent tucked behind the ear.
This look is especially flattering in photographs because the curls tumble over the shoulder, adding softness and movement. Brides with medium to long hair get the best result, though shorter lengths can adapt the idea with extensions. Lock everything in place with a flexible hairspray and a few well-hidden pins along the gathering line. The swirl detail at the back is the surprise element guests notice when you turn for the recessional. Practice the sweep direction beforehand so you know which side flatters your favorite angles in every photo.
Classic French Twist
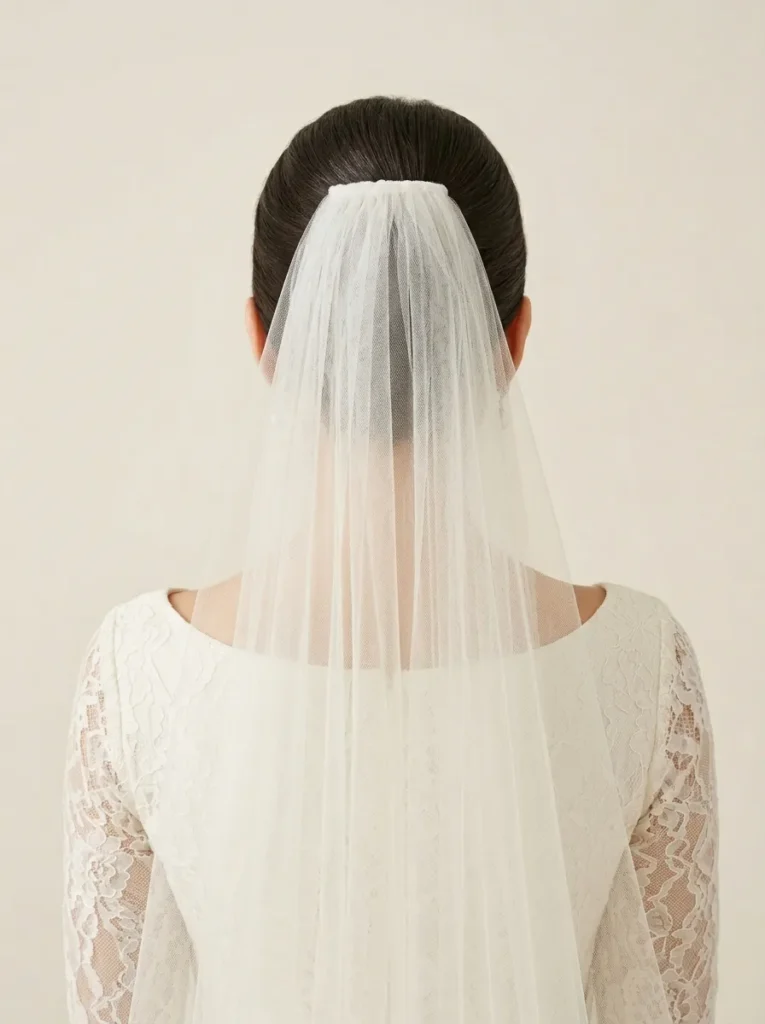
The classic French twist is one of those timeless updos that has carried brides through generations of weddings. Gather your hair to one side, twist it upward, and tuck the ends inside the fold before pinning along the seam. It looks structured but never stiff when done with a soft touch. It suits brides who want a refined, slightly vintage feel without committing to a fully retro theme. It pairs beautifully with cathedral veils, pearl earrings, and clean, architectural gown lines that highlight the neckline and shoulders.
A French twist also works wonderfully for brides who want their hair completely off the face for an outdoor or warm-weather ceremony. The shape stays sleek through embraces, dancing, and emotional tears. Softening the front with a few loose tendrils changes the whole mood from formal to romantic in seconds. Use strong pins hidden inside the twist rather than visible ones across the surface. If your hair is freshly washed, a little dry shampoo at the roots gives the grip you need to keep everything in place.
Loose Curly Updo
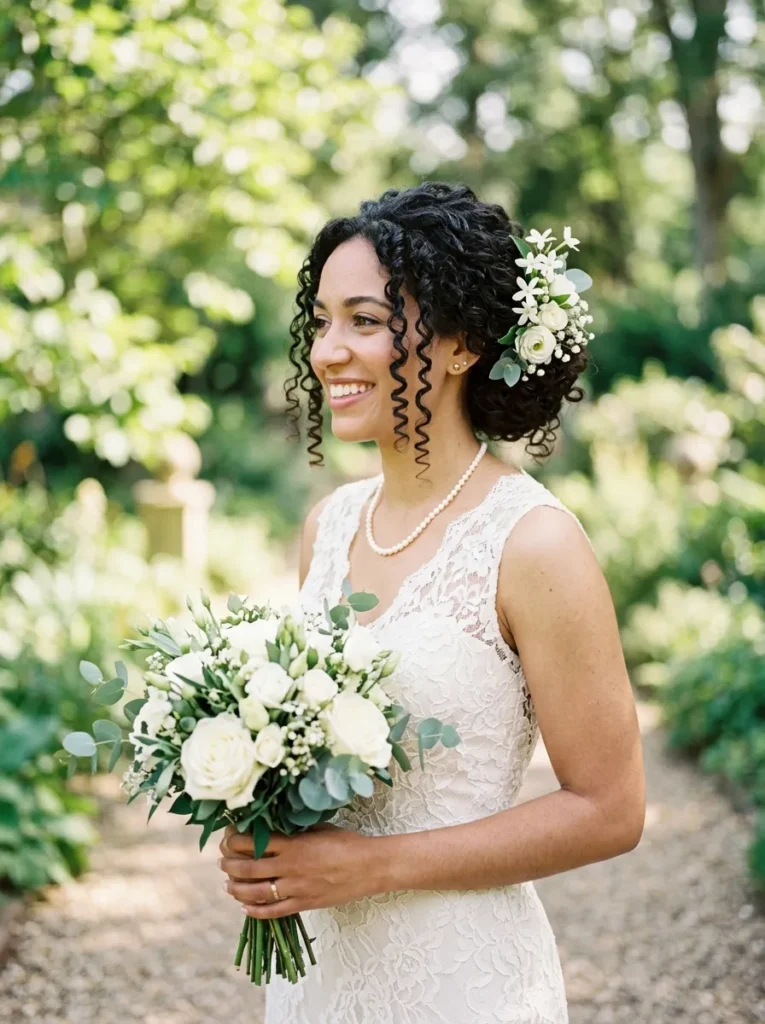
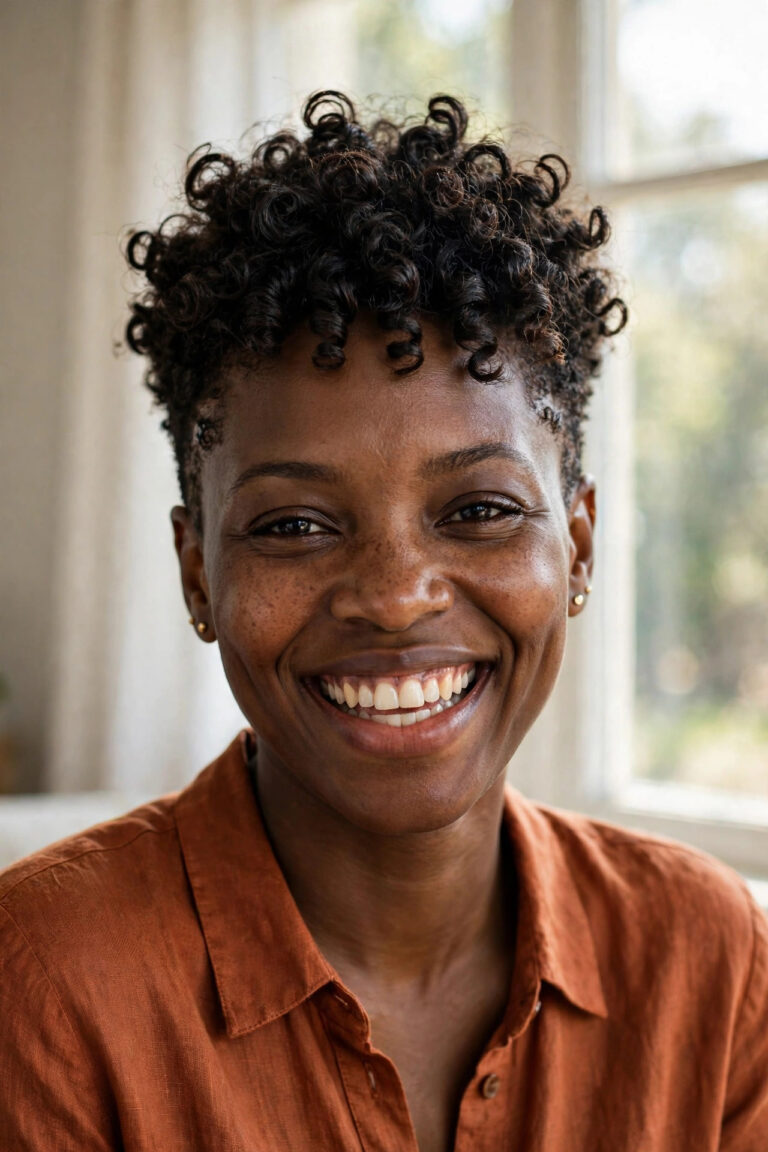
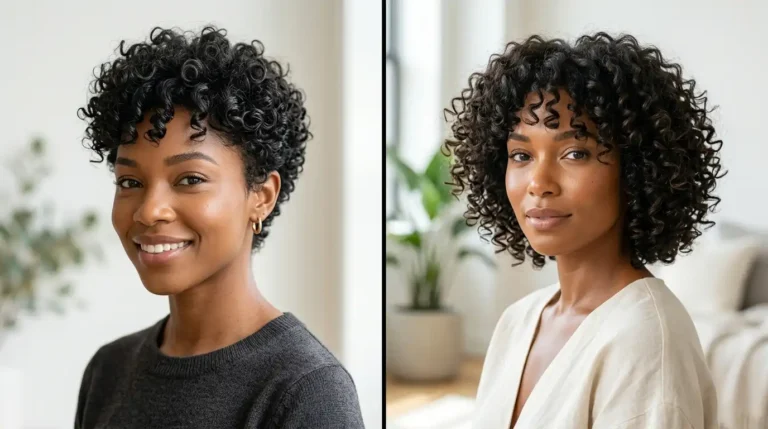
A loose curly updo celebrates natural texture and is a dream for brides with curls, coils, or strong waves. Pull the curls gently to the back, secure with pins, and let a few spirals frame the face. The look is full of volume, personality, and movement. This style turns heads at every kind of wedding, from beachside ceremonies to candlelit ballrooms. It pairs especially well with statement headpieces, vintage combs, or fresh flowers tucked at the side, giving curly-haired brides a chance to honor their natural texture beautifully.
For more inspiration tailored to your texture, the curly updo ideas collection is full of shapes worth saving. Curly hair holds an updo longer than people expect, especially when prepped with a light curl cream the night before. Avoid heavy gels that flatten the volume; you want bounce, not crunch. Photographers love the way light catches the spirals, especially in outdoor settings. This style also feels deeply personal because it doesn’t try to disguise your natural pattern, it shows it off as the centerpiece of your bridal look.
Sleek Ballerina Bun
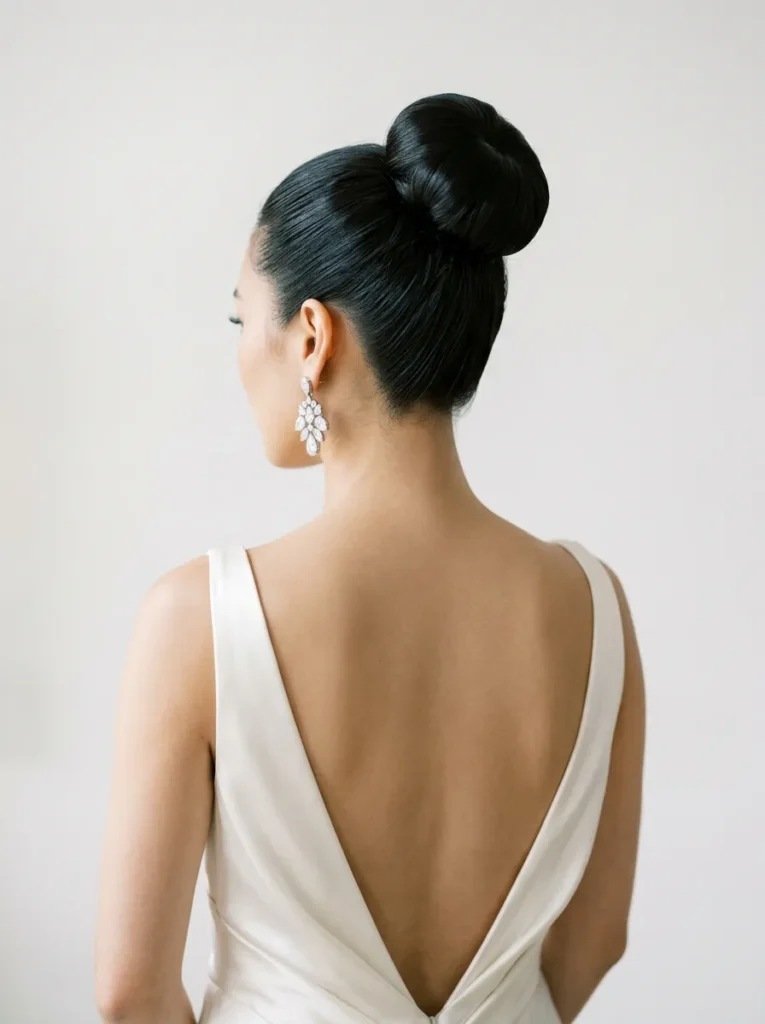
The sleek ballerina bun is the bridal go-to for anyone who loves clean lines, modern elegance, and a striking silhouette. Brush hair into a high ponytail, smooth every flyaway with a styling brush, and wrap the length into a tight, polished bun. This look suits minimalist gowns beautifully, especially slip dresses, satin sheaths, or anything with a strong neckline. It also gives you a chance to highlight earrings, a backless detail, or a beautiful veil placement without competing texture pulling attention away from those features.
This is a style that rewards preparation. The sleekest results come from slightly damp hair, a good edge-control product, and patience with the smoothing process. Anchor the bun with crisscrossed pins, then mist with a shine spray to finish. It holds remarkably well through long ceremonies and lively receptions, which is part of why so many brides choose it. If you want a touch of softness, leave one or two thin pieces loose at the temples; otherwise, keep it sharp for maximum impact in every portrait you’ll cherish.
Boho Braided Bun
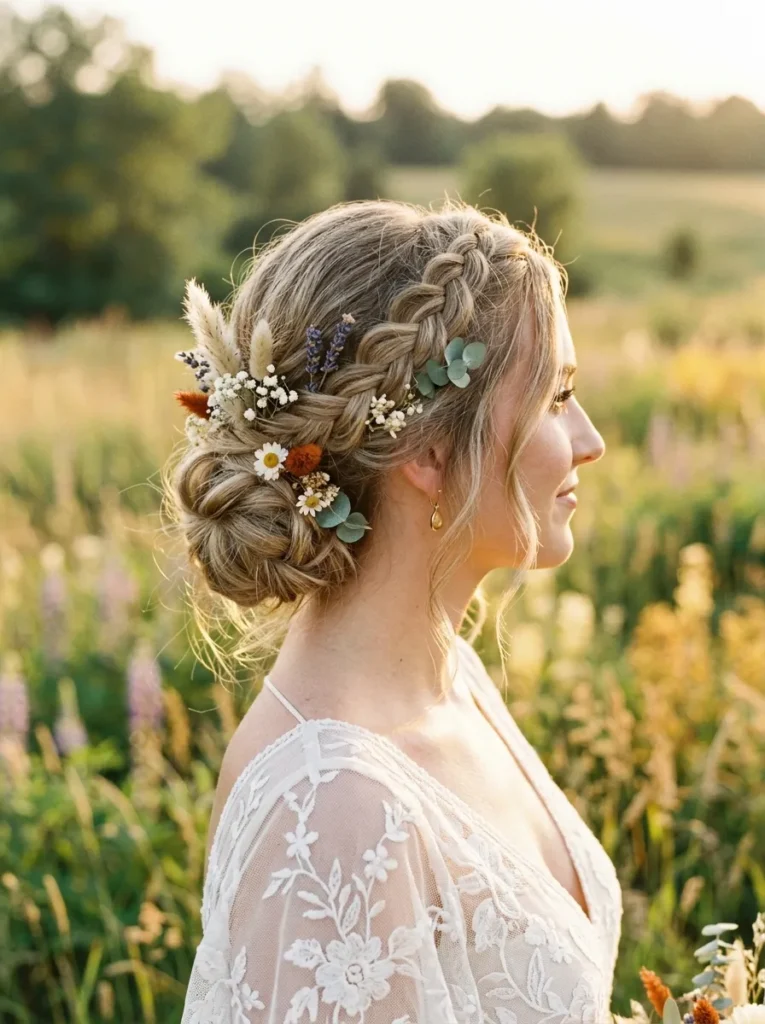
A boho braided bun blends a relaxed braid with a low, loose bun for a style that feels like it belongs in a wildflower field. Braid a section from the front or side, gather everything at the nape, and twist into a soft, slightly undone bun. The braid trails into the bun and gives the look its signature character. This style adapts beautifully to either role, for bridesmaids and brides alike. It works wonderfully for outdoor weddings, garden ceremonies, and intimate gatherings with a natural, earthy theme.
It pulls beautifully from broader braid hairstyle ideas, and the texture photographs richly in soft, natural light. Tuck in dried flowers, eucalyptus sprigs, or tiny pearl pins to personalize the look. Slightly second-day hair works better here than freshly washed strands because it grips itself naturally. Loosen the braid with gentle tugs before pinning so it looks fuller and more romantic. Pair with floaty veils, lace dresses, or even a flower crown for a complete bohemian bridal moment that feels both timeless and uniquely yours.
For more braid-based updos, see 18 Braided Updo Ideas for Black Hair That Stun
Vintage Pin Curl Updo
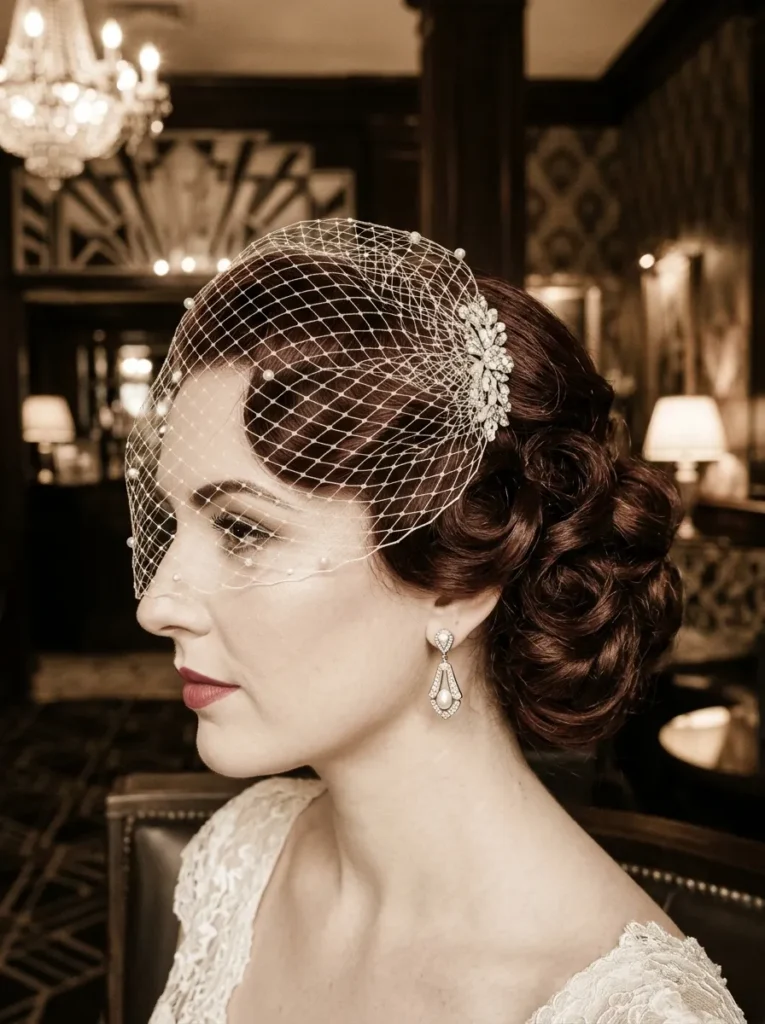
A vintage pin curl updo channels old-Hollywood glamour with finger-set curls tucked into a structured shape at the nape. Set your hair in pin curls the night before, brush them out gently in the morning, and pin them into soft loops at the back. The result is sculpted but never stiff. This look pairs beautifully with lace gowns, beaded bodices, and birdcage veils. It’s a dream for brides who love retro aesthetics, Art Deco venues, or anything with a glamorous, 1940s-inspired mood layered through the rest of their bridal styling.
This style does take practice, but the payoff is enormous in photographs. The curl loops catch light in a way that looks almost painted. A strong setting spray applied before pin-curling makes the finished shape last all night. Smooth flyaways with a fine-tooth comb dipped in a touch of pomade. Pair with deep red lipstick, classic pearl drops, and gloves if you really want to commit to the era. A few well-placed jeweled pins inside the loops add sparkle and a sense of carefully chosen glamour to every angle.
Twisted Rope Knot
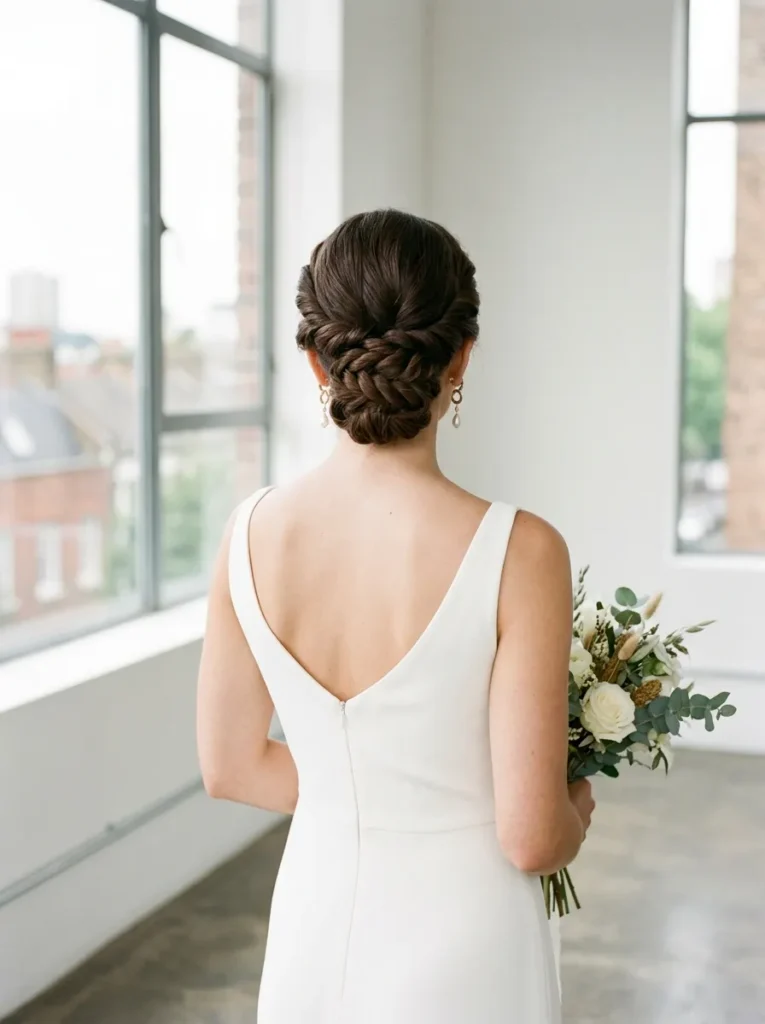
A twisted rope knot is the modern, sculptural cousin of the classic chignon. Divide your hair into two sections, twist each one tightly, then wrap them around each other to form a rope before coiling it into a knot at the back. The texture is striking and looks far more complex than it actually is. This style works beautifully for brides wearing contemporary gowns, clean column dresses, or anything with a strong architectural shape. It’s a smart pick for city weddings, gallery venues, or rooftop ceremonies with a modern edge.
This look photographs especially well from behind, which matters more than people realize given how much of your wedding portfolio shows the back of your gown. Slightly textured hair holds the rope twist better than slick, freshly washed strands. A light texturizing spray gives the grip you need. Finish with a flexible-hold spray rather than a stiff one so the twists keep their dimension. Add a single decorative pin if you want a subtle accent, but the knot itself is often striking enough to stand alone without any extras.
Tousled Tucked Roll
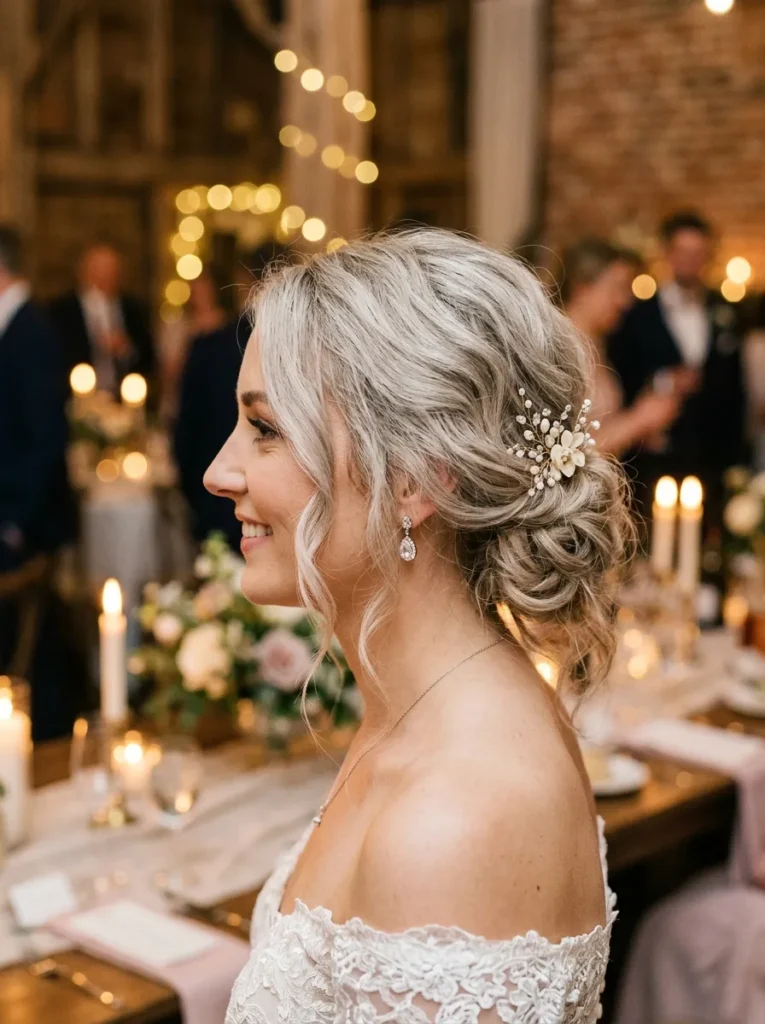
The tousled tucked roll is a softer, more romantic take on the traditional rolled updo. Curl your hair loosely, gather it at the nape, roll it under, and tuck the ends inside before securing with pins. Pull a few pieces free for that lived-in, breathable finish. This style suits brides who want elegance without anything feeling overly structured. It works for medium-length hair, which can be tricky to pin into more formal shapes, so it’s also a favorite among brides browsing hairstyles for medium-length hair for inspiration.
This look has a quiet, dreamy quality that flatters intimate ceremonies, sunset receptions, and softer, more emotional weddings. Prepping with a light mousse before curling gives the roll a fuller, more cushioned shape. The pins should be hidden along the inside fold rather than visible on the surface. Finish with a flexible spray that lets the loose pieces move naturally in the breeze. Pair with a soft veil, delicate floral pins, or even nothing at all. The hairstyle itself has enough quiet character to feel complete on its own.
Conclusion
Choosing to style your own wedding hair is a beautiful, empowering act, and these DIY bridal hair ideas prove that elegance doesn’t always require a salon chair. Whether you fall for a sleek ballerina bun, a boho braided bun, or a romantic tousled roll, there’s a style here that fits your gown, venue, and personality. Save your favorites on Pinterest, practice a few times before the big day, and trust your hands to create something meaningful. Share this guide with a friend who’s planning her wedding and inspire her to try a look she’ll love walking down the aisle in.
Frequently Asked Questions
Can I really style my own bridal updo?
Yes, if you choose a style that matches your skill level and practice it first. Simple chignons, low buns, and twisted updos are the most forgiving. A full trial run a few weeks before the wedding shows you whether the style holds and how long it takes.
What tools do I need for a DIY bridal updo?
Bobby pins, hair ties, a flexible-hold spray, and a curling iron or flat iron for shaping are the basics. A teasing comb adds volume at the crown, and a hand mirror helps you check the back. Keep everything laid out before you start.
How far in advance should I practice?
Start practicing four to six weeks before the wedding. Repeat the style three or four times so your hands learn the steps. Each practice run also tells you how long the style takes and whether it stays secure for hours.
What if my hair is fine or slippery?
Add texture before you start. A texturizing spray or a light mousse gives fine hair grip, and backcombing at the crown adds volume. Use more pins than you think you need, and choose pins that match your hair colour so they blend in.
Should I do a full trial run before the wedding?
Yes, do a complete trial with your veil and hairpiece in place. Wear the style for several hours to see how it holds, and take photos from the front, side, and back. A trial also confirms the timing so you are not rushed on the day.