22 Chignon Hairstyles: Classic, Messy and Modern
Chignon hairstyles earn their place in a modern routine for one reason: they hold. A chignon is a low bun with a long history, and hair gathered into a knot at the nape stays put through work, weddings and long evenings, while loose ends and soft pieces keep it from looking stiff. The same base suits almost every hair type, from fine strands that need grip to thick hair that needs a shape with weight. It also changes completely with a braid, a twist or a pin, so one skill covers a dozen looks.
This list gathers 22 ways to wear it. There are sleek ballerina knots, braided crowns, twisted sides, knotted buns and soft romantic rolls, and each one notes who it suits best and how long it takes. Some versions need three minutes and two pins. Others take fifteen minutes and a few elastics. The styles work on straight, wavy and curly hair, and most of them hold from morning to night with one or two pins.
Read through the list, save the versions that match your hair and your day, and start with the one that fits your length right now.
Classic Low Chignon
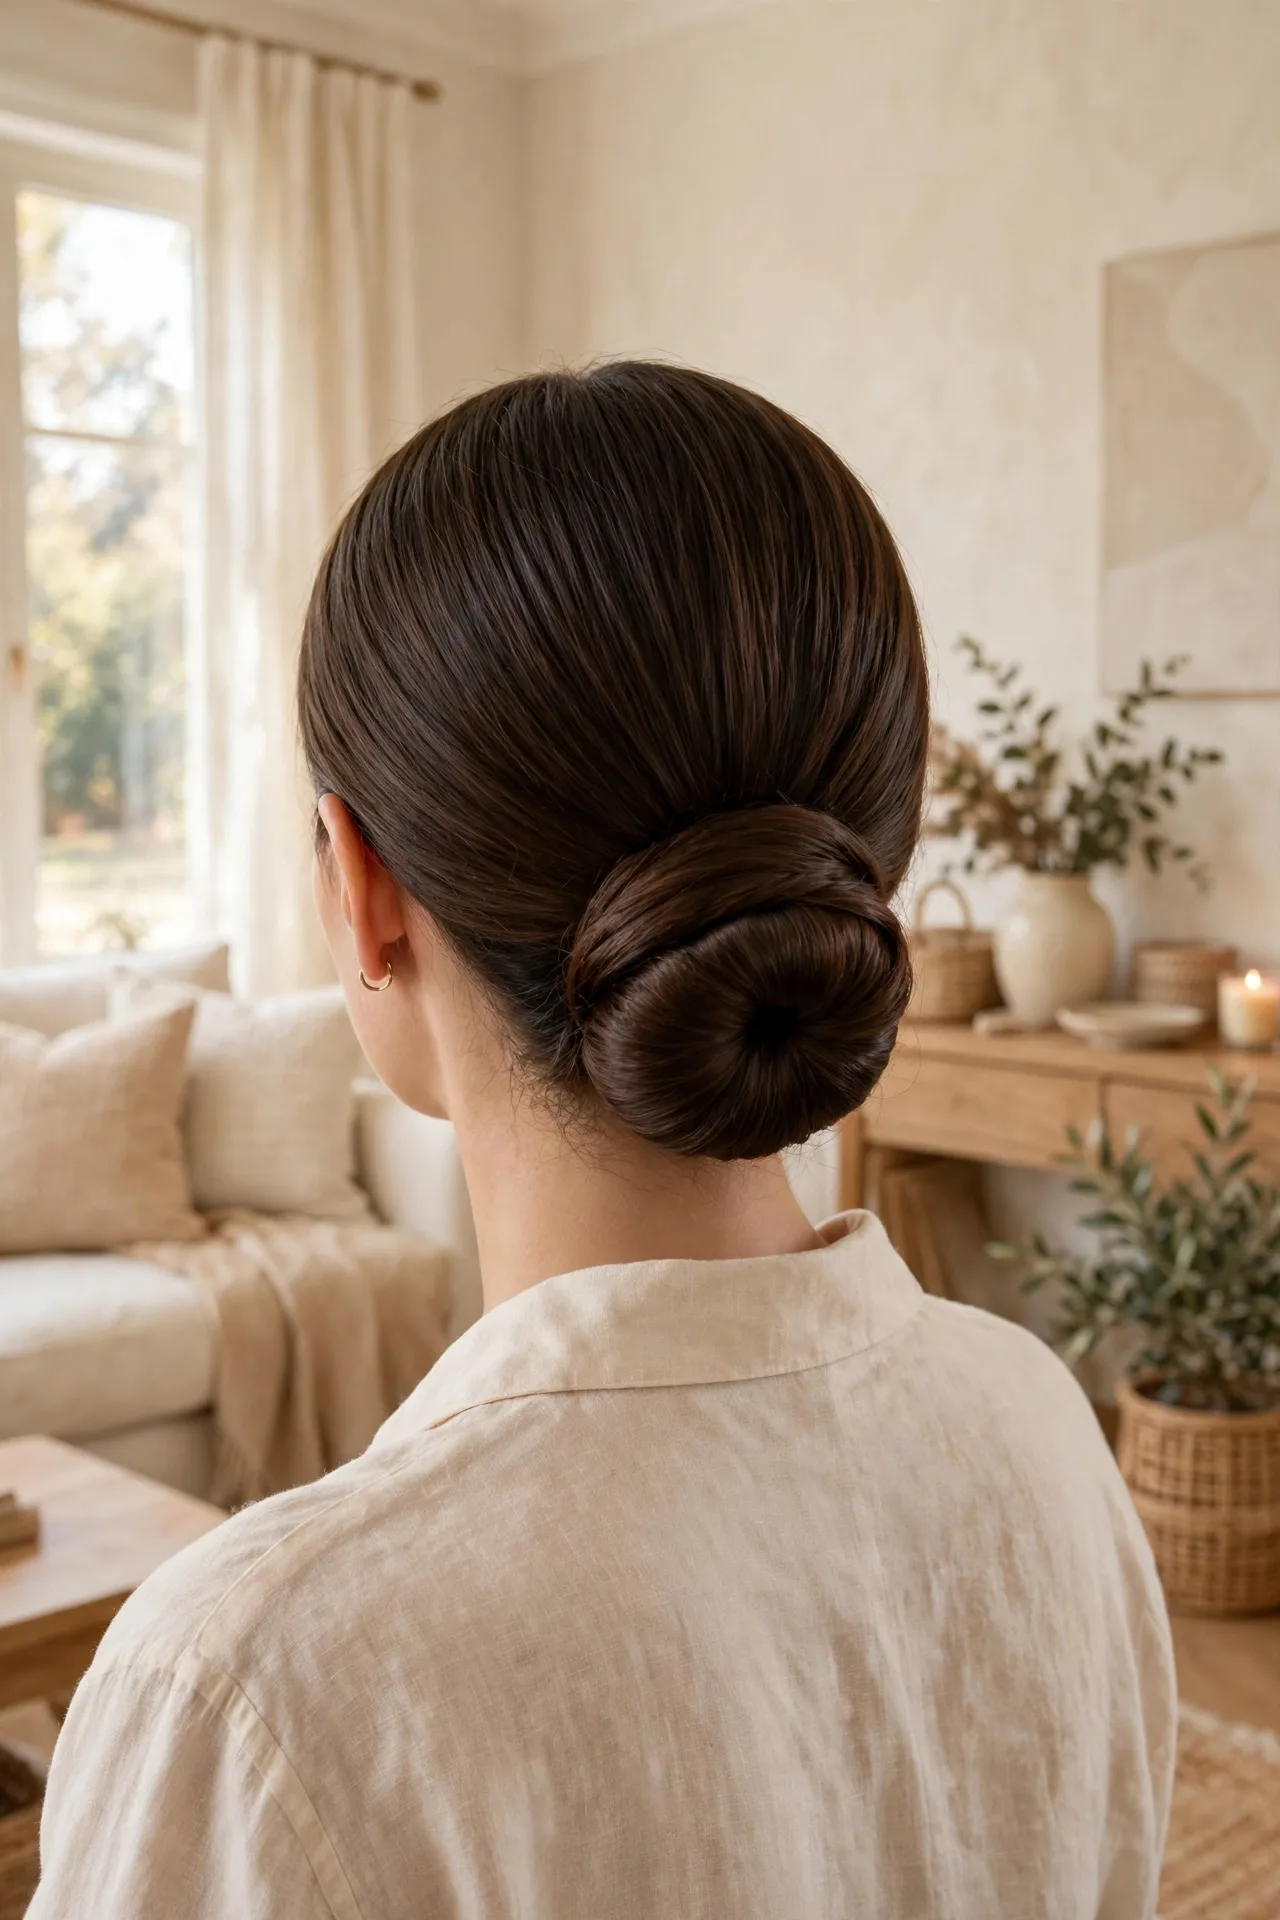
The classic low chignon gathers all the hair into a neat knot at the nape, with a smooth finish. It is the version most people picture when they hear the word chignon, and it suits formal events, work and weddings because it stays neat for hours. The knot sits low enough to balance a long neck, and the smooth top gives the style a calm, finished look.
Brush the hair back, gather it at the nape, twist it into a coil and pin the coil flat against the head. A light hold spray on the lengths before you start gives the pins grip, and two crossed pins hold the coil better than one. The style takes about six minutes, and it holds well on straight and wavy hair.
Tip: Pin the coil flat against the head, so the knot sits low and close instead of puffing out at the back.
Messy Low Chignon
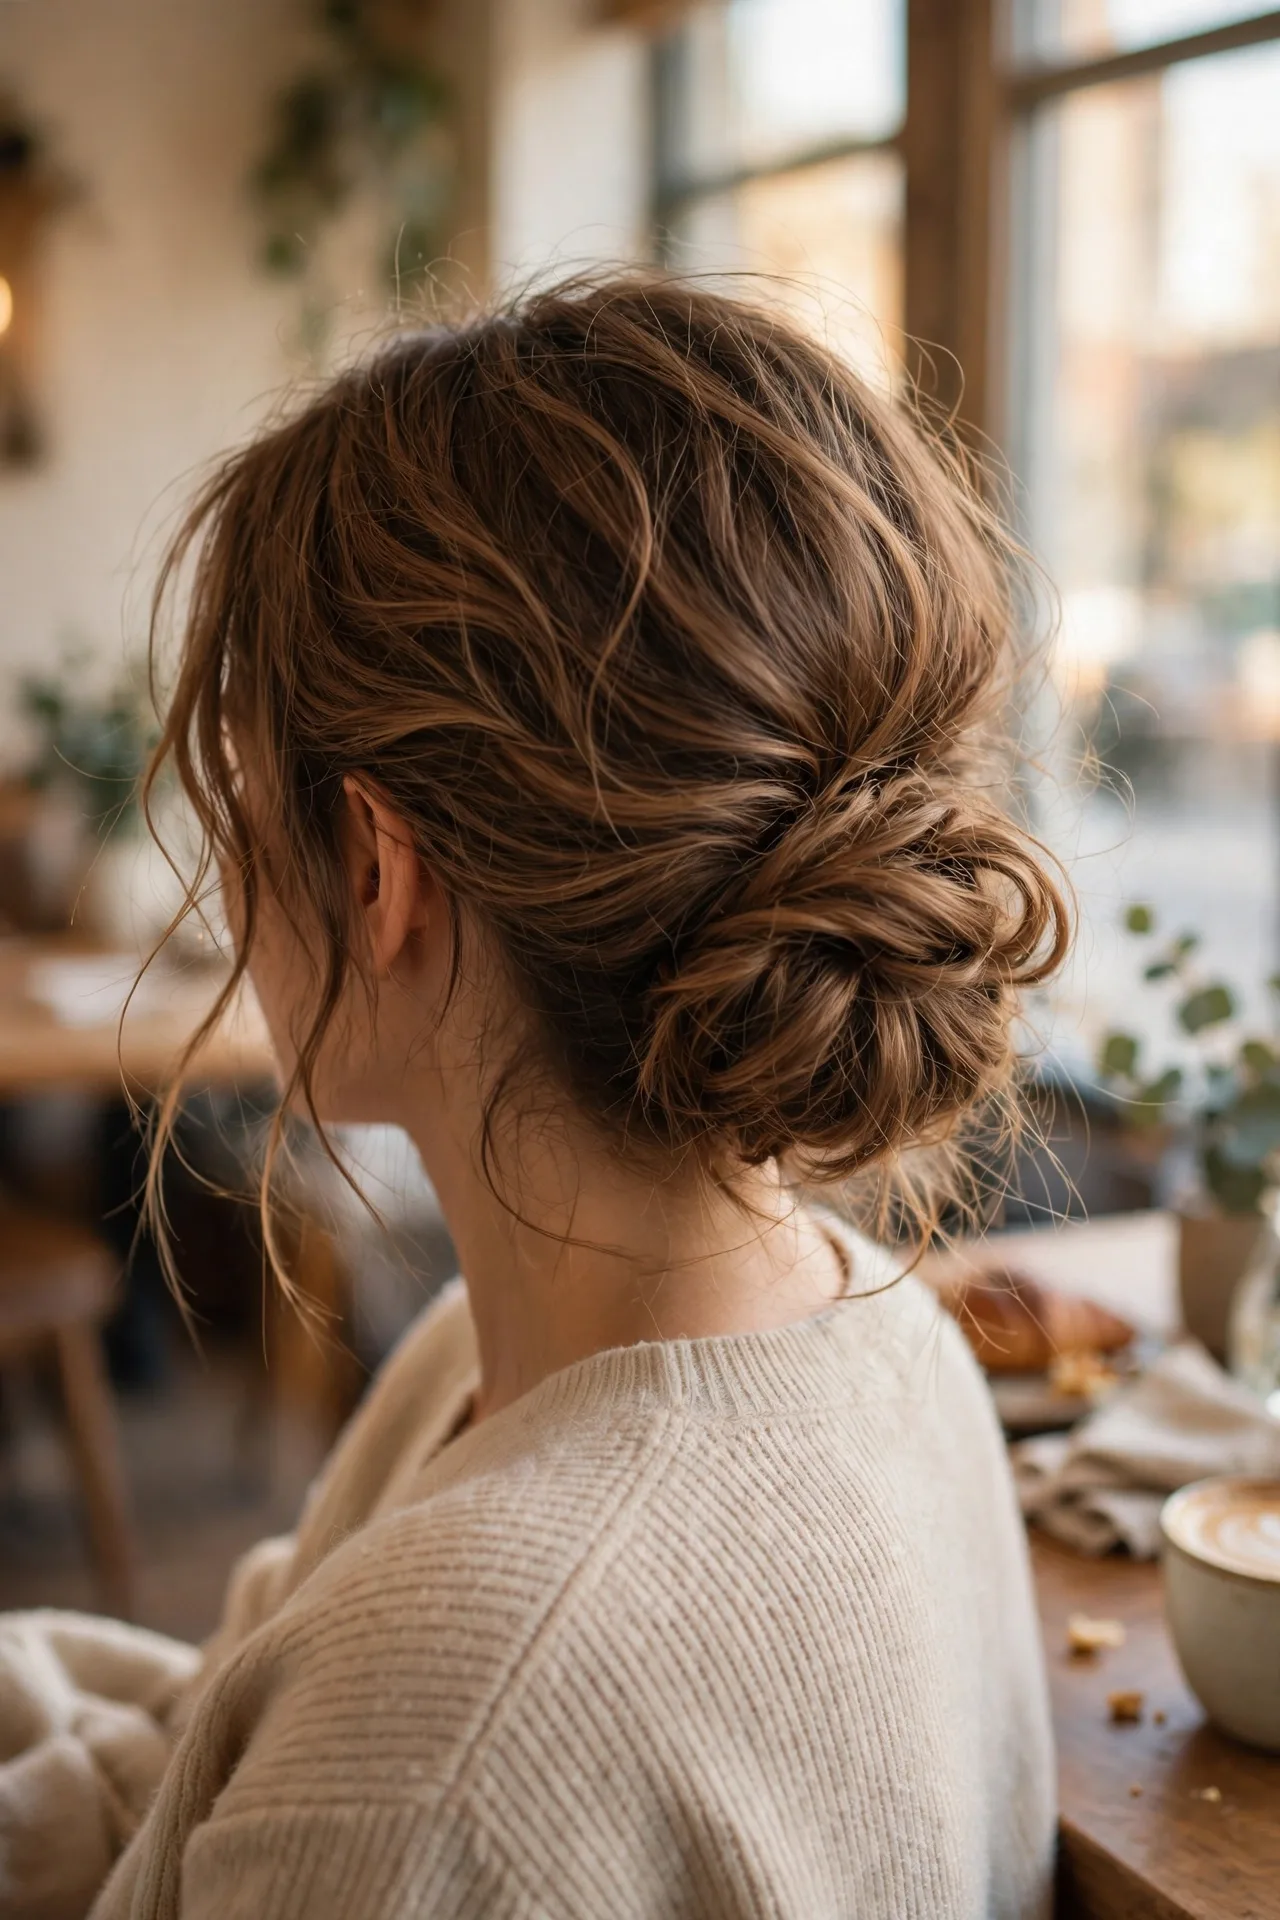
A messy low chignon keeps the same low knot and lets a few pieces fall loose around the face. The loose pieces soften the shape, and the knot itself stays relaxed instead of pulled tight. It suits weekends, casual weddings and days when a neat bun feels too formal. The style works on wavy and curly hair best, since the natural texture fills out the knot on its own.
- Pull two face-framing pieces out before pinning, so they fall naturally.
- Loosen the knot edges after pinning for a soft, full shape.
It takes about five minutes, and it holds well on second-day hair because the texture gives the pins grip.
Checklist
☐ Two bobby pins
☐ A light hold spray
☐ A small elastic
Braided Low Chignon
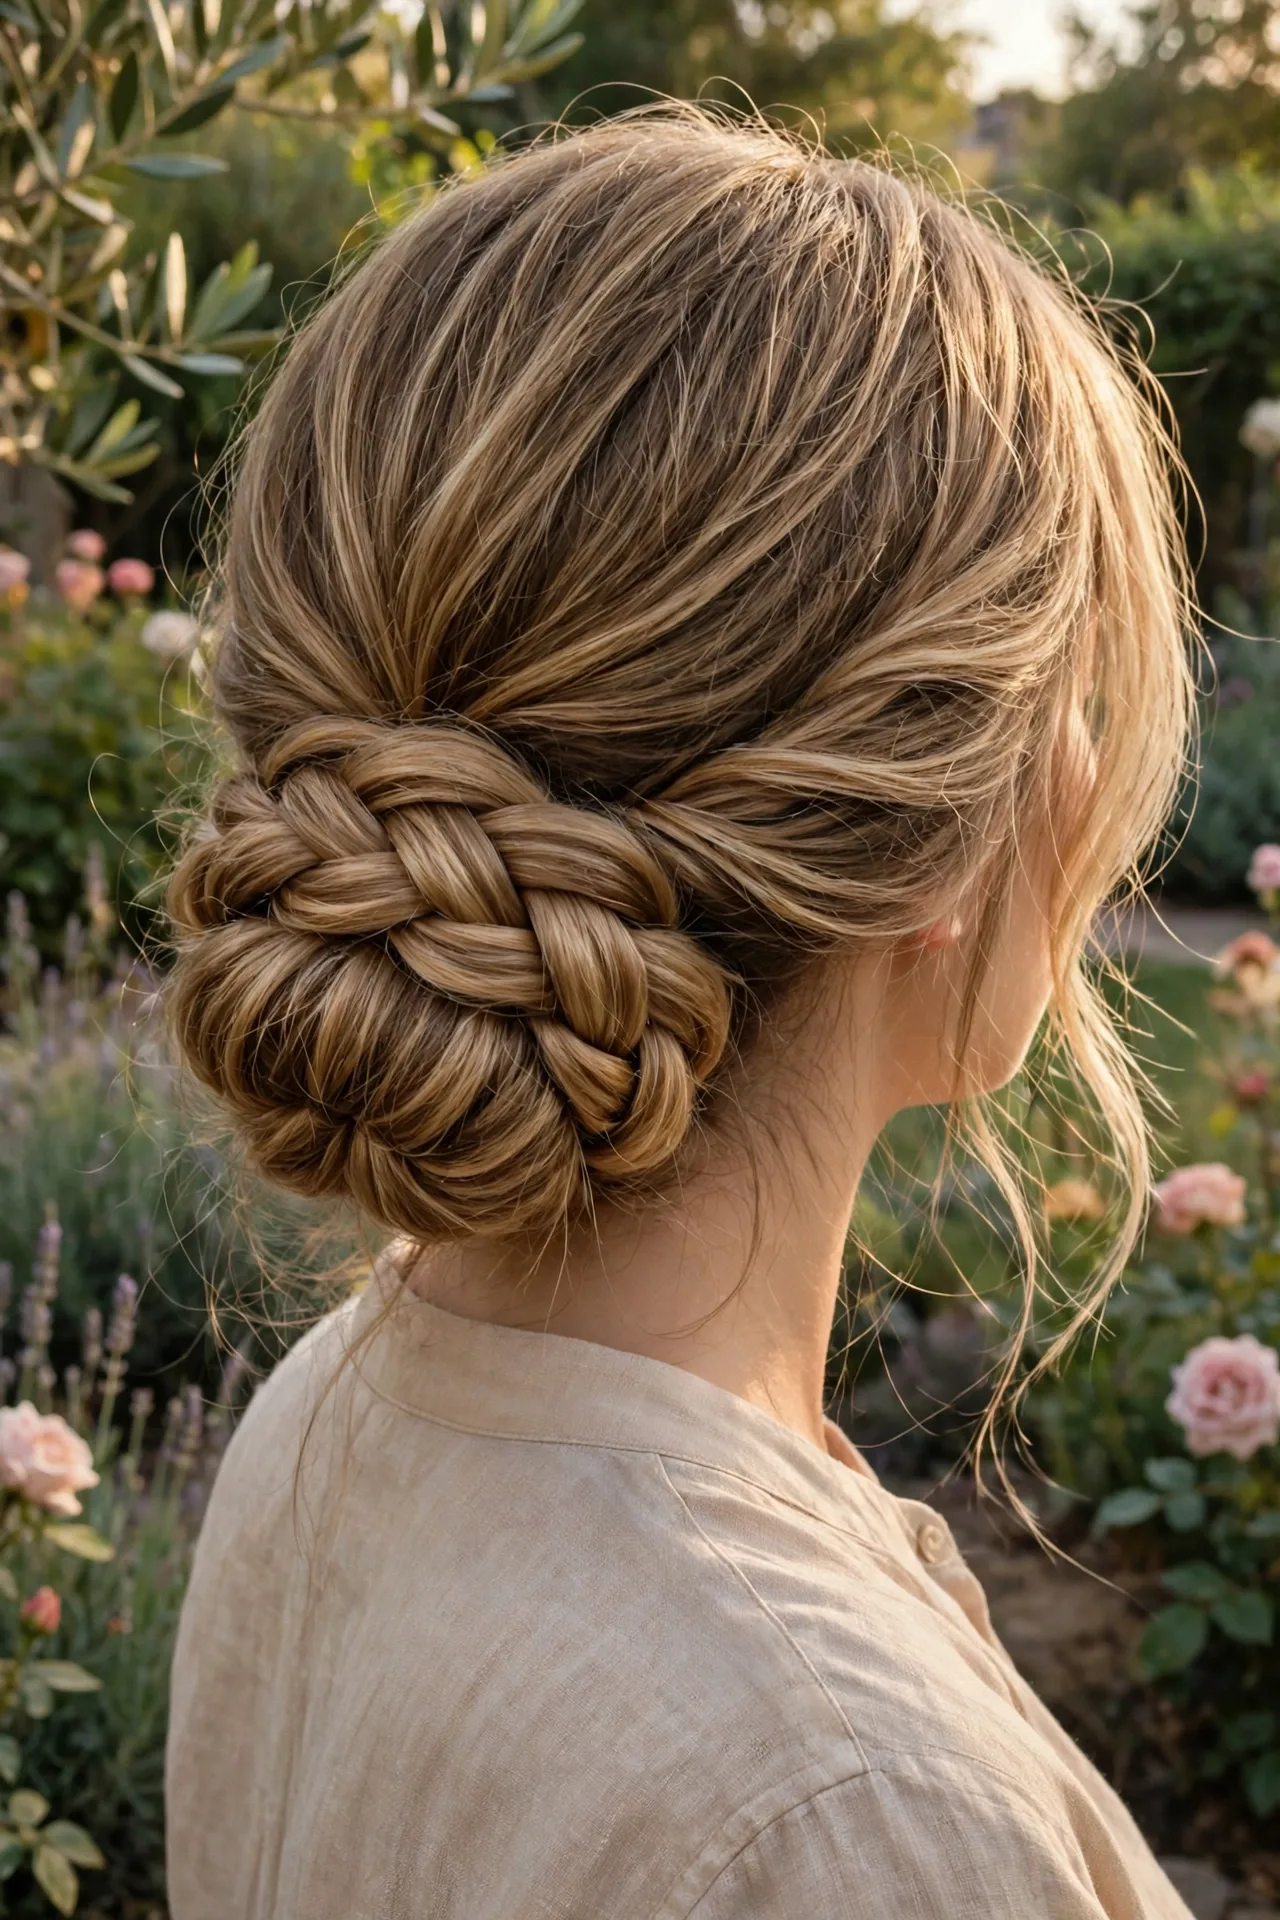
Quick Tip: Braid loosely, since a tight braid resists wrapping and pulls the knot off centre.
A braid runs into the low knot, adding texture that a plain twist lacks. Braid the hair from one side, wrap the braid around the base of the knot, and pin the end underneath. The braid suits thick hair best, since the braid carries weight and holds its shape for hours. It also suits weddings and formal events, since the braid reads as a deliberate detail. The style takes about ten minutes, and it holds all day on textured hair.
It pairs well with braids for long hair for more braided looks in the same length.
How to add the braid
1. Braid from one side to the nape
2. Wrap the braid around the knot base
3. Pin the end underneath
4. Pull the braid edges apart gently
Twisted Side Chignon
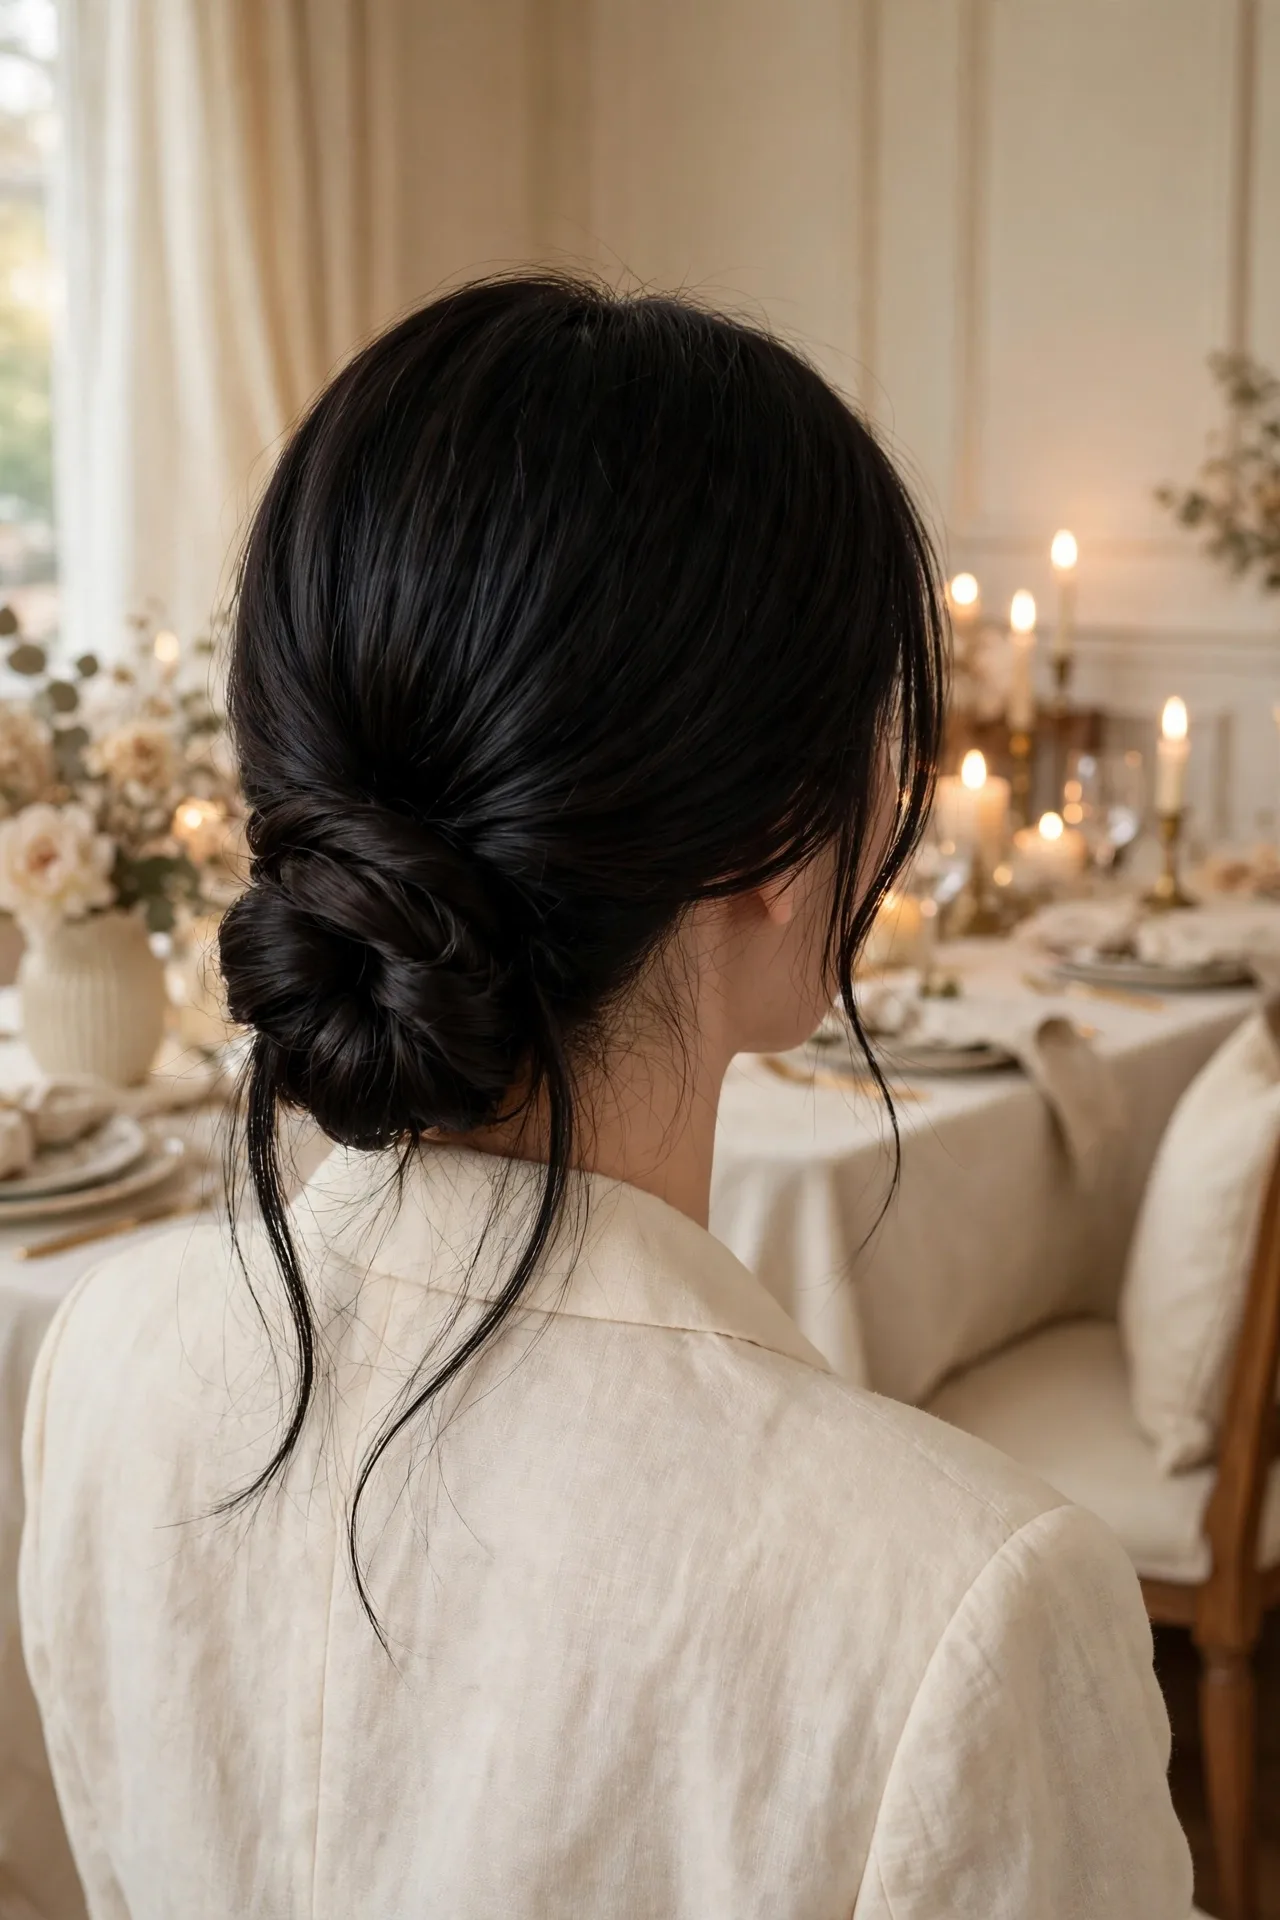
BEFORE: the hair hangs loose with no shape at the side. AFTER: a twist gathers one side into a low knot, with the other side swept smooth.
Two twists meet at one side of the nape, and the knot sits off centre instead of in the middle. The side position suits round faces, since the asymmetry lengthens the face, and it suits formal events because the twist reads as a deliberate detail. Twist one side toward the back, twist the other side to meet it, and pin both twists into a small knot. The style takes about eight minutes, and it holds well on straight and wavy hair.
BEFORE
Hair loose, no shape at the side
AFTER
Twist gathered into a low side knot
High Chignon Bun
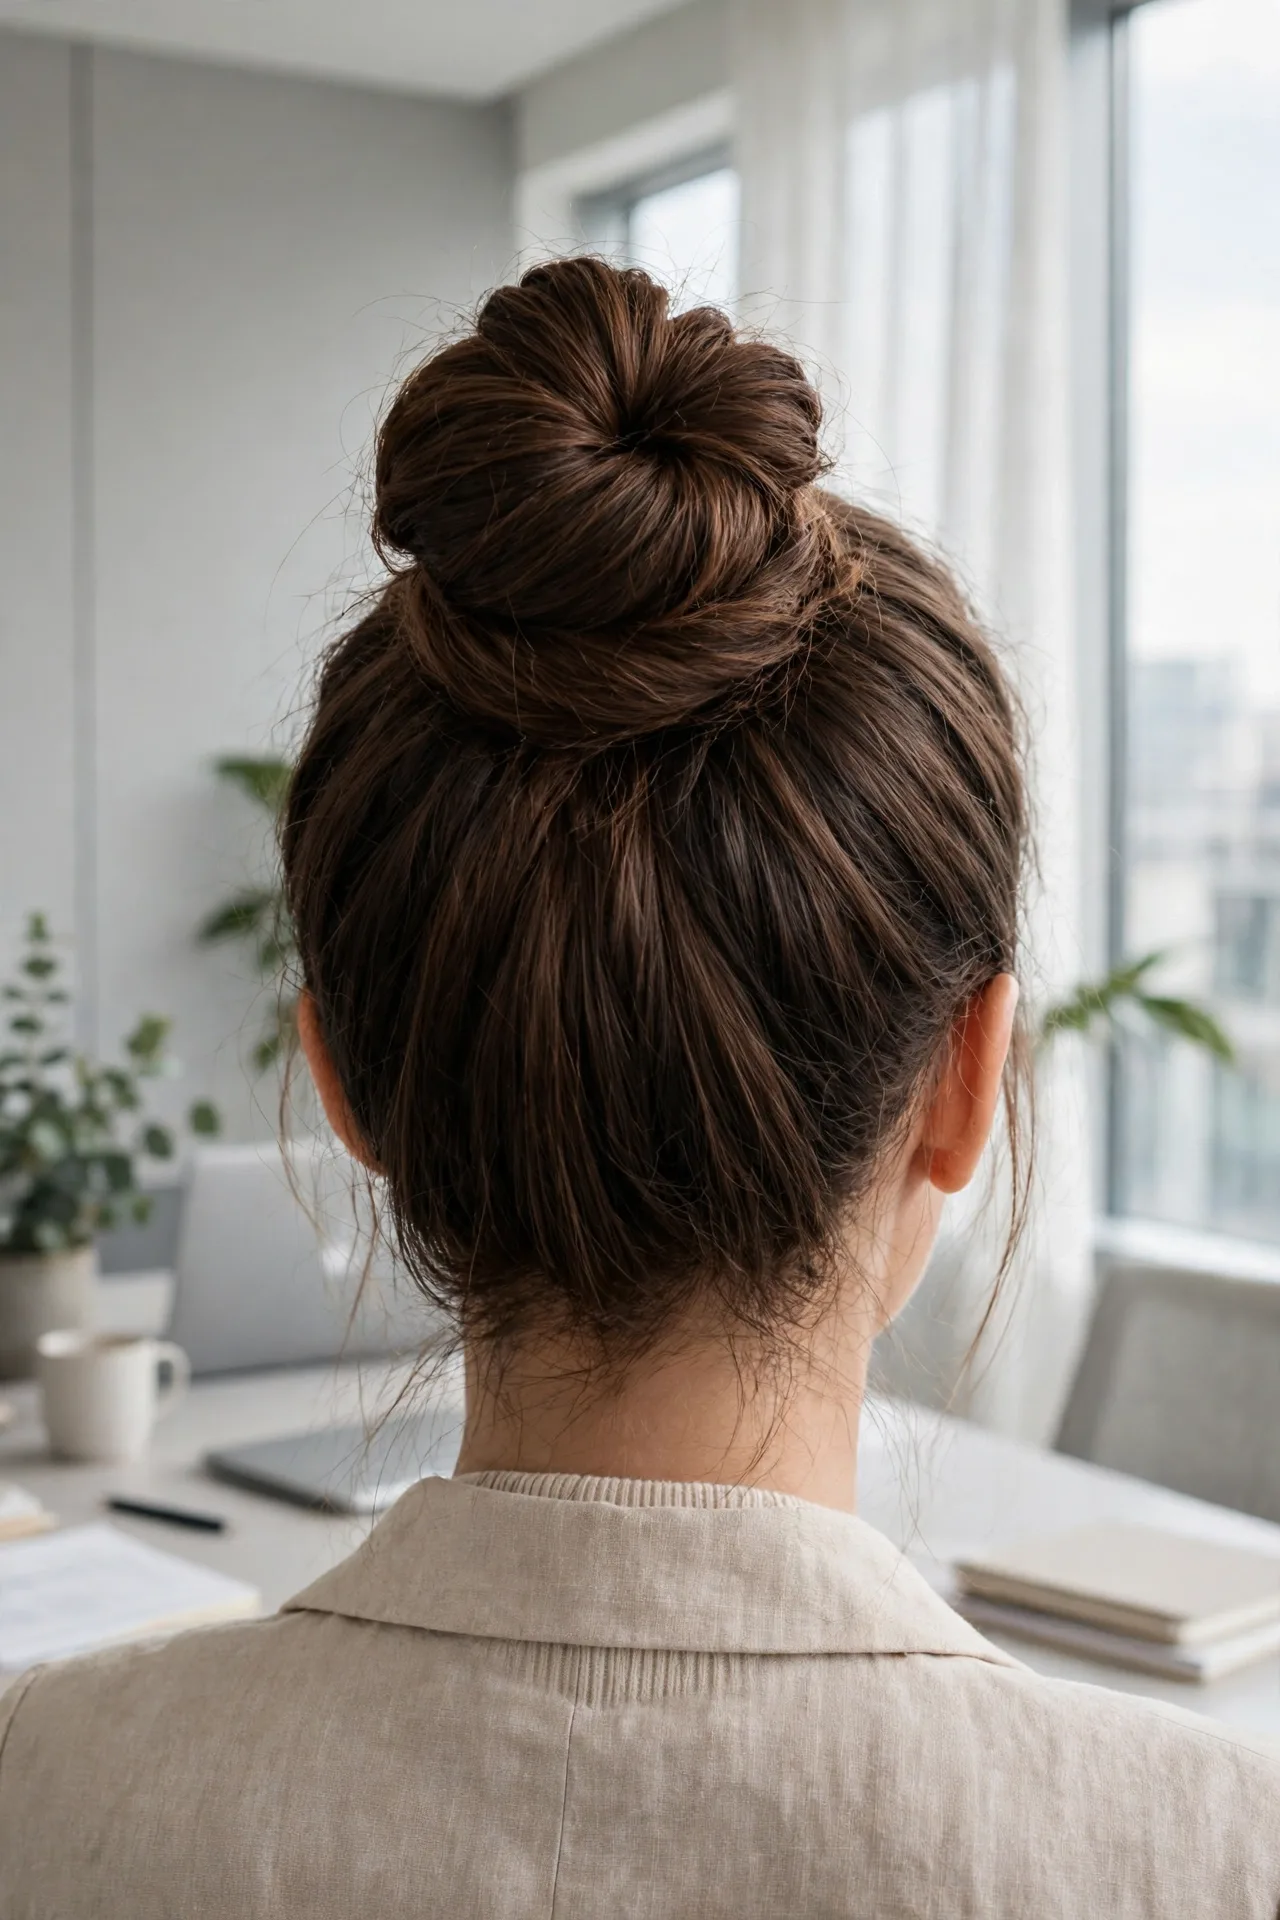
1. Gather all the hair into a high ponytail at the crown.
2. Twist the ponytail into a coil and wrap it around the base.
3. Pin the coil and tuck the ends underneath.
4. Loosen the edges for softness.
A high chignon lifts the knot to the crown, which suits long faces and formal events. The height adds balance, and the knot reads as a deliberate style. In my experience, a high chignon holds better on thick hair than a low one, since the knot locks in place at the crown. The style takes about seven minutes, and it holds from morning to night with two pins.
DO
Pin the coil at the crown, so the height stays put
DON’T
Wrap the coil too loosely, since a loose coil slips by midday
Sleek Ballerina Chignon
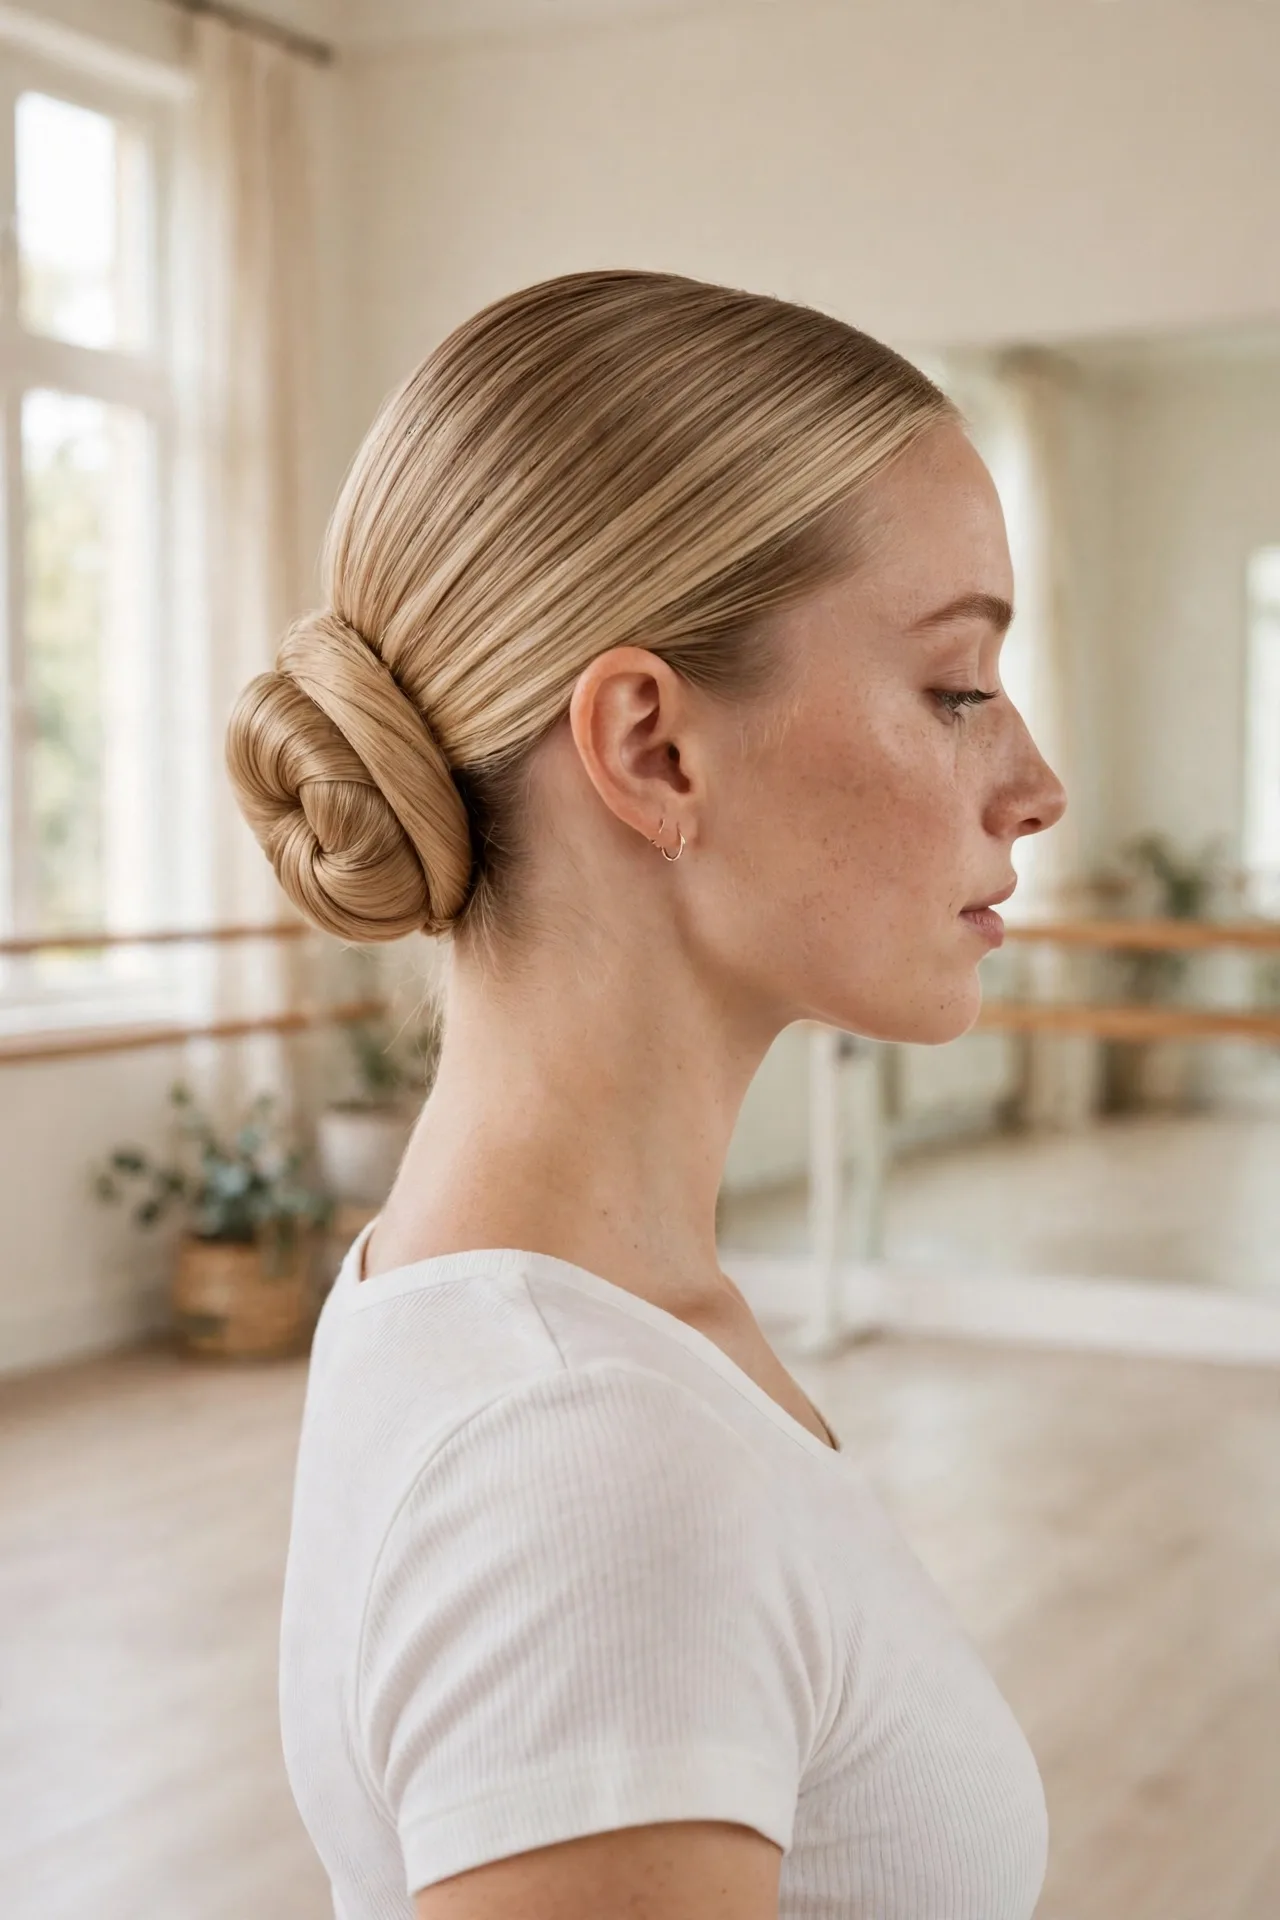
DO: brush the hair smooth before gathering, so the top stays flat. DON’T: pull the knot too tight, since a tight knot flattens the crown.
The ballerina chignon is the smoothest version on this list, with a flat top, a neat coil and no loose pieces. It suits dance, formal events and work, since the finish stays neat for hours. Brush the hair back with a fine brush, gather it at the nape, twist it into a tight coil and pin it flat. A small amount of gel on the top smooths flyaways. The elegant bun styles on this site show more polished buns in the same spirit. This version takes about eight minutes, and it holds all day on straight hair.
At a glance
Best for: straight hair
Time: 8 minutes
Hold: all day with two pins
Loose Romantic Chignon
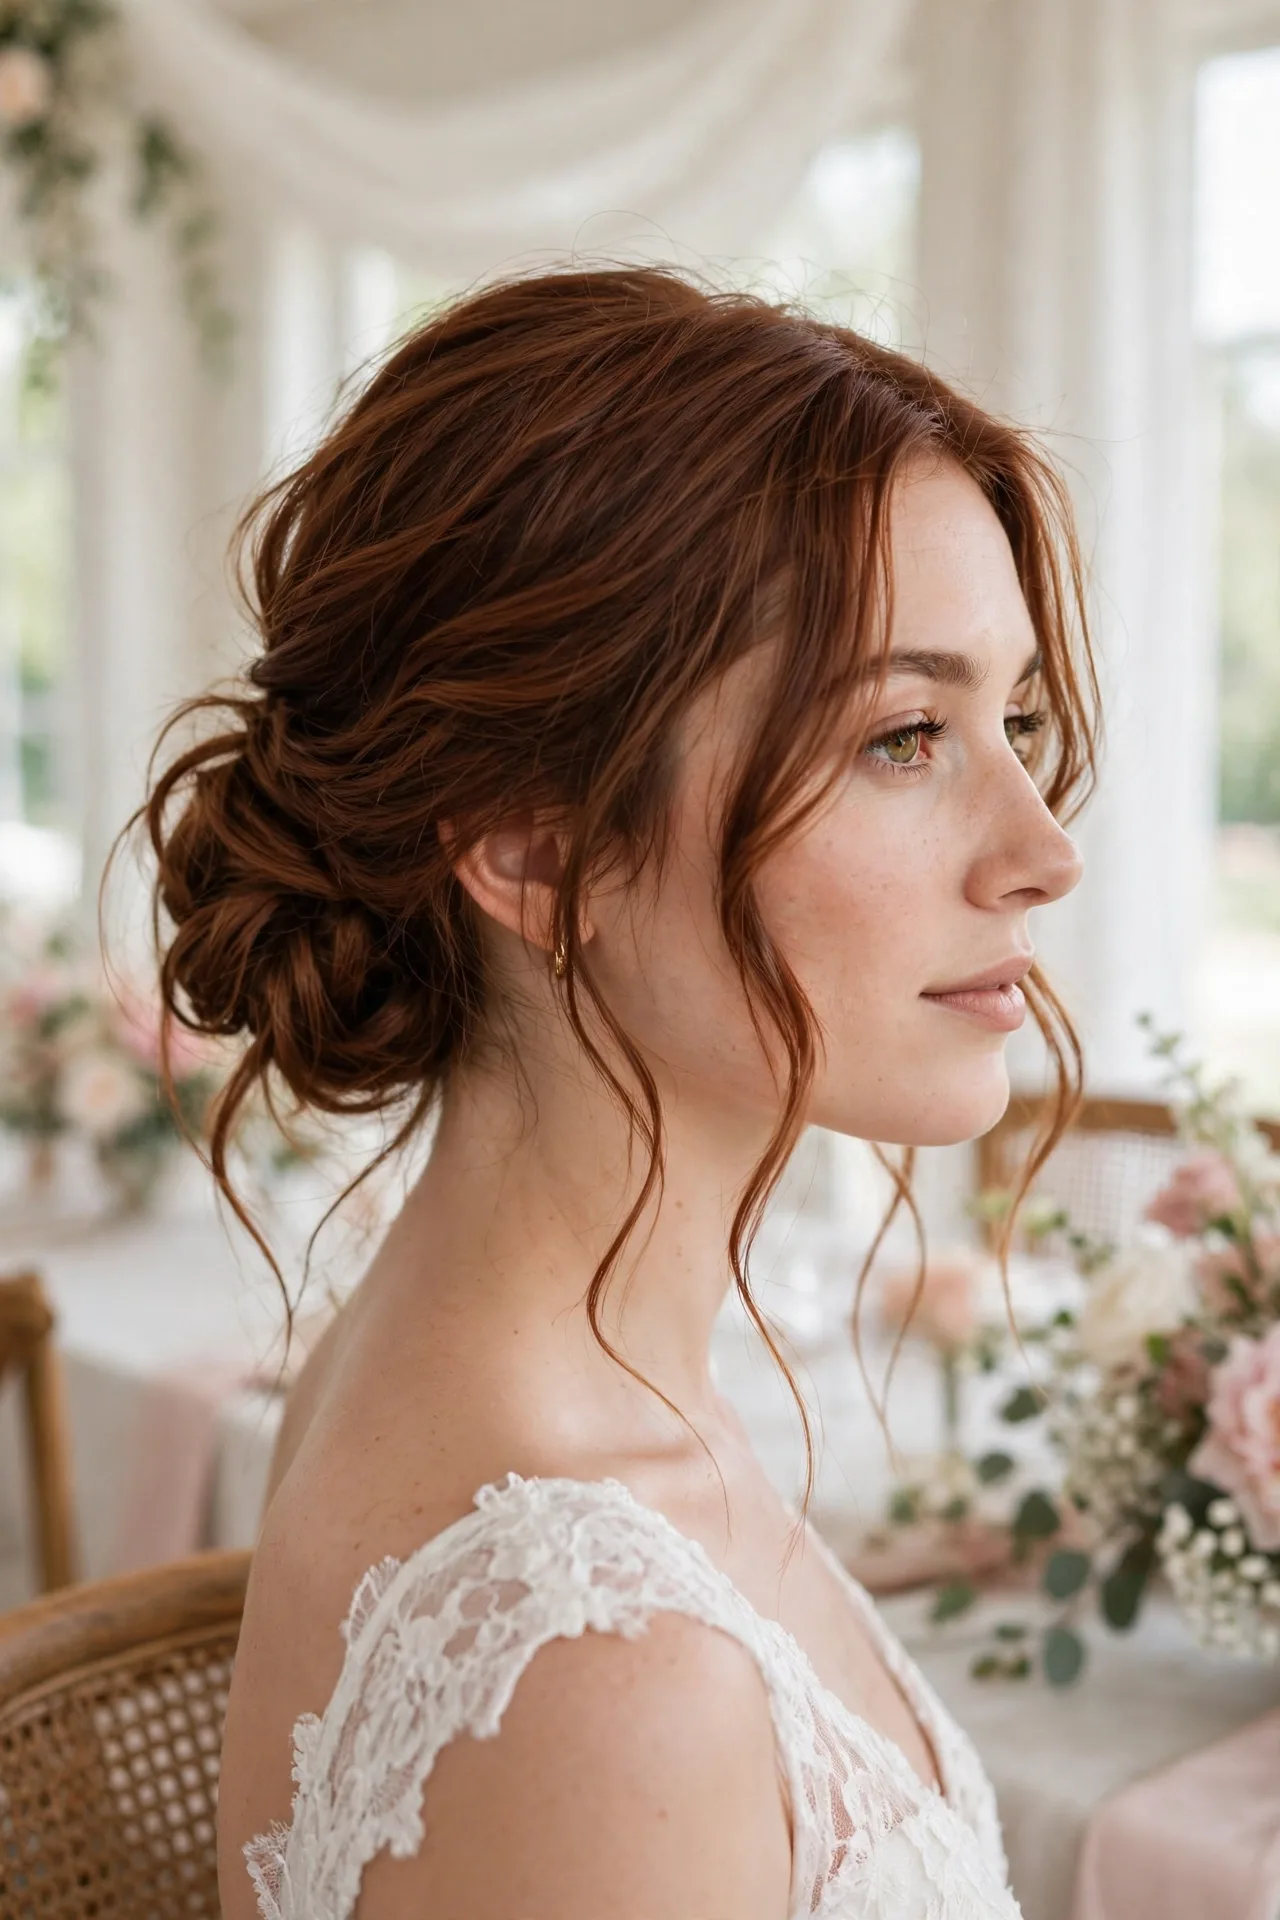
Best for: wavy and curly hair. Time: 6 minutes. Hold: all day with three pins.
A loose romantic chignon keeps the knot soft, with pieces pulled out at the crown and around the face. The pulled pieces frame the face, and the knot itself stays full instead of flat. It suits weddings, dates and evening events, since the soft finish reads as romantic without trying too hard. The style works on wavy and curly hair best, and it suits medium and long hair. Pull the pieces out after pinning, not before, so the knot keeps its base shape while the edges soften.
Tip: Pull pieces out after pinning, so the knot keeps its shape while the edges soften.
French Twist Chignon
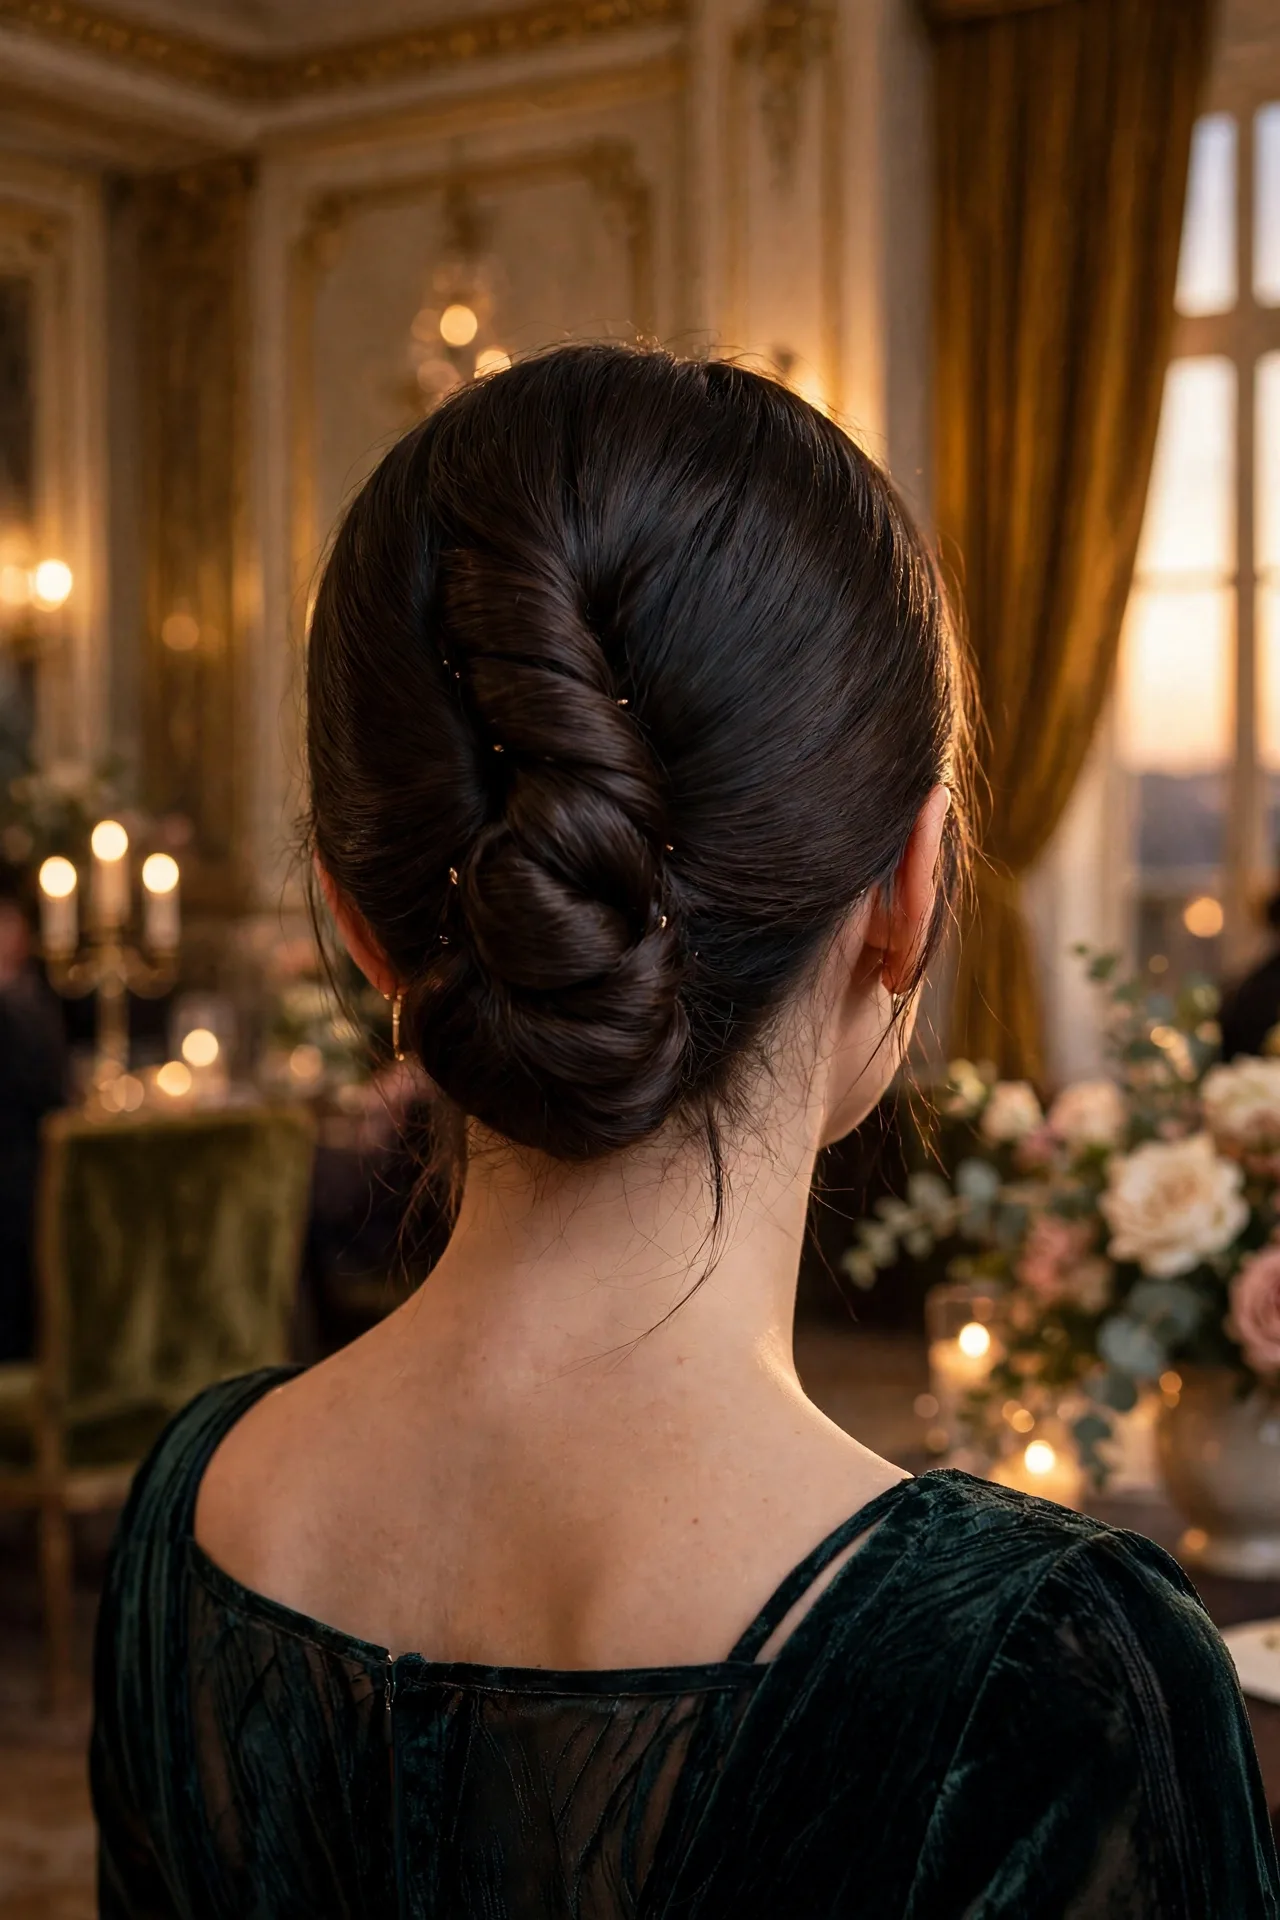
The French twist chignon rolls the hair up along the back of the head and pins it into a vertical roll at the nape. The roll suits formal events and work, since the shape stays neat and close to the head. It works on medium and long hair, and it suits straight hair best, since the smooth surface shows the roll.
Sweep the hair to one side, roll it up along the back, and pin the roll in place. The roll needs a few pins along its length, and a light hold spray keeps the edges smooth. The style takes about nine minutes, and it holds well on hair with a smooth finish.
How to roll it
1. Sweep the hair to one side
2. Roll it up along the back
3. Pin the roll in place
4. Smooth the edges with spray
Knotted Chignon
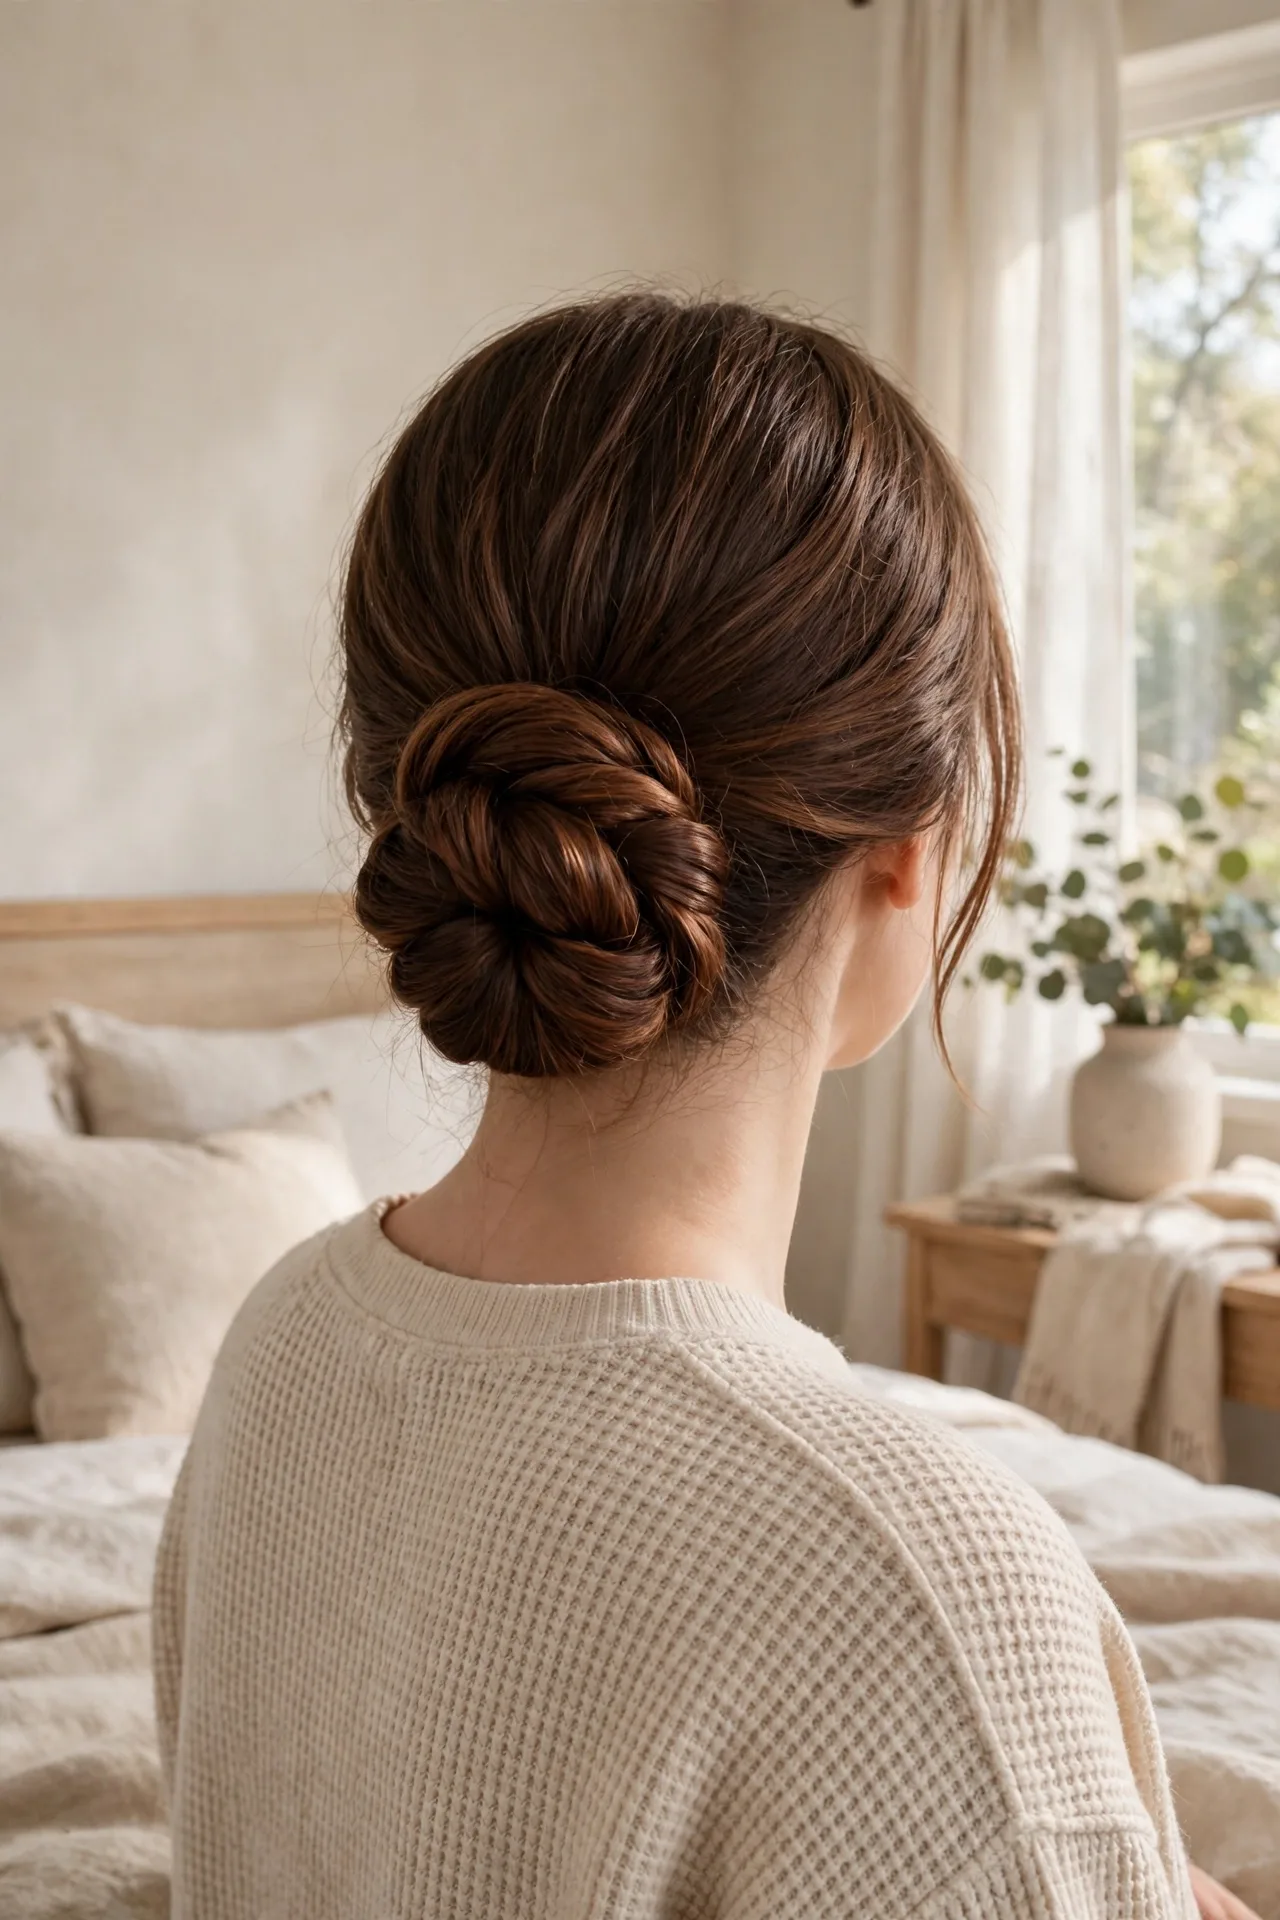
A knot replaces the twist, giving the chignon more texture than a plain coil. Split the gathered hair into two sections, tie them into one knot, and wrap the ends around the base. The knot locks in place, so it holds better than a twist on thick hair. It suits casual days and formal events alike, since the knot reads as a deliberate detail.
- Tie the knot once, not twice, so the shape stays soft.
- Wrap the ends around the base and pin them underneath.
The style takes about seven minutes, and it holds from morning to night with two pins.
Time
7 minutes
Best hair
Thick
Hold
All day
Double Braid Chignon
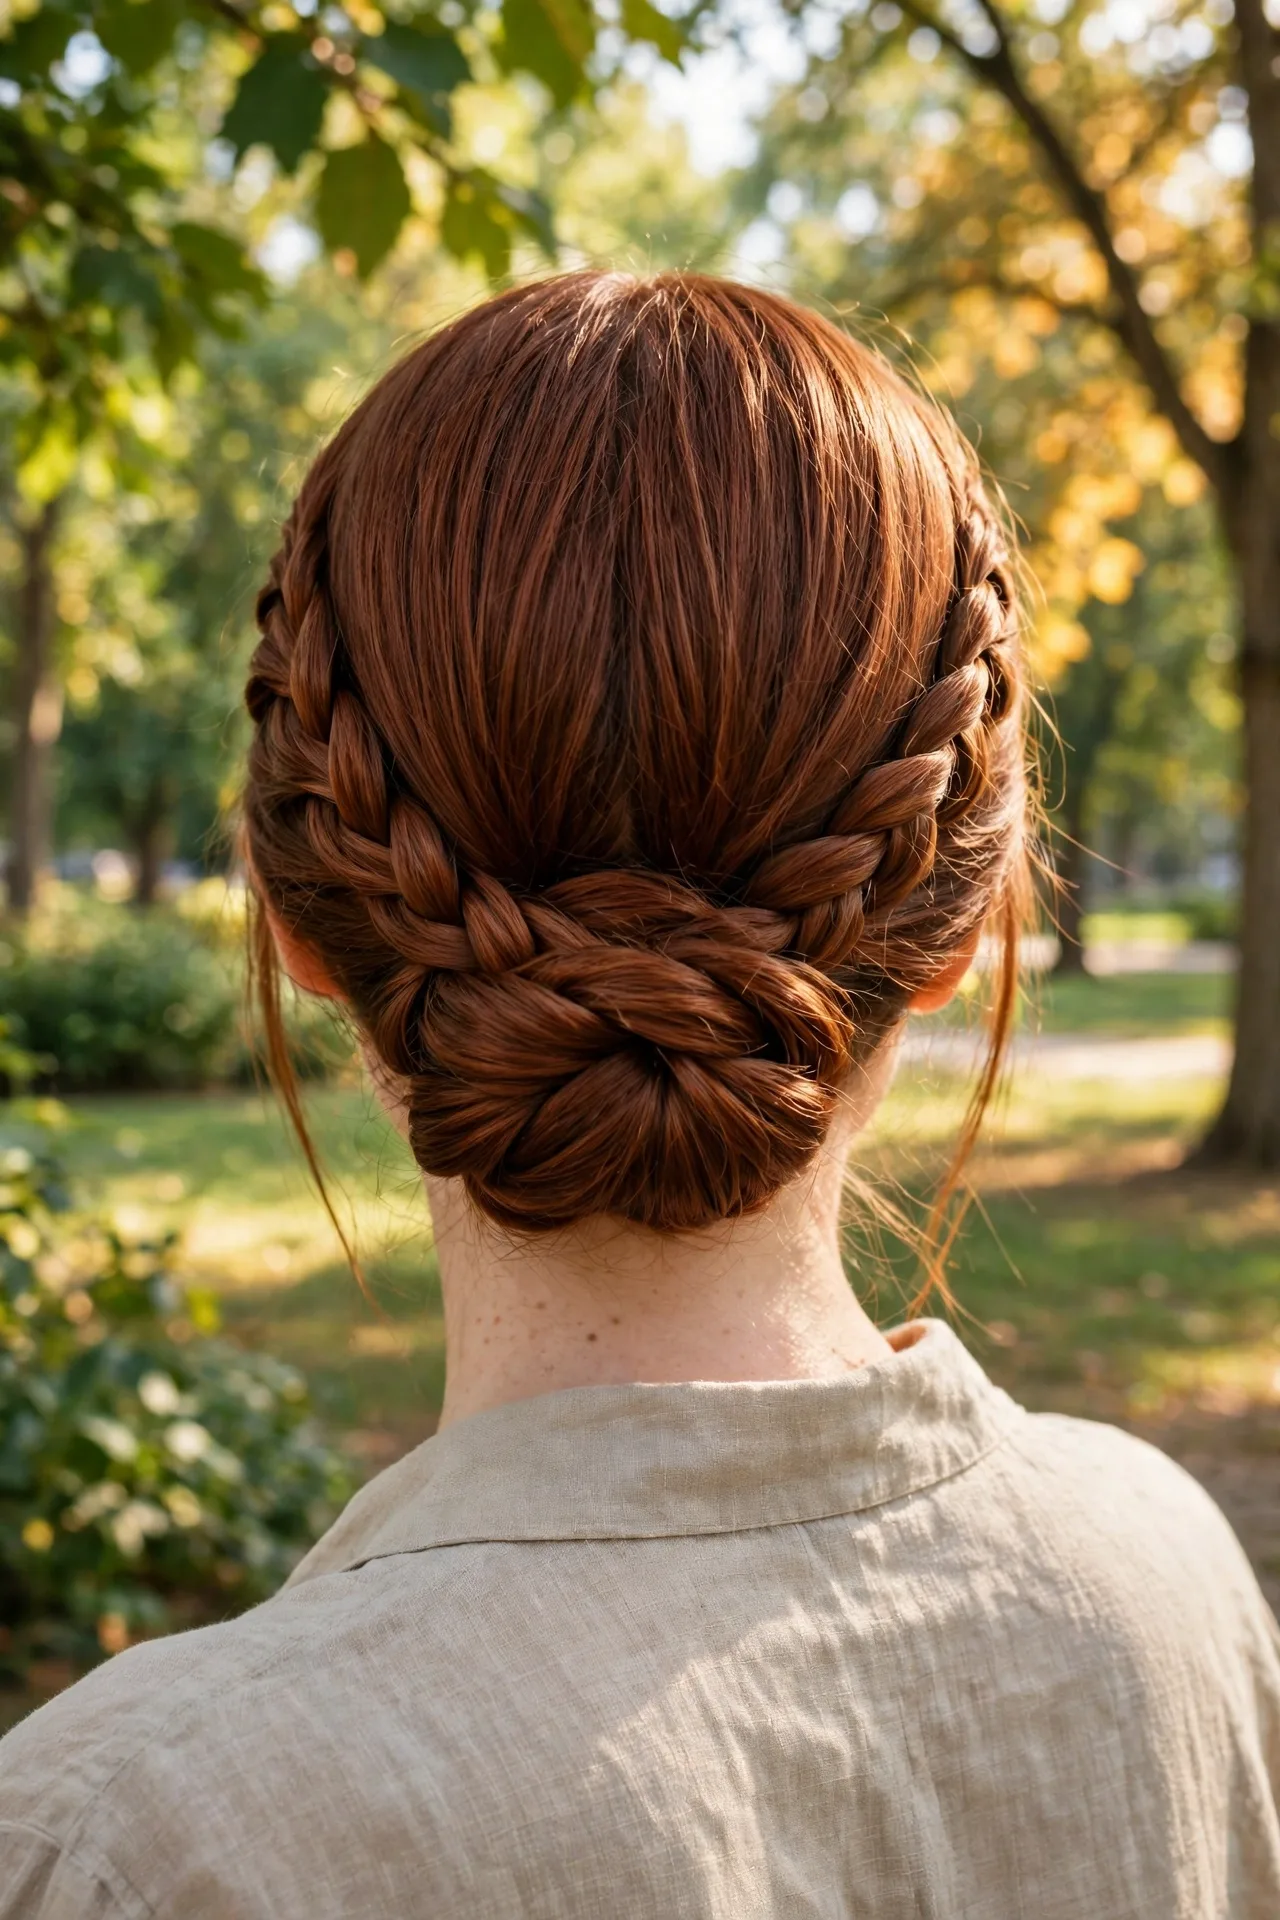
Quick Tip: Braid each side in the same direction, so the two braids meet evenly at the back.
Two braids run from the temples to the back and meet in one low knot. Each braid adds texture, and the pair frames the face with clean lines. The style suits long hair best, since the braids need length to reach the back, and it works on straight and wavy hair. Braid each side, pin the braids together at the nape, and wrap the ends into the knot. The pair takes about twelve minutes, and it holds all day because the two braids support each other.
BEFORE
Two braids loose at the sides
AFTER
Braids pinned into one low knot
Vintage Rolled Chignon
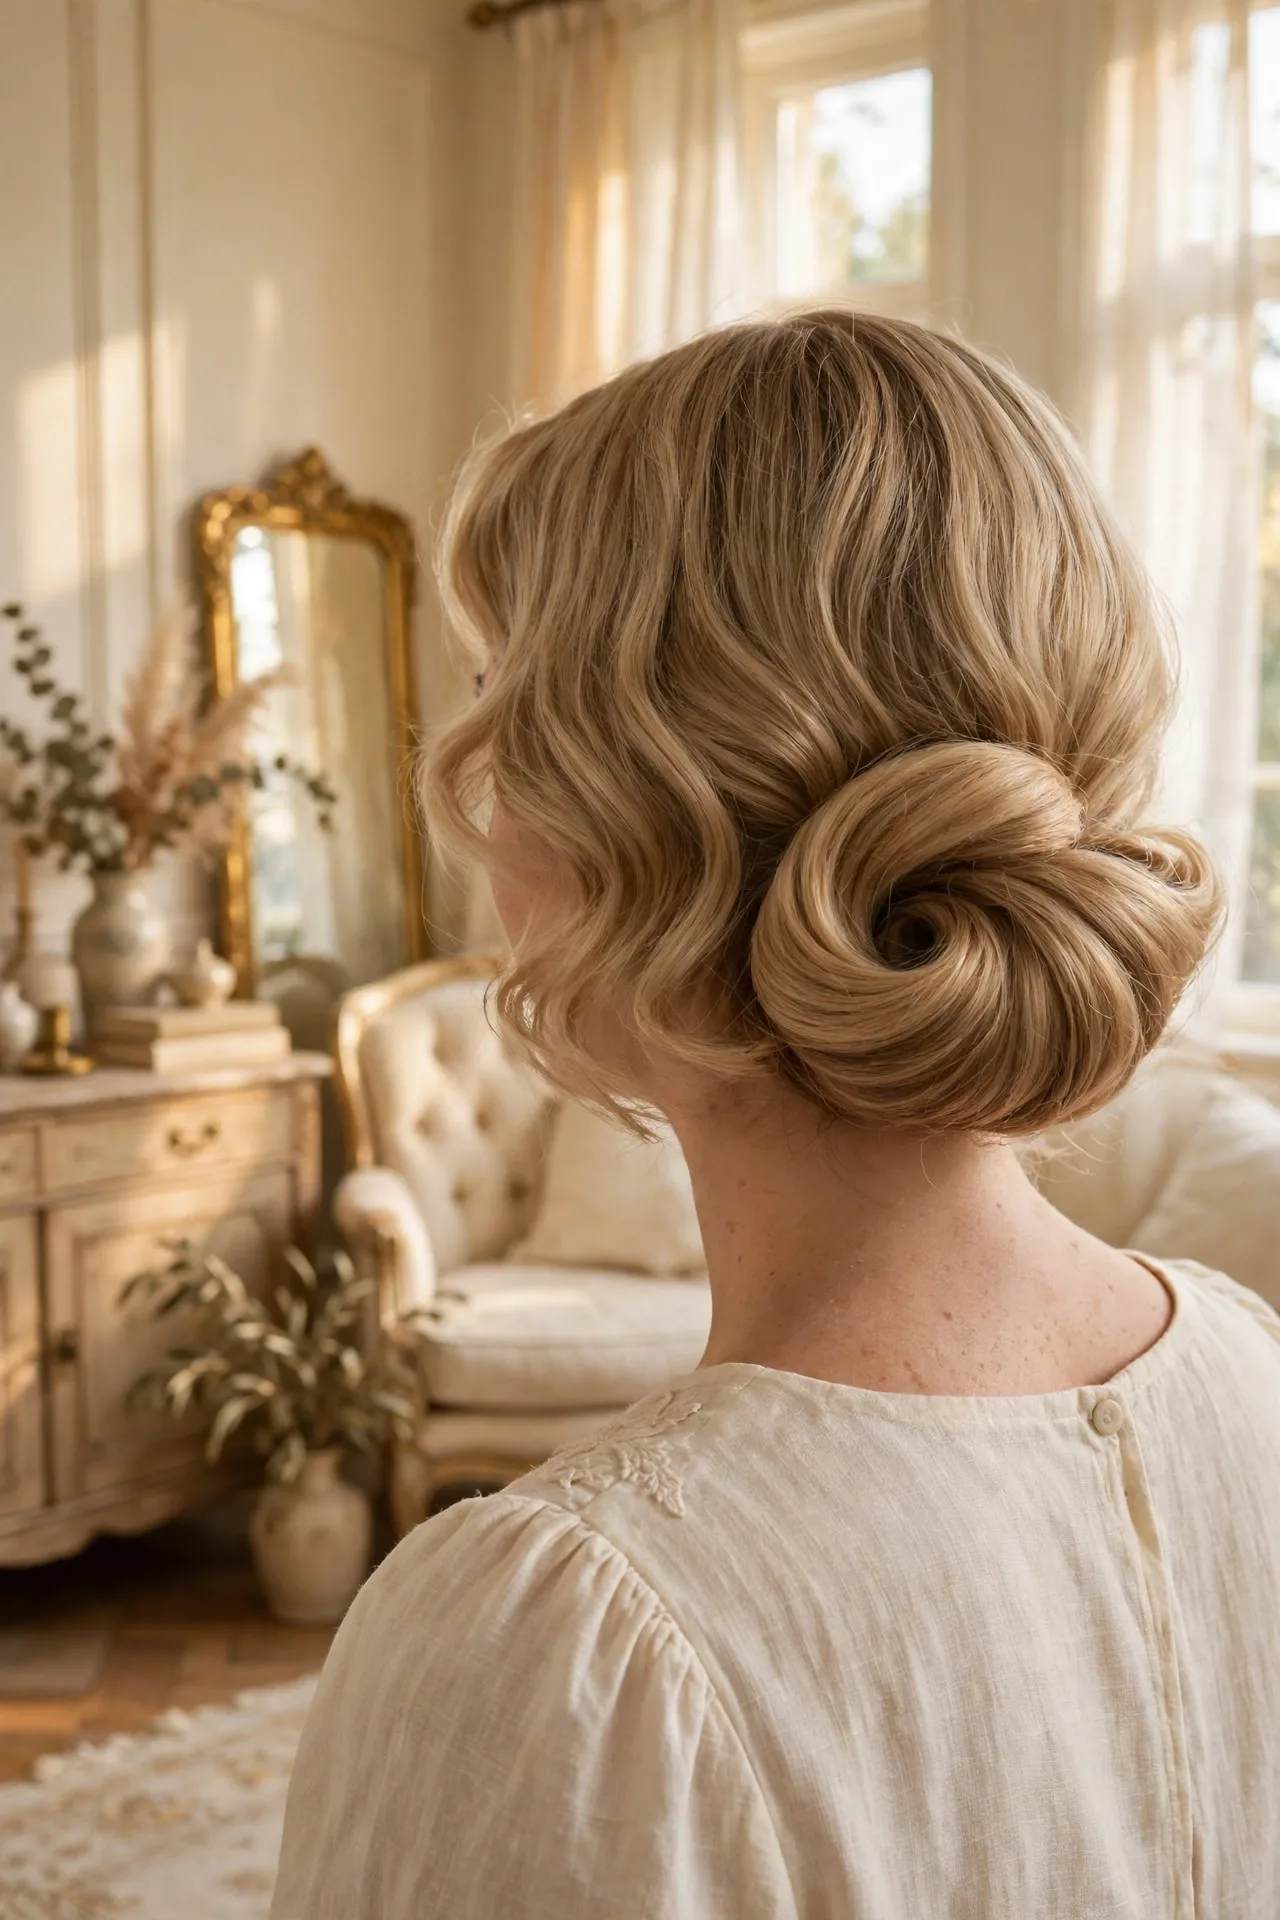
BEFORE: the hair lies flat with no shape at the nape. AFTER: a rolled chignon lifts the nape, with a smooth curve and a polished finish.
The vintage rolled chignon curls the ends under and rolls them up into a smooth curve at the nape. The roll suits weddings and formal events, since the shape reads as classic and polished. I’ve found that rolling the ends under before pinning gives a cleaner curve than rolling the hair flat. The style works on medium and long hair, and it suits straight hair best. It takes about ten minutes, and it holds well with a light hold spray.
Tip: Roll the ends under before pinning, so the curve stays smooth and clean.
Textured Wavy Chignon
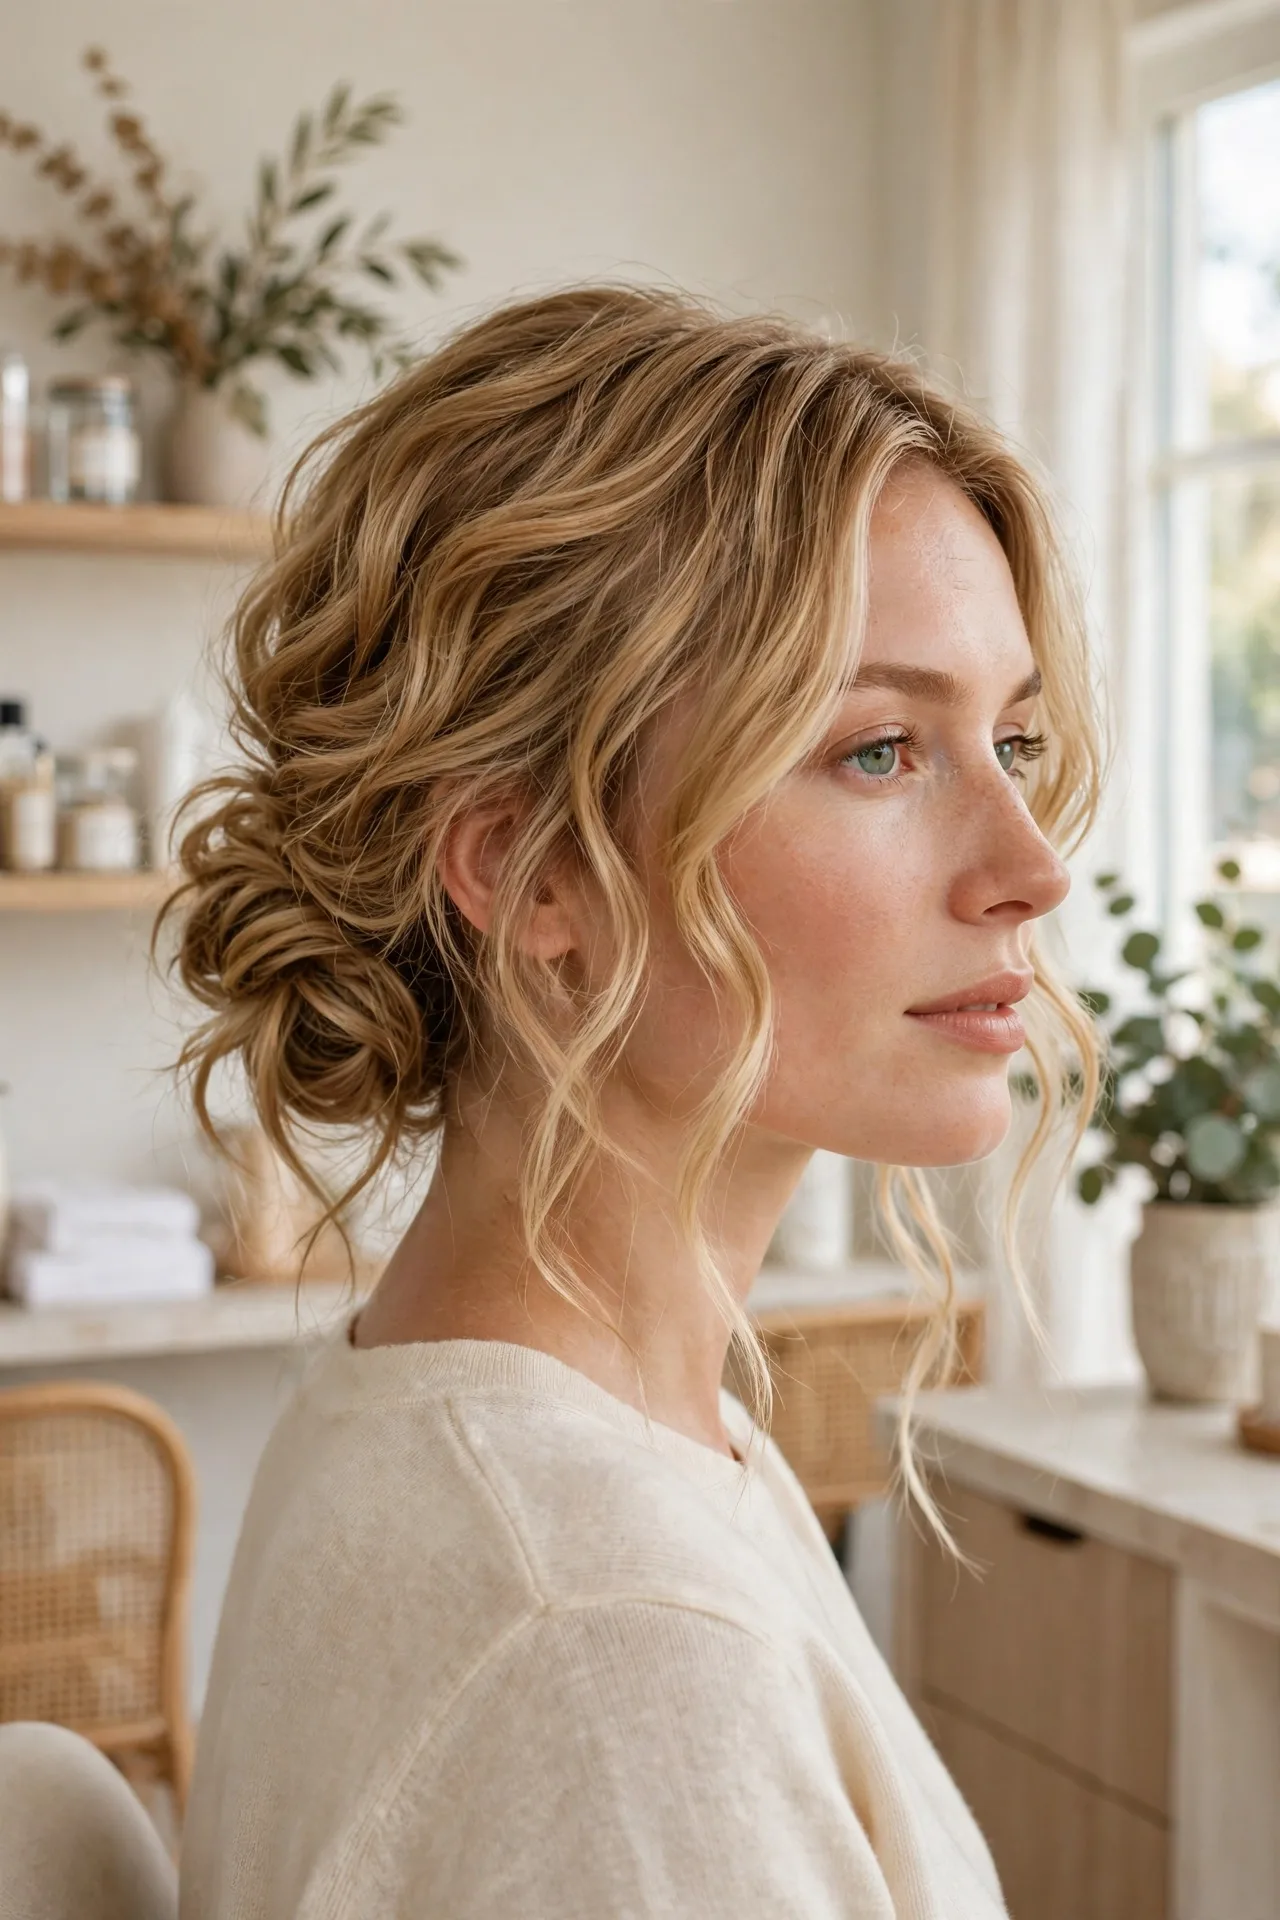
1. Wave the hair with a wide barrel iron and brush the waves out once cool.
2. Gather the hair loosely at the nape and twist it into a soft coil.
3. Pin the coil and pull small pieces out at the crown.
4. Set the shape with a light hold spray.
Waves through the lengths give the chignon movement, while the loose coil keeps the shape soft. The texture suits wavy and curly hair best, since the natural bend fills out the knot on its own. I’ve noticed that a textured chignon holds longer than a smooth one on wavy hair, because the waves give the pins grip. The style takes about twelve minutes with heat, or five on naturally wavy hair.
DO
Wave the lengths first, so the knot carries texture
DON’T
Brush the waves out too much, since flat hair slips from pins
Side Swept Chignon

DO: sweep from the heavier side of the part for the most volume. DON’T: part the hair in the middle, since a side sweep needs a deep part.
A deep side part with the hair swept to one side suits round and square faces. Part deeply on one side, sweep the top across, and gather the hair into a low knot at the opposite side of the nape. The sweep adds height on one side, which lengthens the face. It works on short, medium and long hair, straight or wavy. The style takes about six minutes, and it holds well on second-day hair.
At a glance
Best for: round and square faces
Time: 6 minutes
Hold: all day with two pins
Pearl Pin Chignon
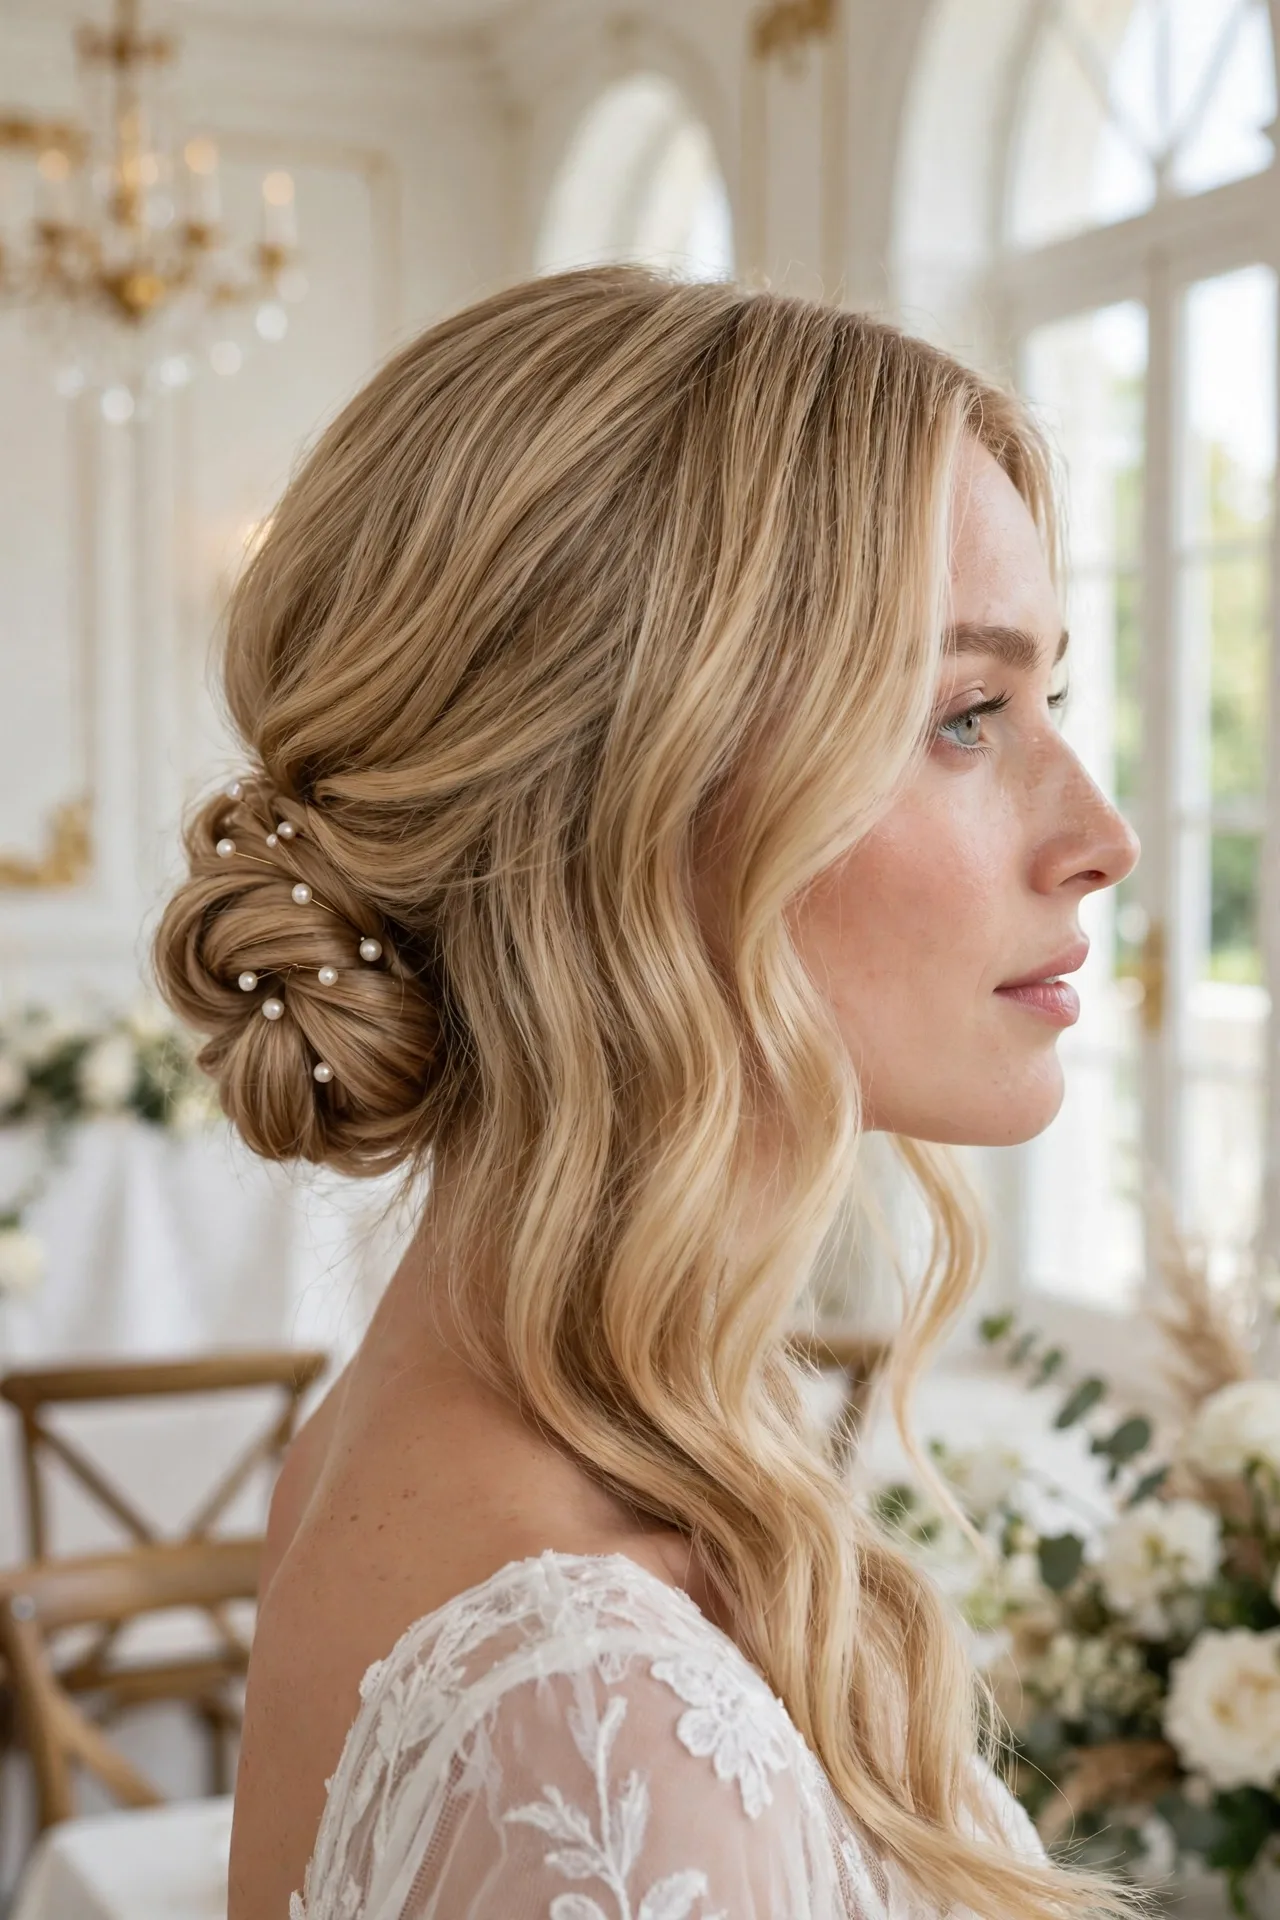
Best for: weddings and evening events. Time: 5 minutes. Hold: all day with two pins.
Small pearl pins hold the low knot in place, adding a quiet shine for weddings and evening events. Gather the hair into a low knot, pin it, and add two or three pearl pins along the knot. The pins hold for hours, and the pearls catch light in a way that suits evening best. It works on straight and wavy hair with a smooth finish. Use pins that match your hair colour, so only the pearls show.
Checklist
☐ Two or three pearl pins
☐ Two bobby pins
☐ A light hold spray
Braided Crown Chignon

A wide braid crosses the crown and feeds into the low knot, giving the chignon a bold frame. The braid suits thick hair best, since the braid carries weight and holds its shape for hours. It also suits long faces, since the fullness at the crown adds balance.
Take a wide section from one side, braid it in three strands, pull the edges apart for fullness, and pin it across the crown into the knot. The braid takes about nine minutes, and it suits casual days and outdoor events, since the bold shape holds up in wind.
Tip: Pull the braid edges apart after pinning, so the braid looks full and soft.
Low Knot Chignon
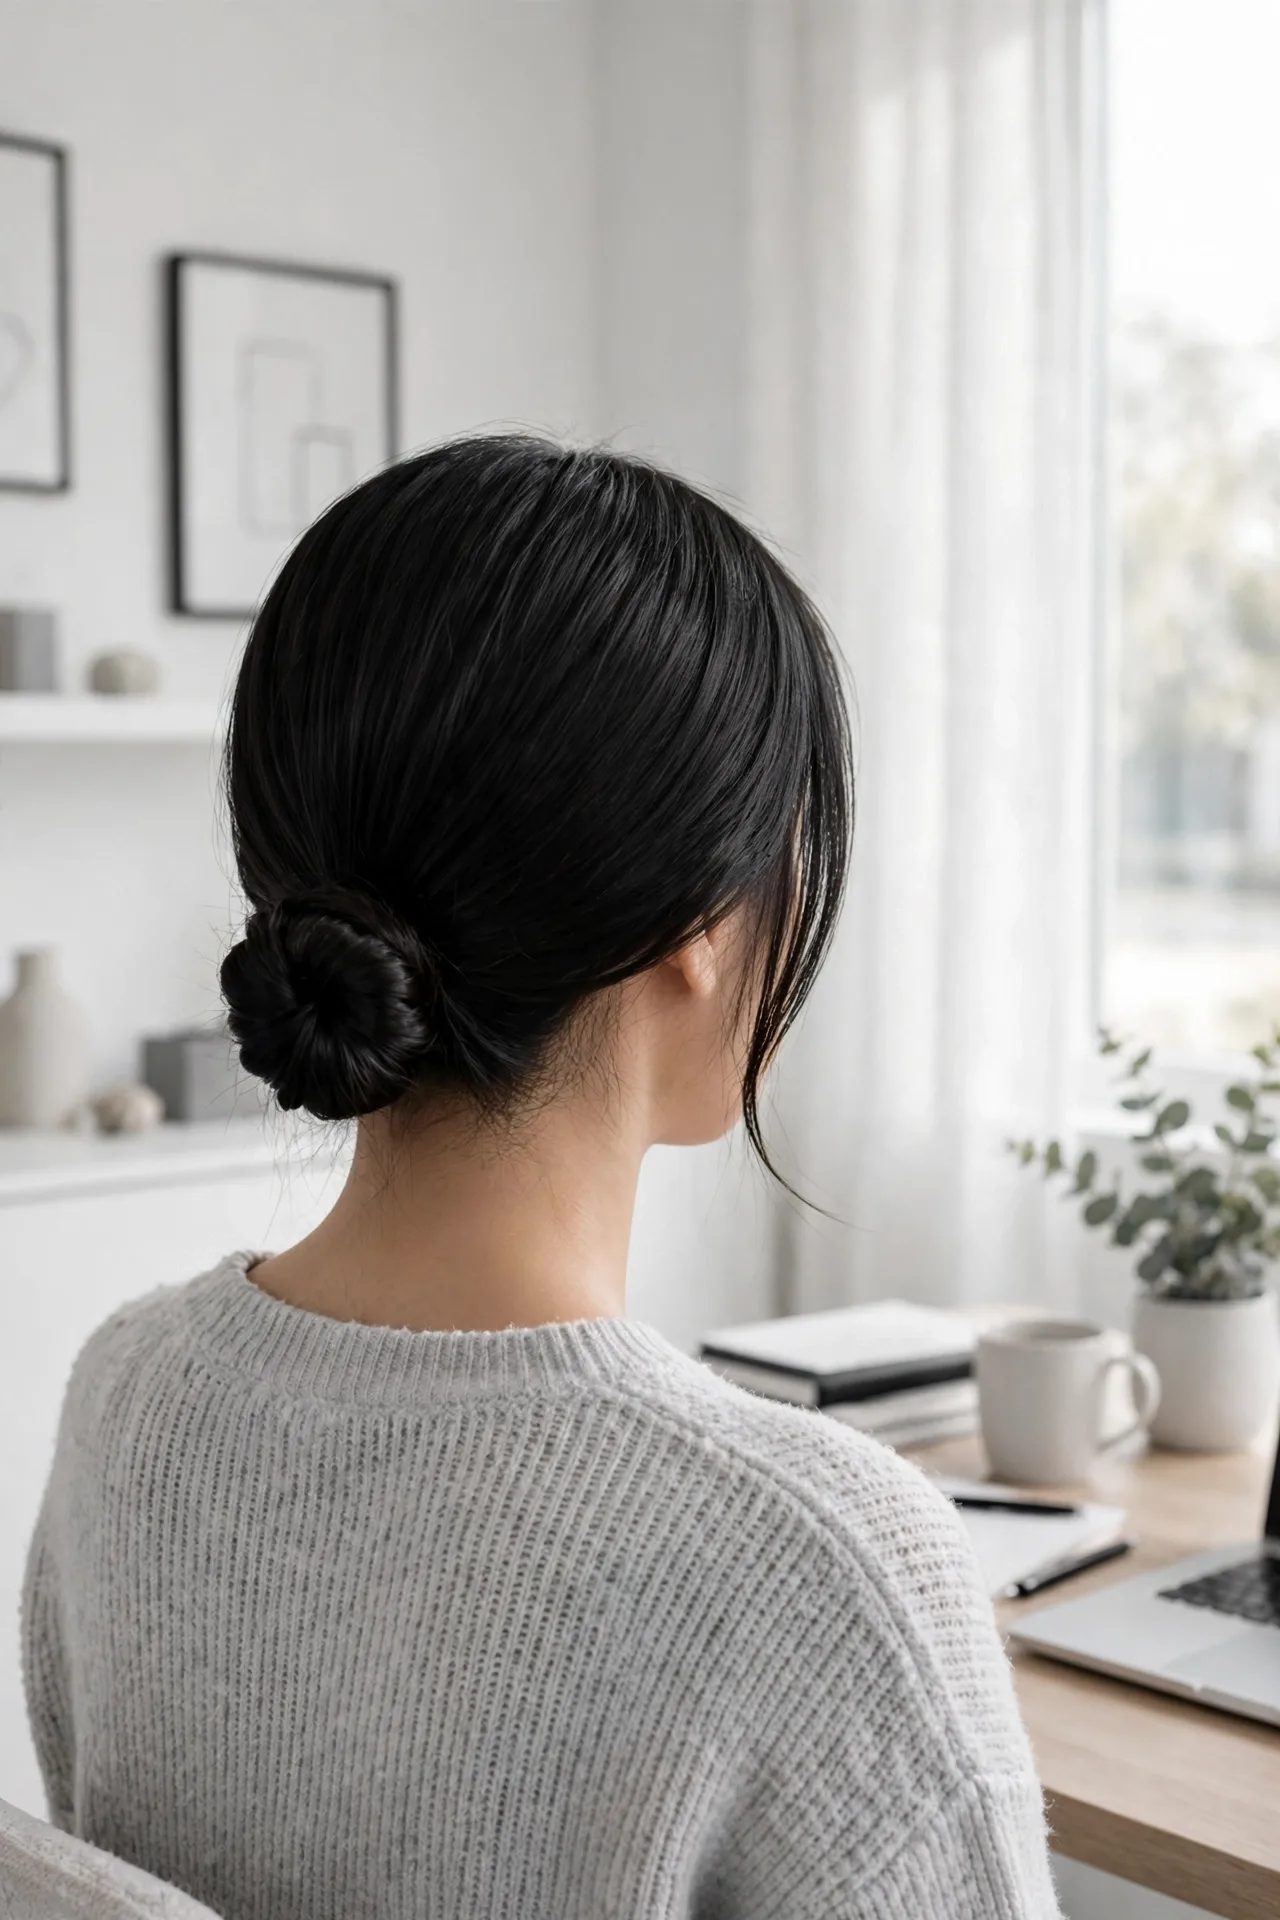
The low knot chignon is the plainest version on this list, and it suits almost every occasion for that reason. Gather the hair at the nape, twist it once, and fold it into a small knot. The knot sits low and close to the head, with no extra detail. It works on short, medium and long hair, and it suits straight, wavy and curly hair alike.
- Fold the twist once for a small knot, or twice for a fuller one.
- Pin the knot at the base, so it sits flat against the nape.
The updos for medium length hair on this site show more ways to wear a low knot at this length. The style takes about four minutes, and it holds well with two pins.
Key takeaway: one twist folded into a small knot is the fastest chignon on this list, at about four minutes.
Curly Chignon
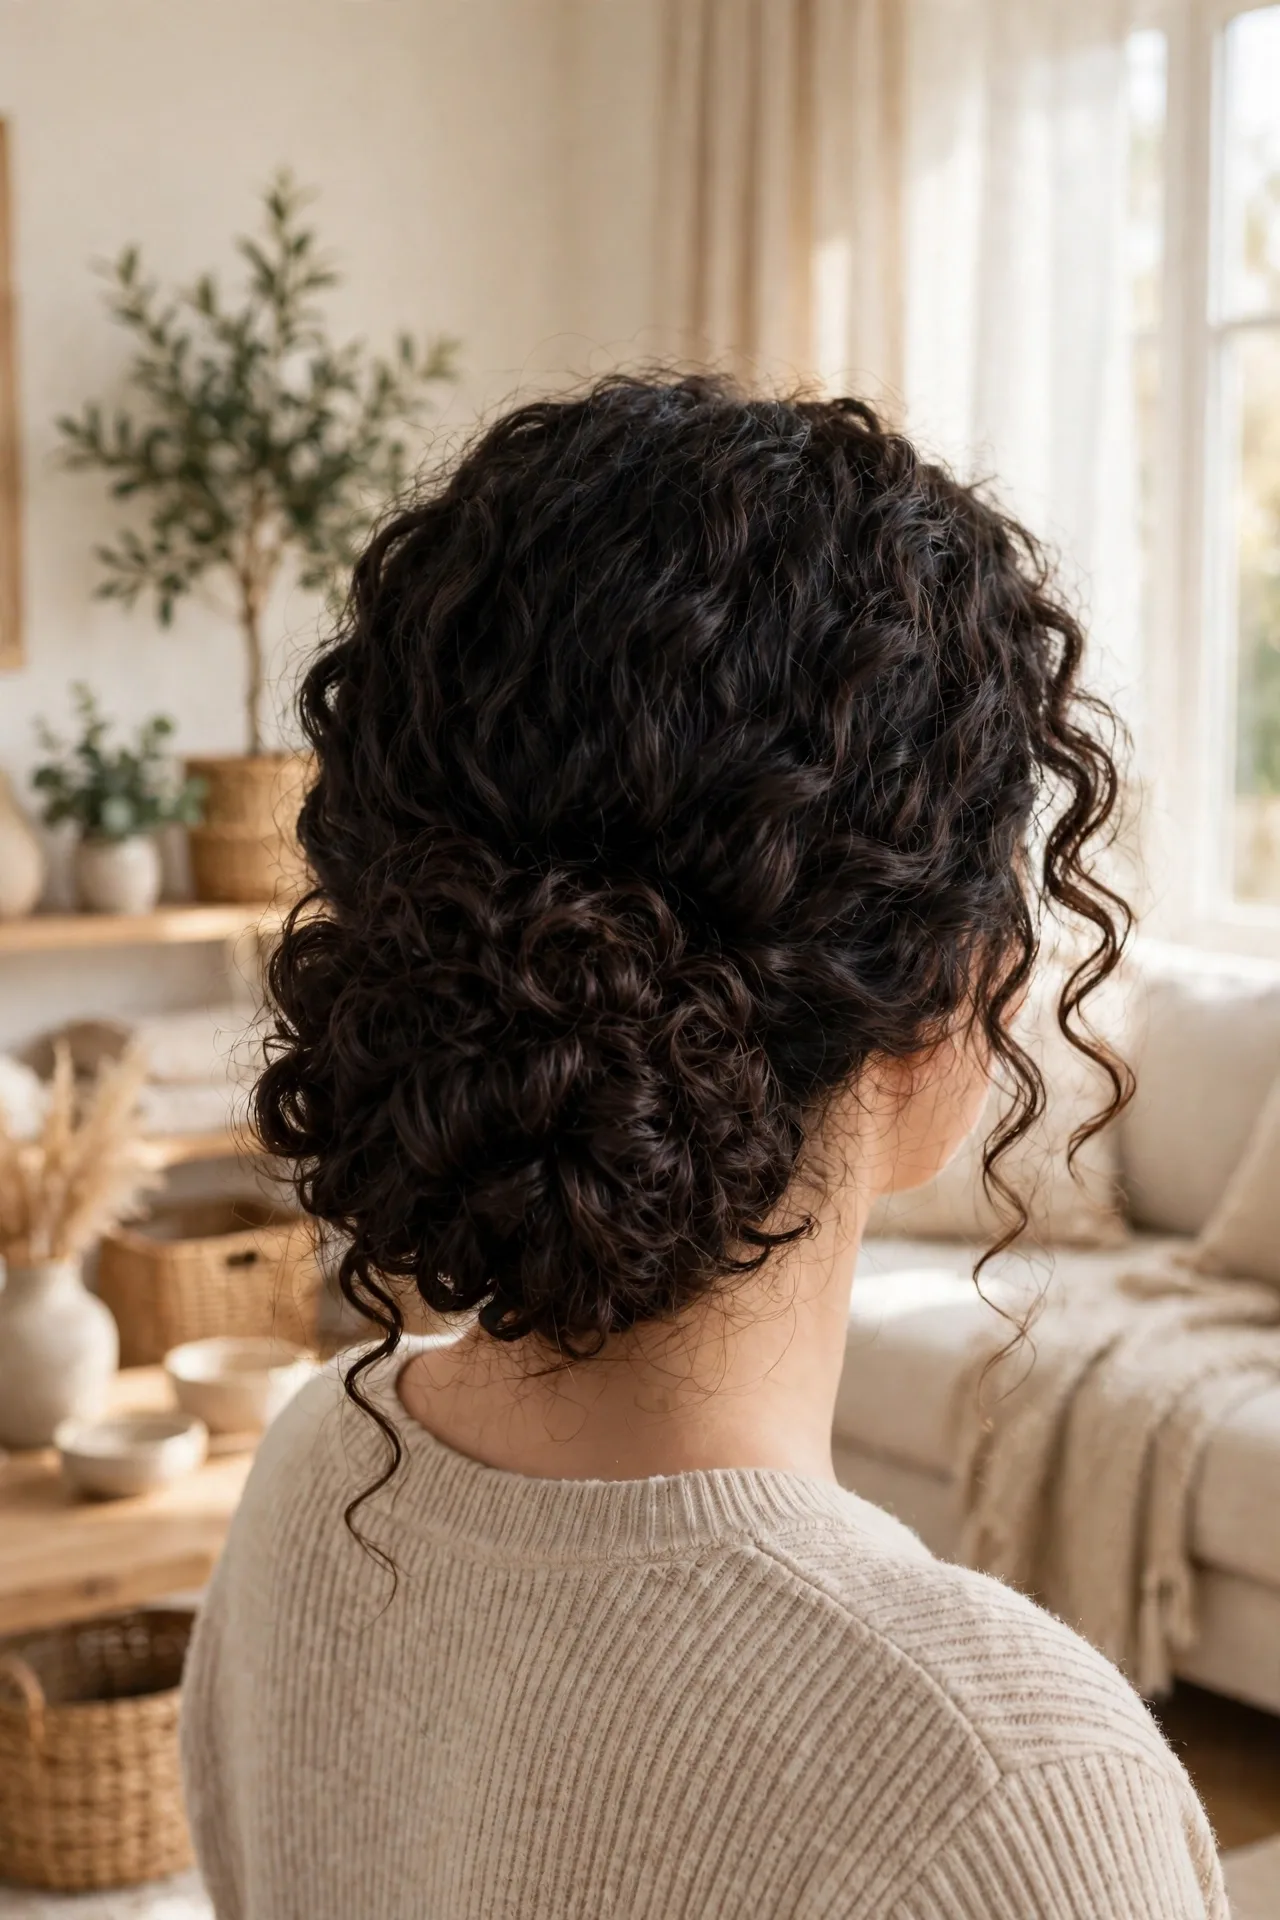
Quick Tip: Gather the curls loosely, since a tight gather pulls the curls flat and loses volume.
Curls give the chignon volume that straight hair cannot match, and the knot needs no extra padding. Gather the curls loosely at the nape, twist them once, and pin the coil. The curls fill out the knot on their own, and the shape holds well because the curls grip each other. It suits curly and coily hair best, and it works on medium and long hair. The style takes about six minutes, and it holds all day with two pins.
BEFORE
Curls loose with no shape
AFTER
Curls gathered into a full low knot
Half Up Chignon
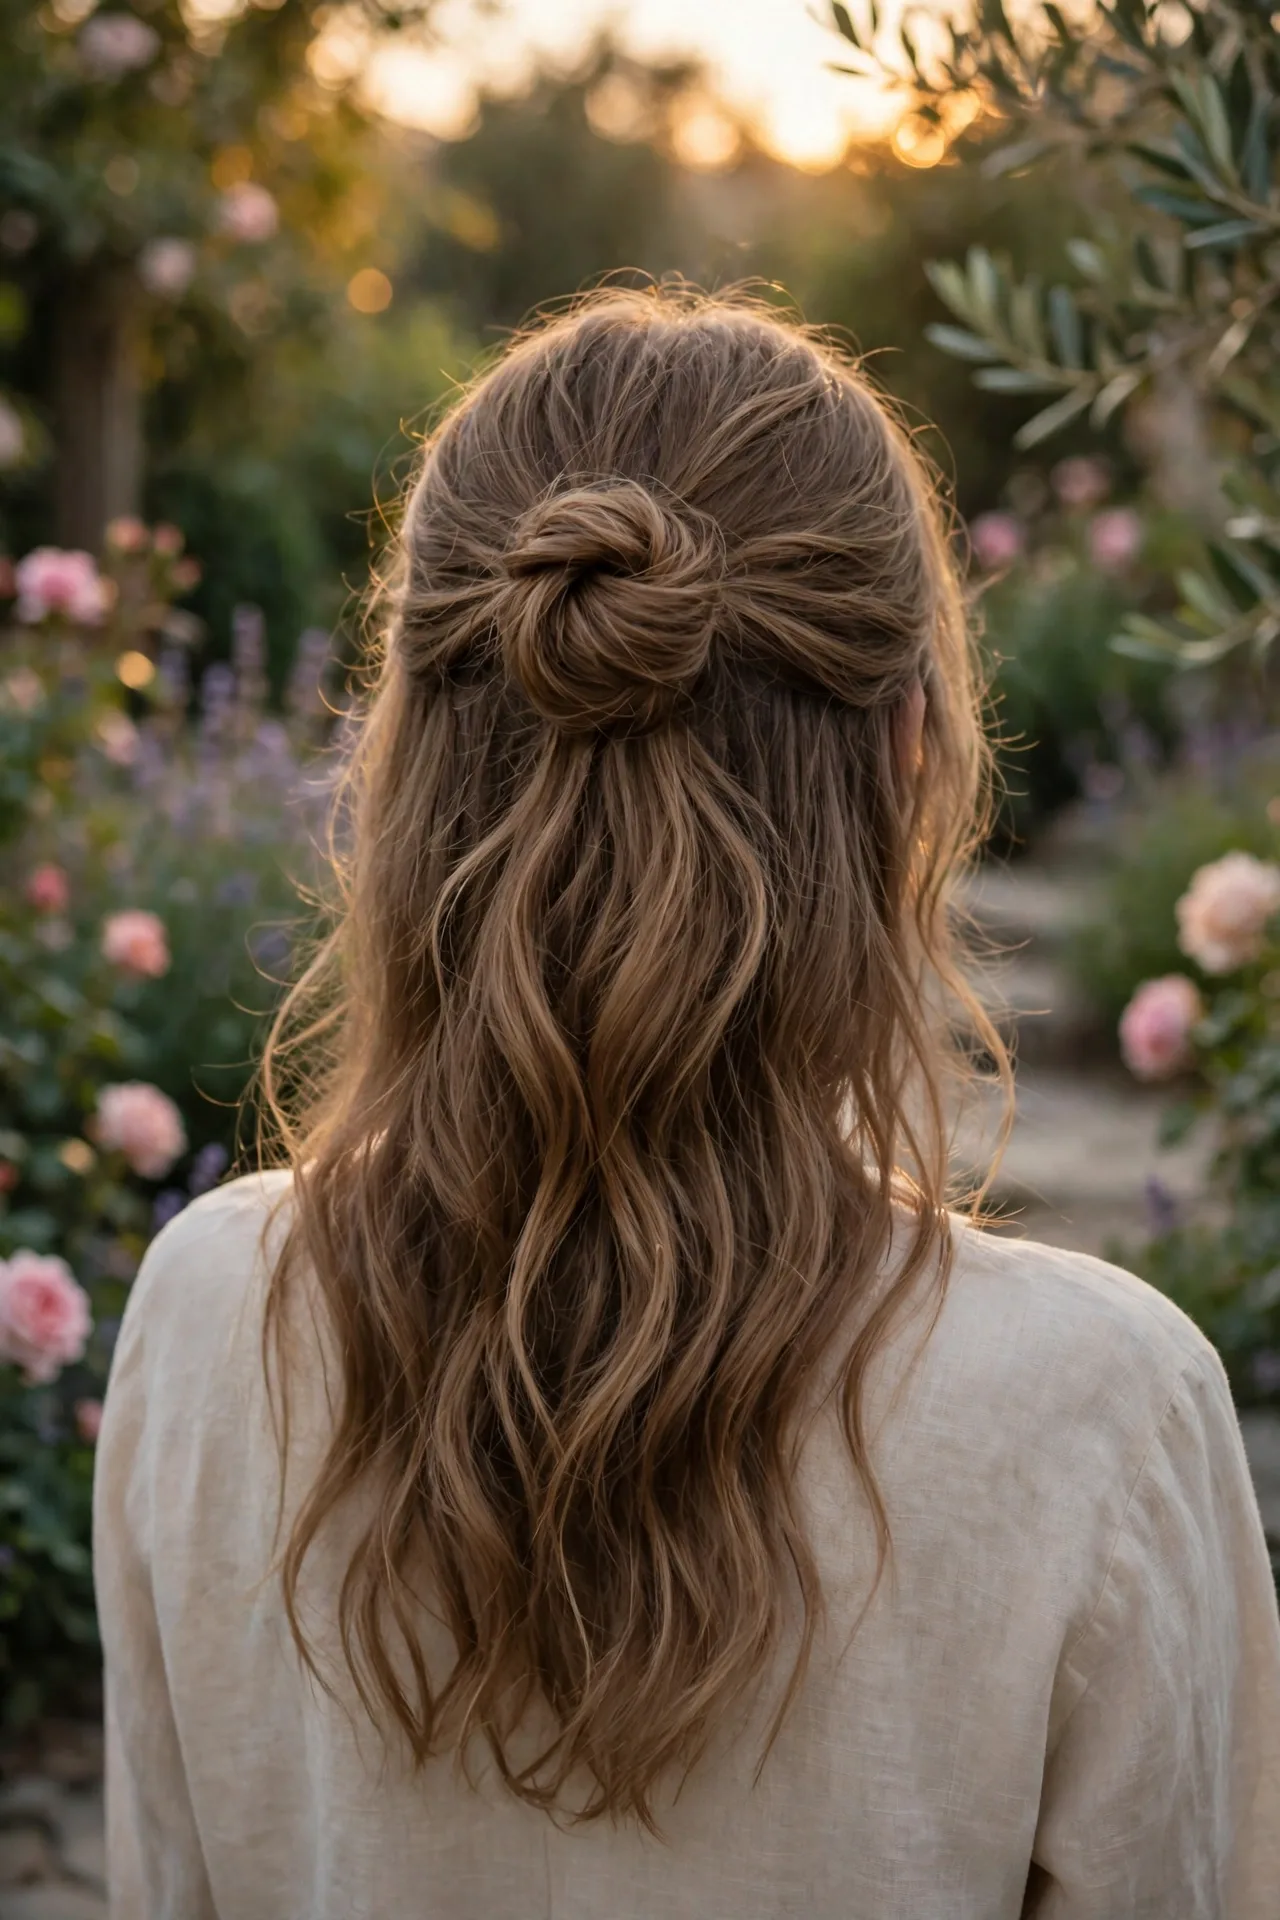
BEFORE: the top half hangs loose and slides into your face. AFTER: a small chignon at the crown holds the top half up, with the rest falling free.
The half up chignon gathers only the top half into a small knot at the crown, and the rest of the hair falls free below it. The style suits long hair best, since the lower half needs length to fall well, and it works on straight, wavy and curly hair. Gather the top half, twist it into a small coil, and pin it at the crown. The style takes about five minutes, and it holds well on second-day hair.
Checklist
☐ Two bobby pins
☐ One small elastic
☐ A light hold spray
Gibson Tuck Chignon
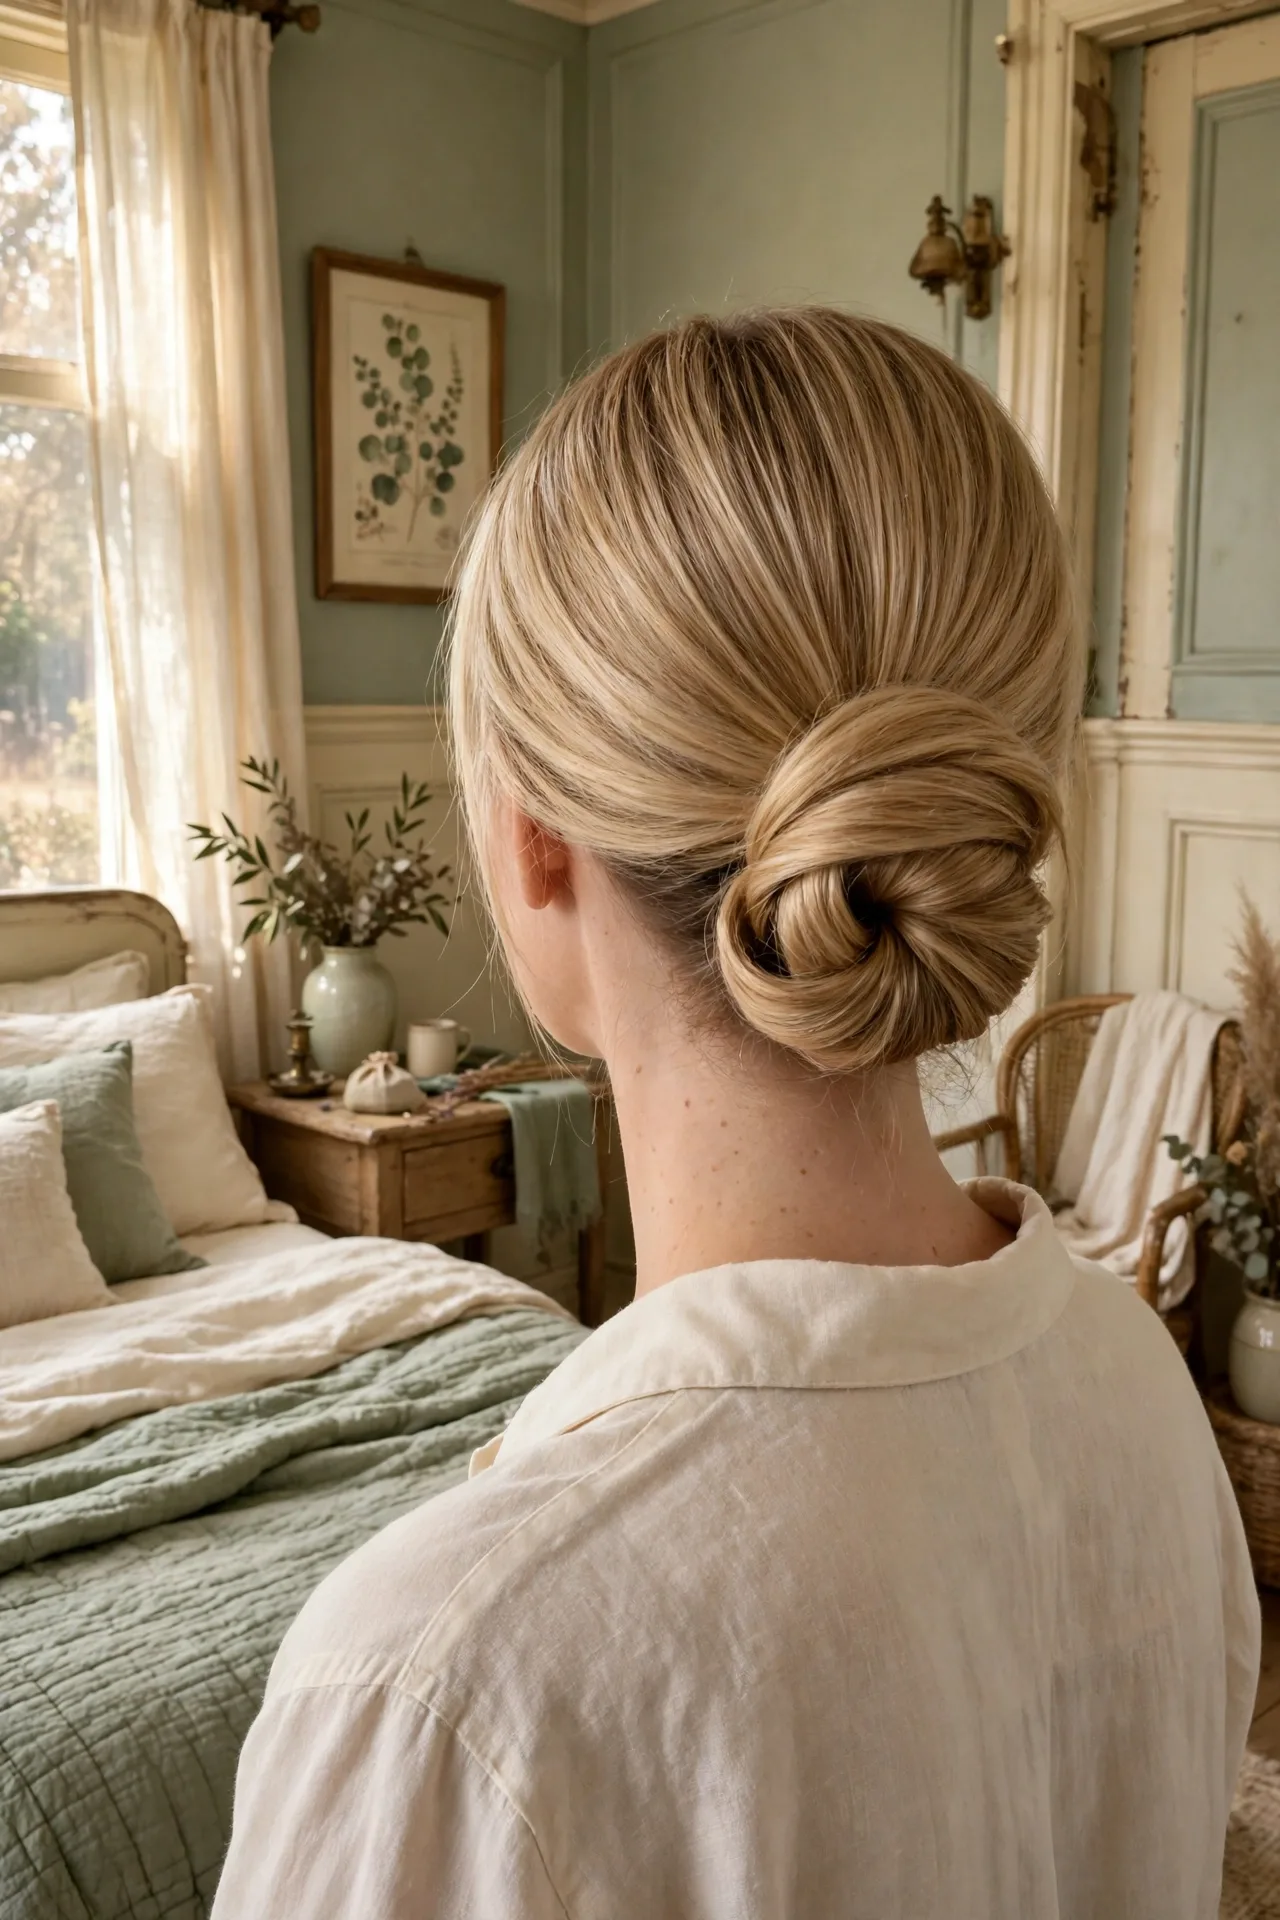
1. Part the hair in the middle and gather it low at the nape.
2. Roll the hair up and tuck the ends into a pocket at the nape.
3. Pin the tuck and smooth the top with a brush.
4. Pull two face-framing pieces out for softness.
The Gibson tuck rolls the hair up into a pocket at the nape, with no visible knot. The tuck suits vintage looks and formal events, since the shape reads as classic. It works on medium and long hair, and it suits straight hair best, since the smooth surface shows the tuck. The style takes about eight minutes, and it holds well with a few pins along the tuck.
DO
Tuck the ends deep into the pocket, so they stay hidden
DON’T
Roll the tuck too loosely, since a loose tuck unrolls by midday
Sculpted Evening Chignon
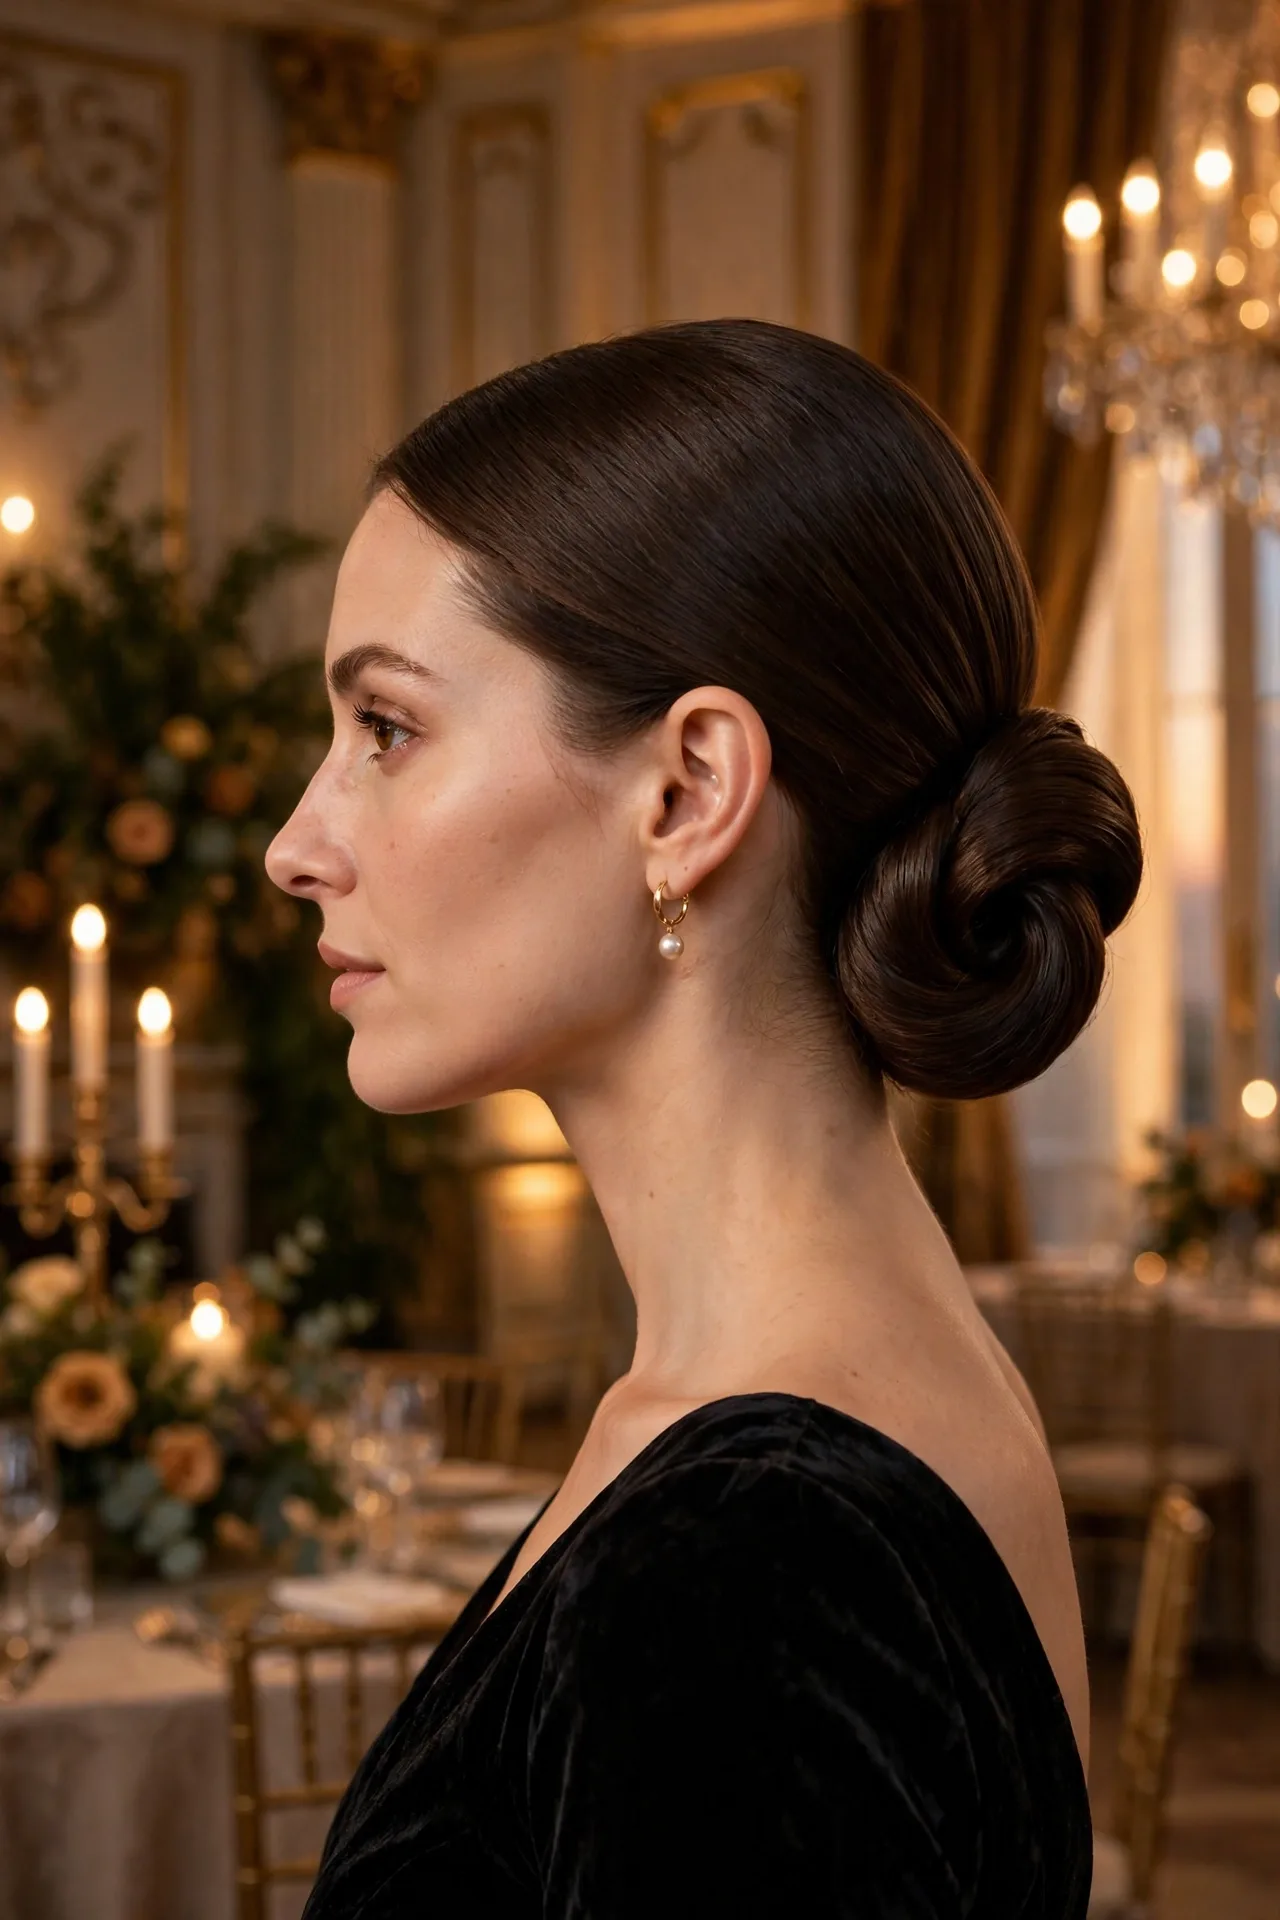
DO: smooth the top with gel, so the sculpted shape stays clean. DON’T: add loose pieces, since the sculpted look needs a clean line.
The sculpted evening chignon is the most polished version on this list, with a smooth top, a firm coil and a neat finish. It suits galas, black tie events and formal weddings, since the shape holds its line for hours. Gather the hair at the nape, twist it into a firm coil, and pin the coil flat. A small amount of gel on the top smooths flyaways, and a light hold spray sets the shape. The style takes about twelve minutes, and it holds all evening on straight hair.
At a glance
Best for: straight hair
Time: 12 minutes
Hold: all evening with three pins
Boho Chignon
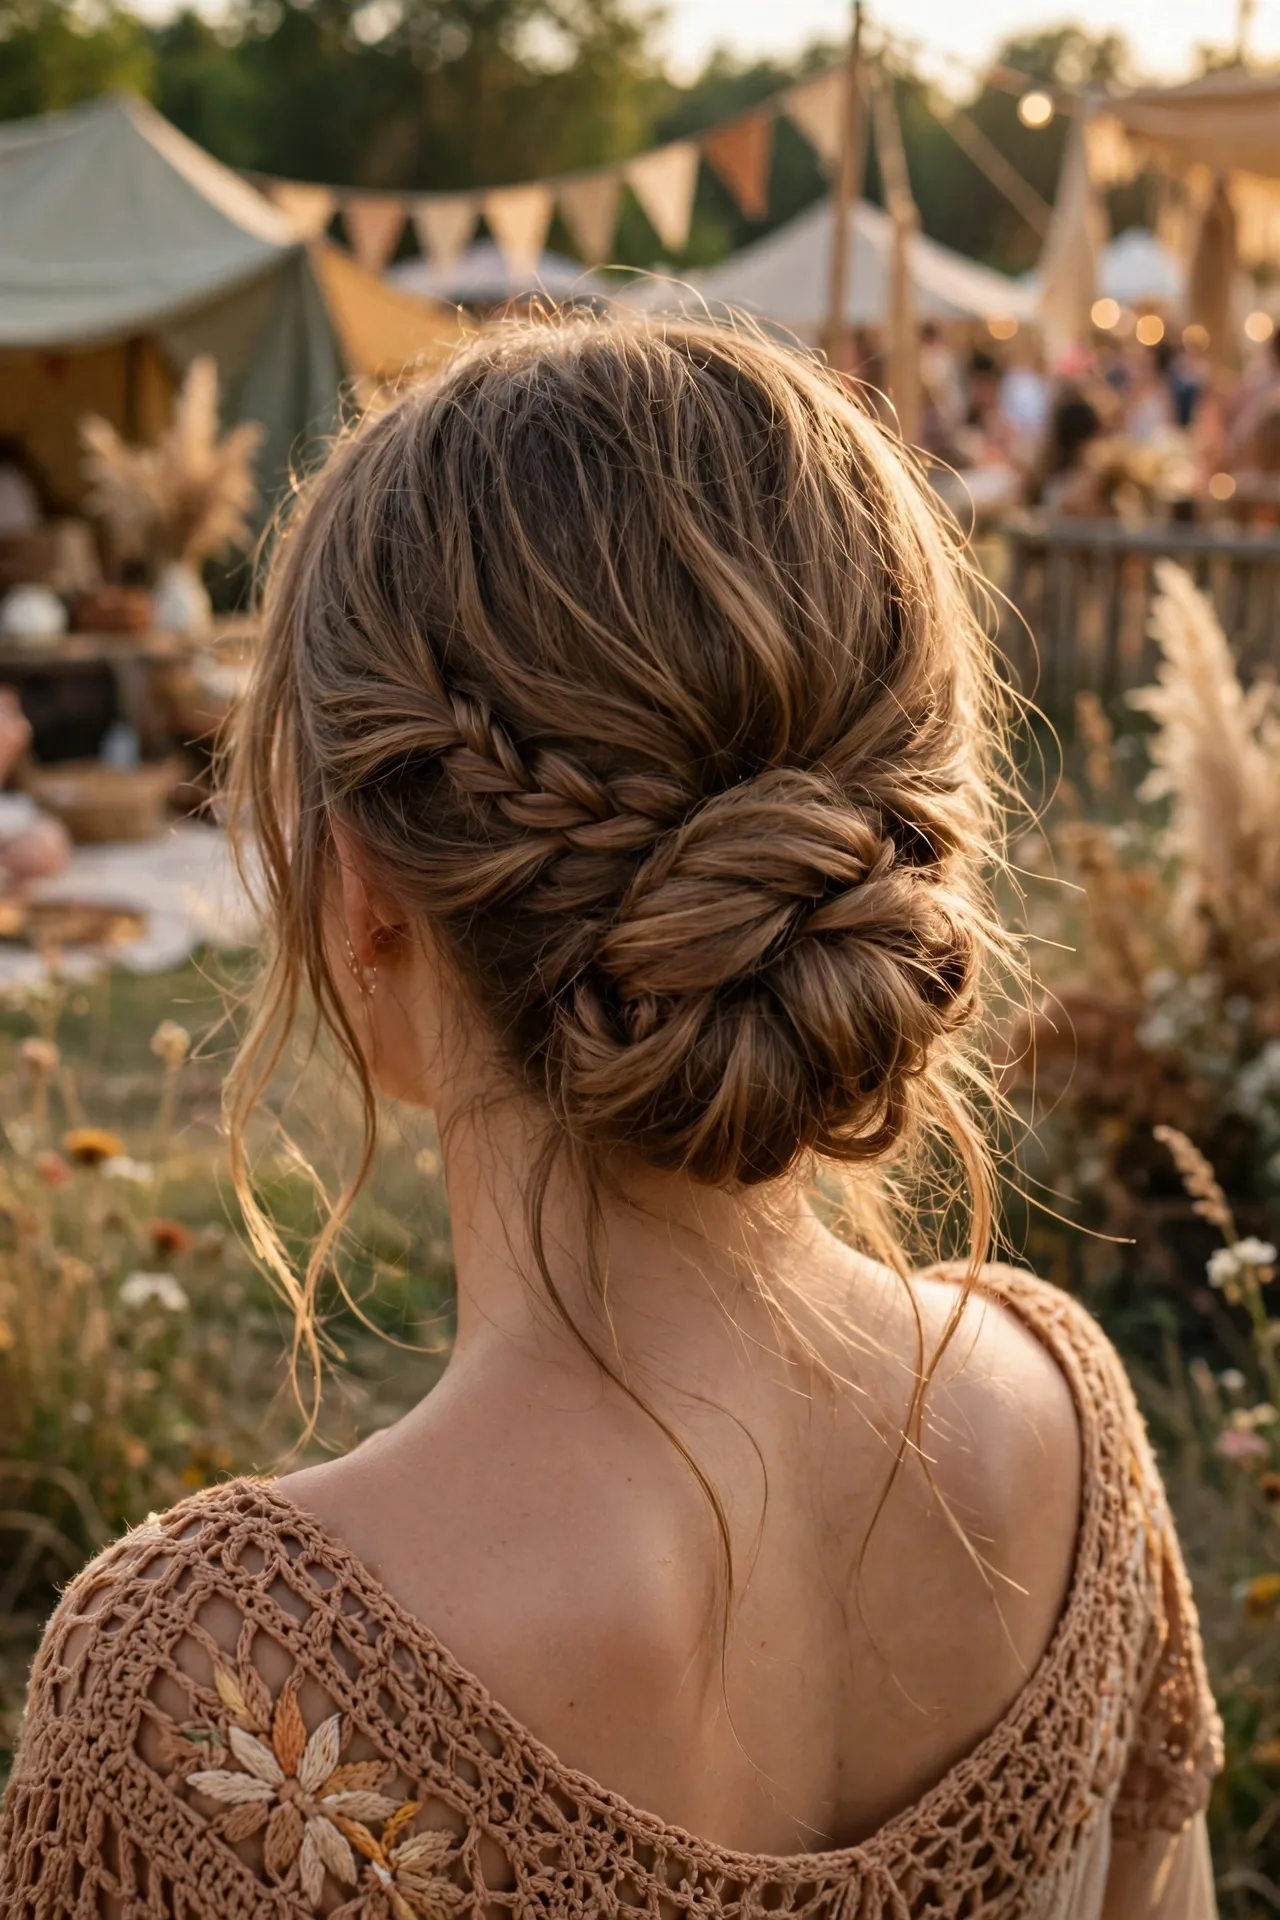
Best for: festivals and summer days. Time: 9 minutes. Hold: all day with three pins.
A boho chignon keeps the knot loose, with a small braid woven in and a few strands left free around the face. The braid adds texture, and the loose strands soften the shape. It suits festivals, holidays and summer days, and it works on long hair best, since the braid needs length to cross. It suits wavy and curly hair, where the natural texture fills out the braid. The style takes about nine minutes, and it holds all day because the braid supports the knot.
Tip: Weave the braid in loosely, so it sits on top of the knot instead of pulling it tight.
Bridal Low Chignon
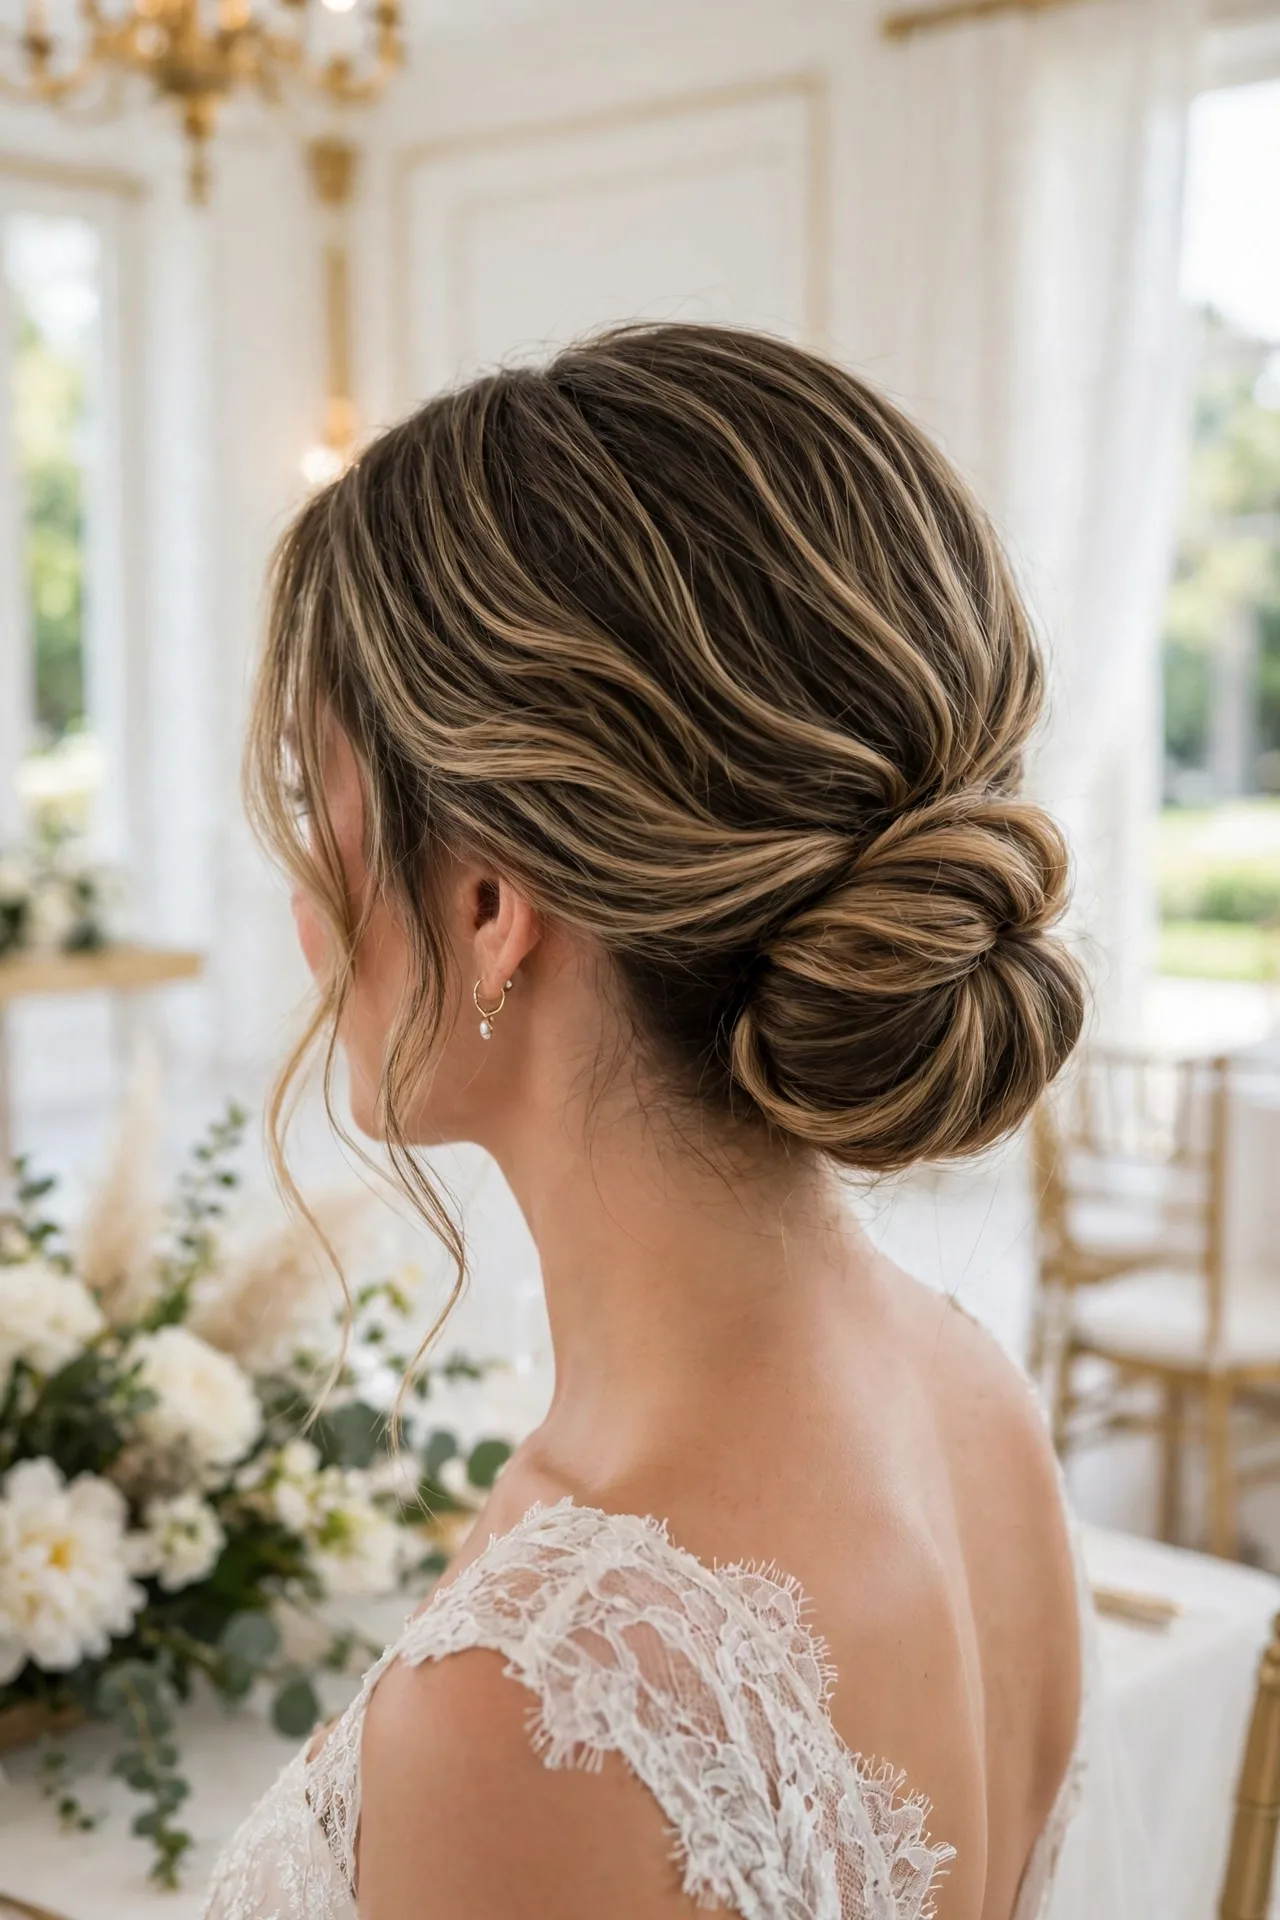
The bridal low chignon is a smooth knot at the nape with a centre part and a few soft pieces at the face. It suits weddings because it holds for hours, photographs well from every angle, and leaves room for a veil or a hairpiece. The knot sits low enough to balance a veil, and the smooth top gives the style a calm, finished look.
Gather the hair at the nape, twist it into a coil, and pin the coil flat. Add a light hold spray and carry two spare pins for touch-ups during the day. The style takes about ten minutes, and it holds through the ceremony and the last dance with two pins.
Key takeaway: a smooth low knot with a centre part holds all day, photographs well, and leaves room for a veil.
Final Thoughts
These chignon hairstyles all share one thing: they keep your hair up and out of the way without giving up softness. The best one for you is the one that matches your hair type, your time and your day. Start with a version that takes five minutes and two pins, and add a braid or a twist once the base feels natural. Save this list for the next time you need a style that works from morning to night, and pin the version you want to try first.
Frequently Asked Questions
How do I keep a chignon from slipping?
Start with hair that has a little texture, since clean, slippery hair lets pins slide out. A light texturizing spray on the top section before you pin gives the pins grip, and crossing two pins in an X shape holds twice as well as one pin on its own.
Does a chignon work on fine hair?
It works on fine hair when the knot has texture to grip. A braided or knotted version holds better than a smooth coil, and a light texturizing spray on the lengths before you start gives the pins something to hold.
What is the best chignon for a wedding?
A bridal low chignon suits weddings best, since it holds for hours and leaves room for a veil. A pearl pin chignon and a braided crown chignon also suit weddings, since they read as formal and hold their shape.
Can I wear a chignon with short hair?
It works on hair that reaches the chin or longer, as long as the hair at the nape is long enough to gather and pin. Short hair suits the low knot chignon and the half up chignon best, since those versions need the least length.
How long does a chignon take to do?
Most versions take between four and twelve minutes. The low knot chignon takes about four minutes, and the double braid chignon takes about twelve. The rest fall in between, so there is a version for every morning.