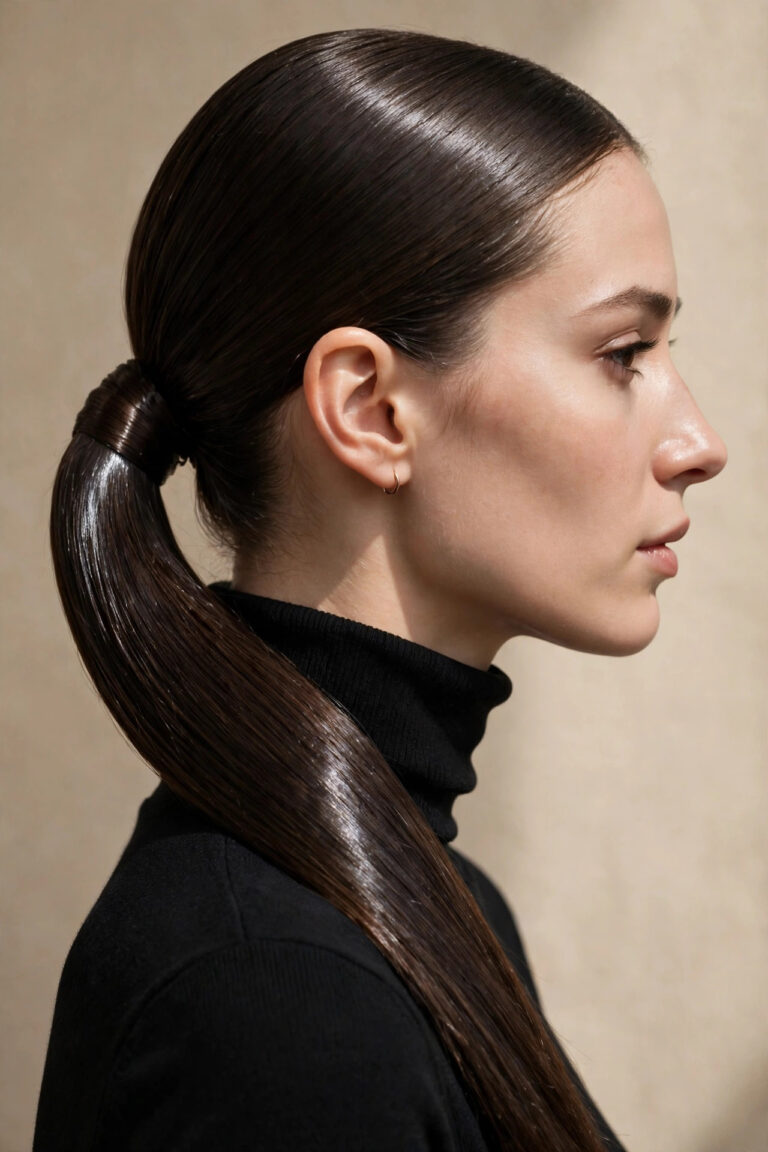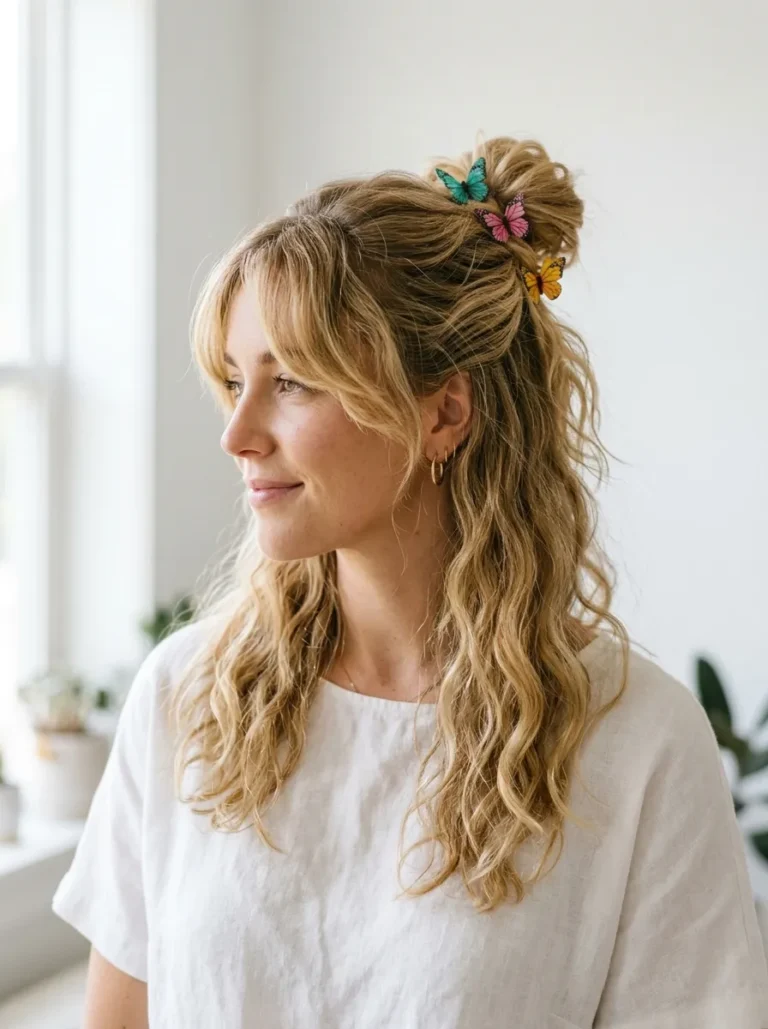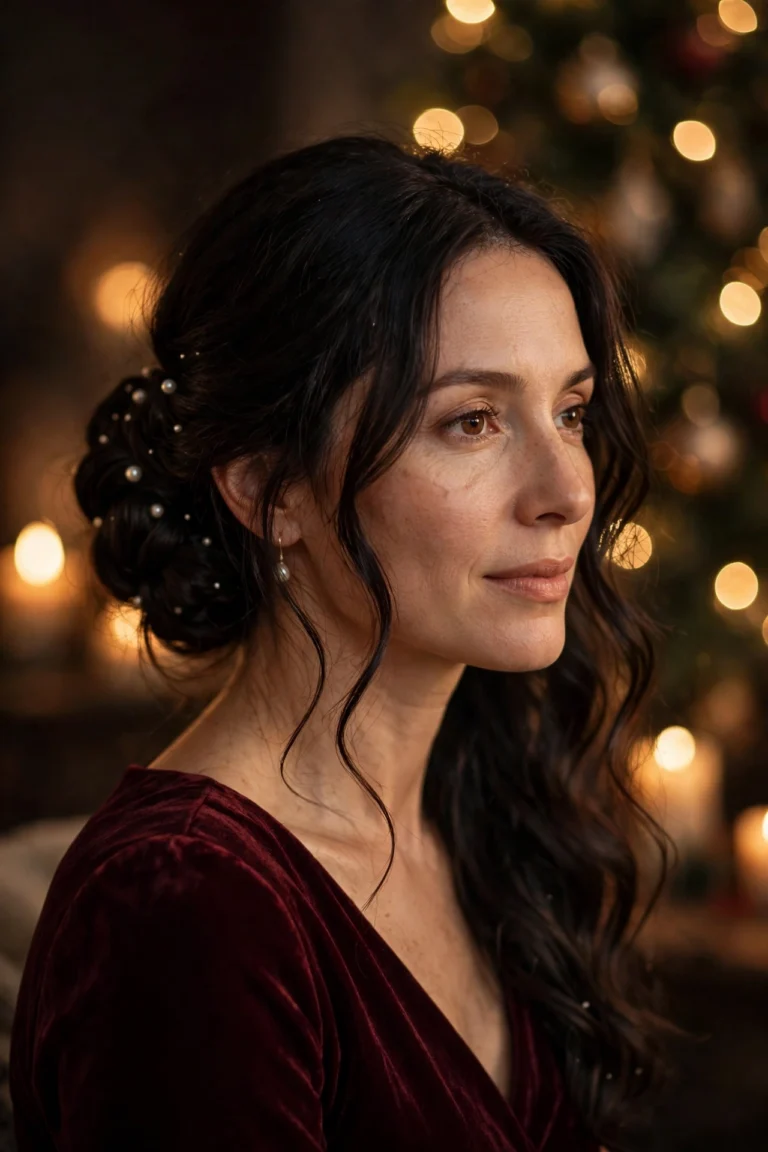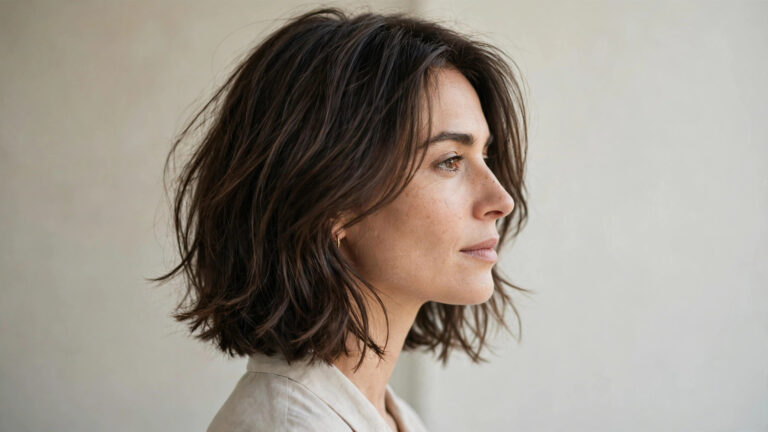
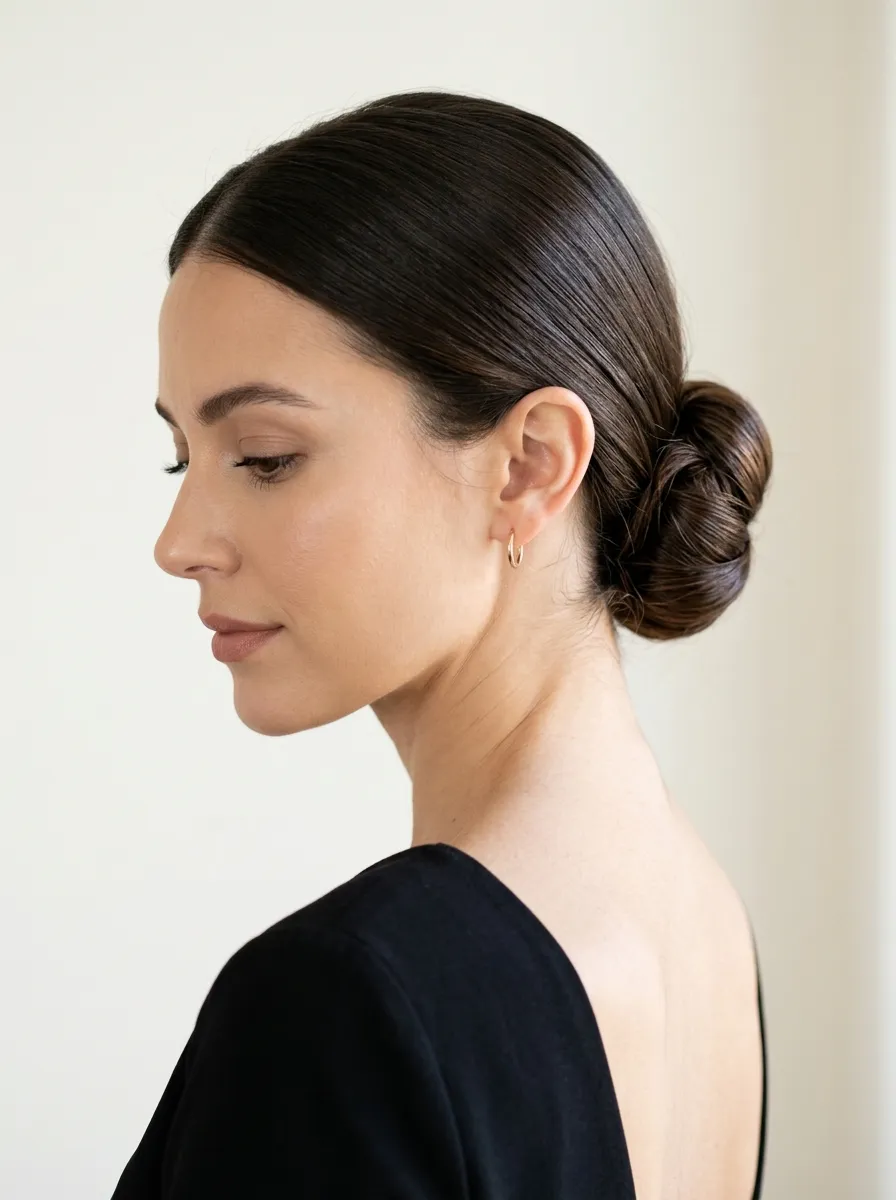
20 Elegant Bun Hairstyles That Never Go Out of Style
Elegant bun hairstyles have outlasted every hair trend cycle for a reason: they work. They hold up through a long wedding reception, a full workday, and everything in between. A well-placed bun can make unwashed hair look intentional and turn a simple outfit into something polished.
The problem is that most people only know one or two ways to twist their hair up. You grab an elastic, wrap, pin, and hope for the best. But there are dozens of bun variations that take the same amount of effort and give you a completely different result.
This list covers 20 bun styles worth learning. Some take five minutes. Others need a few bobby pins and a little patience. All of them look good on camera, hold through real life, and will still feel current five years from now.
Classic Low Chignon
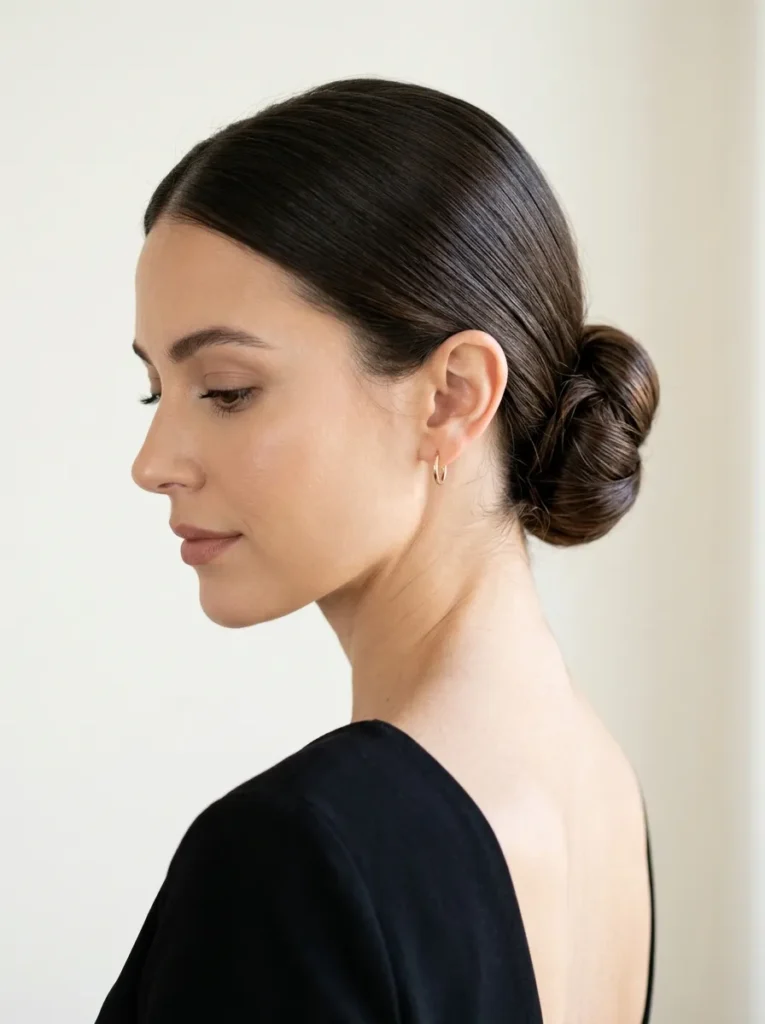
The finished look sits right at the nape, smooth and flat against the neck. No bumps, no flyaways sticking out at odd angles. A clean fold of hair that reads polished without trying too hard.
Part your hair in the center or slightly off to one side. Gather it into a low ponytail, twist the length, and wrap it into a flat coil. Pin from underneath so the pins stay hidden. A light mist of hairspray keeps everything locked. This is the bun that works for job interviews, dinners out, and days when your hair will not cooperate on its own.
Sleek High Ballerina Bun
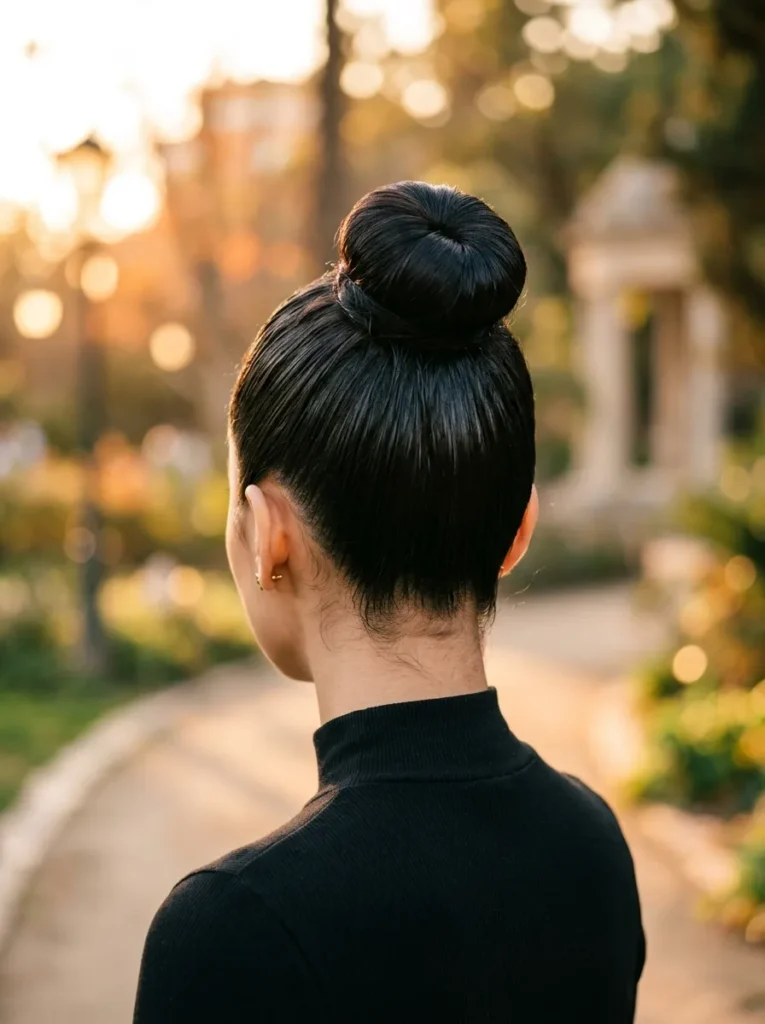
A tight, high bun pulls your entire face into focus. Cheekbones suddenly appear. Your neck looks longer. There is a reason dancers have worn this style for over a century.
Brush all your hair straight back with a boar bristle brush and a strong-hold gel. Pull it into the highest ponytail you can manage, then twist and wrap tightly around the base. Secure with pins and an elastic-free bun ring if your hair is fine. I have tried this on second-day hair and it actually holds better than freshly washed, because the natural oils give the gel something to grip.
Loose French Twist Bun
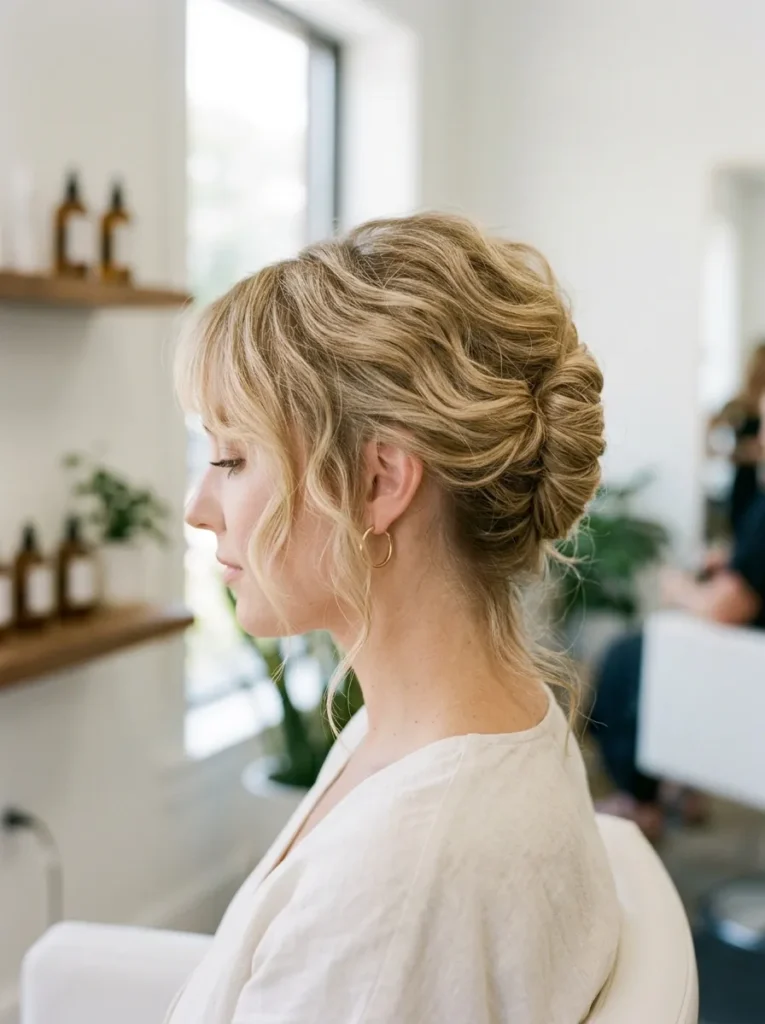
Fine hair never holds a tight bun well. By noon, the elastic starts slipping and the whole thing droops. A loose French twist solves that because the structure comes from the twist itself, not the tension.
Sweep all your hair to one side. Roll it vertically from the ends toward your head, tucking the roll against your scalp as you go. Pin along the seam with U-pins, spacing them about an inch apart. Leave the top slightly loose so it does not flatten against your crown. The result looks like old Hollywood got dressed in a hurry, and that is exactly the appeal.
Braided Wrapped Bun
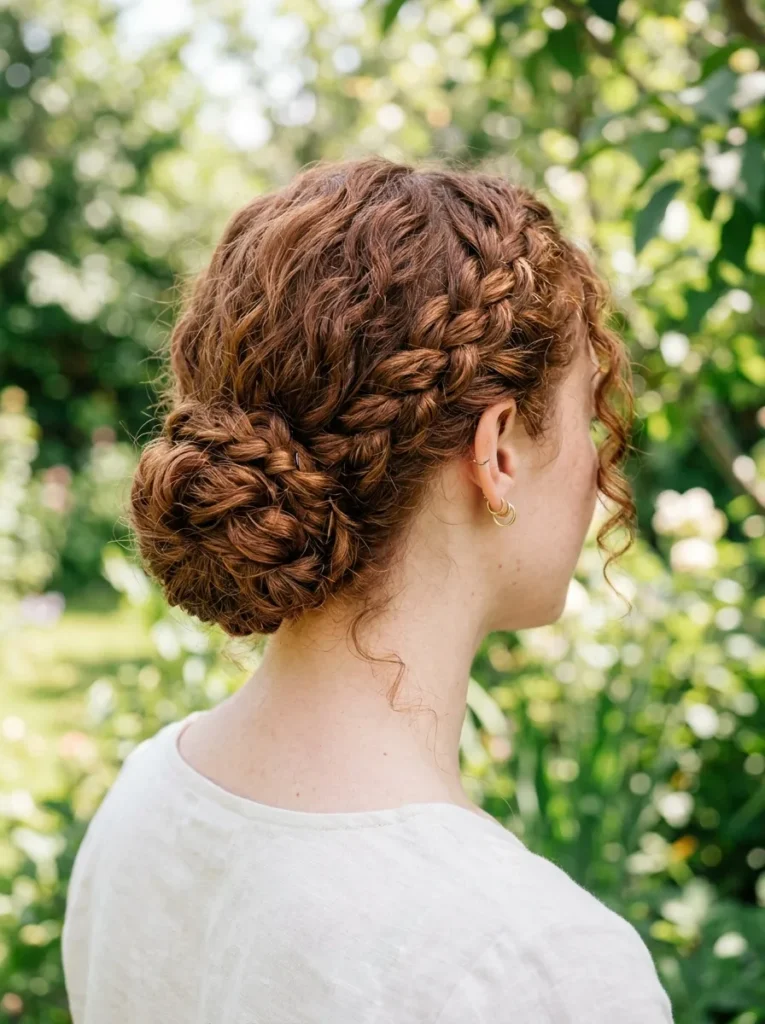
Start with a basic three-strand braid at the nape. That is your foundation. Pancake each section by gently tugging the outer edges so the braid looks twice its real size.
Coil the braid into a flat spiral and pin it in place. The texture of the braid gives this bun a visual weight that a plain twist cannot match. If you want more ideas for braid hairstyles that pair well with buns, there are plenty of options to layer in. This style holds all day without retouching and looks especially good with a few wispy pieces left out around the ears.
Double Twisted Low Bun
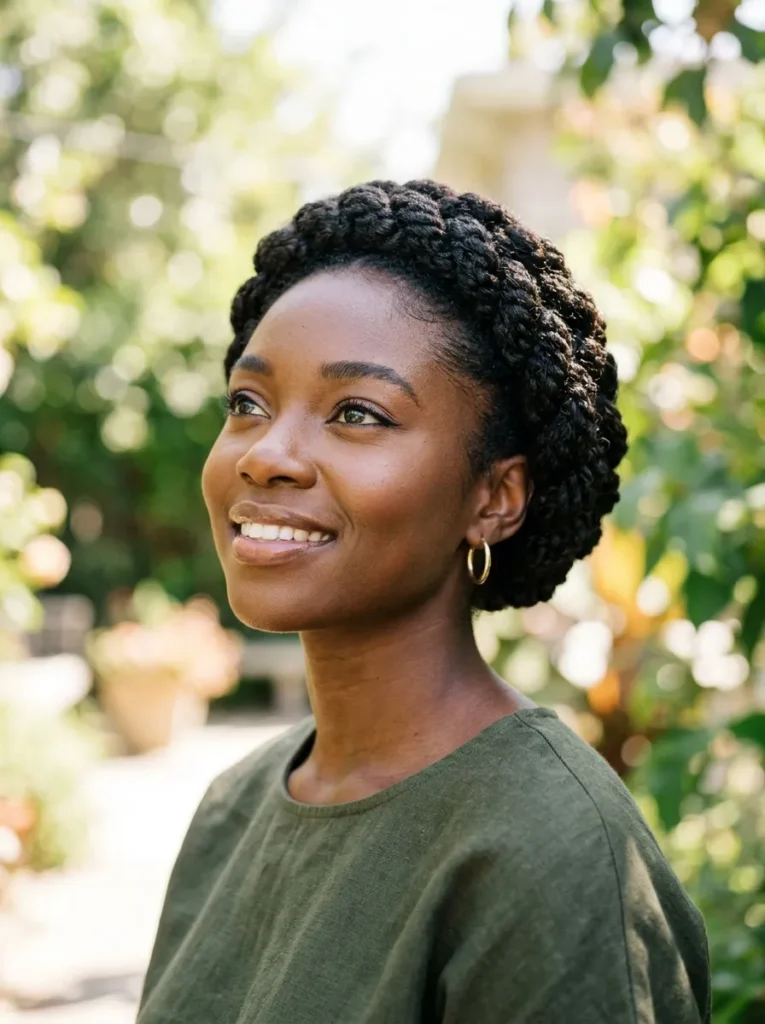
You are running ten minutes behind, your hair is half-dry, and the straightener is buried somewhere in the bathroom drawer. This bun does not care about any of that.
Split your hair into two sections at the back. Twist each one away from your face, then cross them over each other at the nape. Tuck the ends under and pin. The crossed twists create a woven look that appears far more deliberate than the sixty seconds it actually takes. A texturizing spray before you start helps the twists grip each other instead of slipping apart.
💡 Styling Tip
Twist each section loosely rather than tightly. Loose twists create visible texture at the bun, while tight twists flatten out and lose all dimension.
Side Swept Chignon
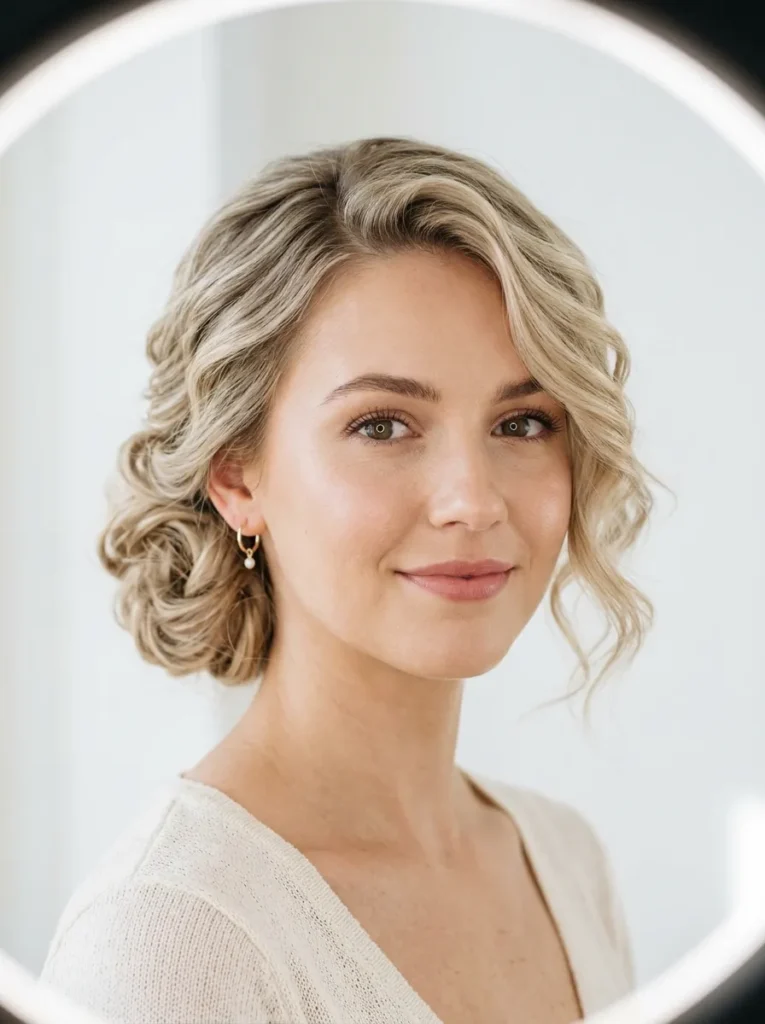
Wavy and curly textures give this style the most natural volume. The slight bend in the hair fills out the shape of the bun without needing to backcomb or add padding.
Sweep everything to one side and gather it low, behind the ear. Twist into a loose coil and pin. The asymmetry changes the whole silhouette of the style. It reads softer than a centered bun and frames the face differently depending on which side you choose. Pair it with a deep side part for the most impact. This works beautifully for weddings and formal events where you want something romantic without a veil or headpiece getting in the way.
Knotted Bun with Tendrils
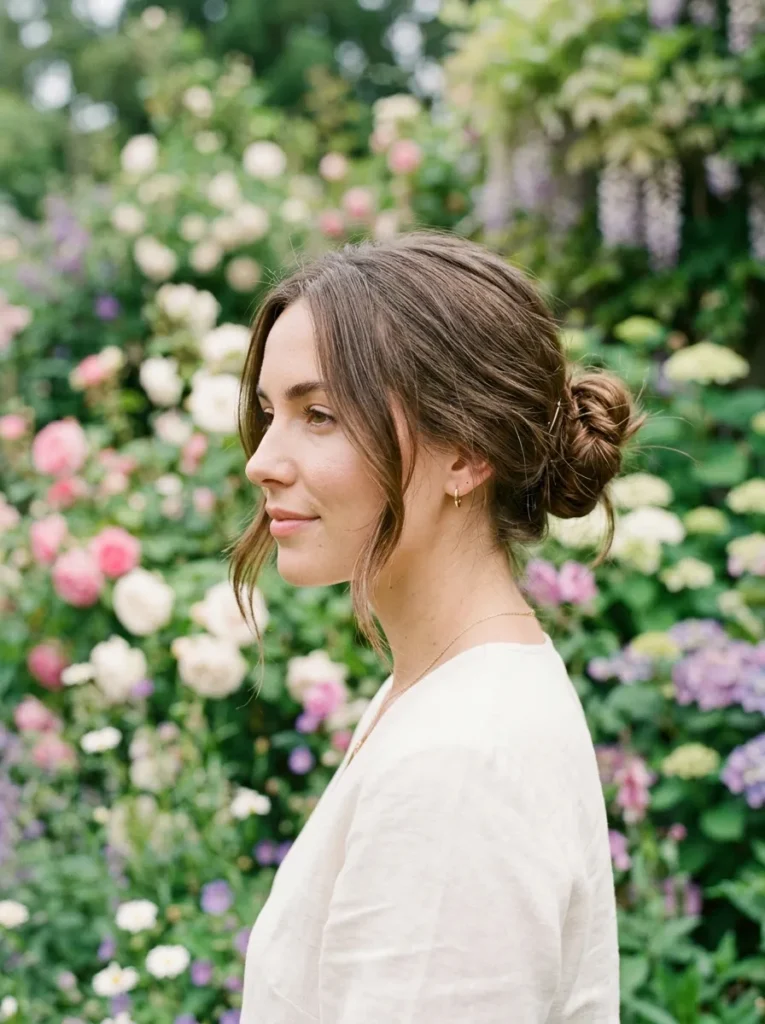
People often confuse a knotted bun with a regular twisted bun, but the difference is real. A knot literally ties the hair into a loose knot before pinning, which creates a different texture at the center.
Pull your hair into a low ponytail. Tie the ponytail into an actual loose knot, like tying a shoelace halfway. Pin the ends underneath. Leave a few face-framing pieces out and curl them lightly with a flat iron. Those tendrils keep the style from looking severe. I have found that pulling out pieces after you pin, rather than leaving them out from the start, gives you more control over exactly where they fall.
Polished Power Bun
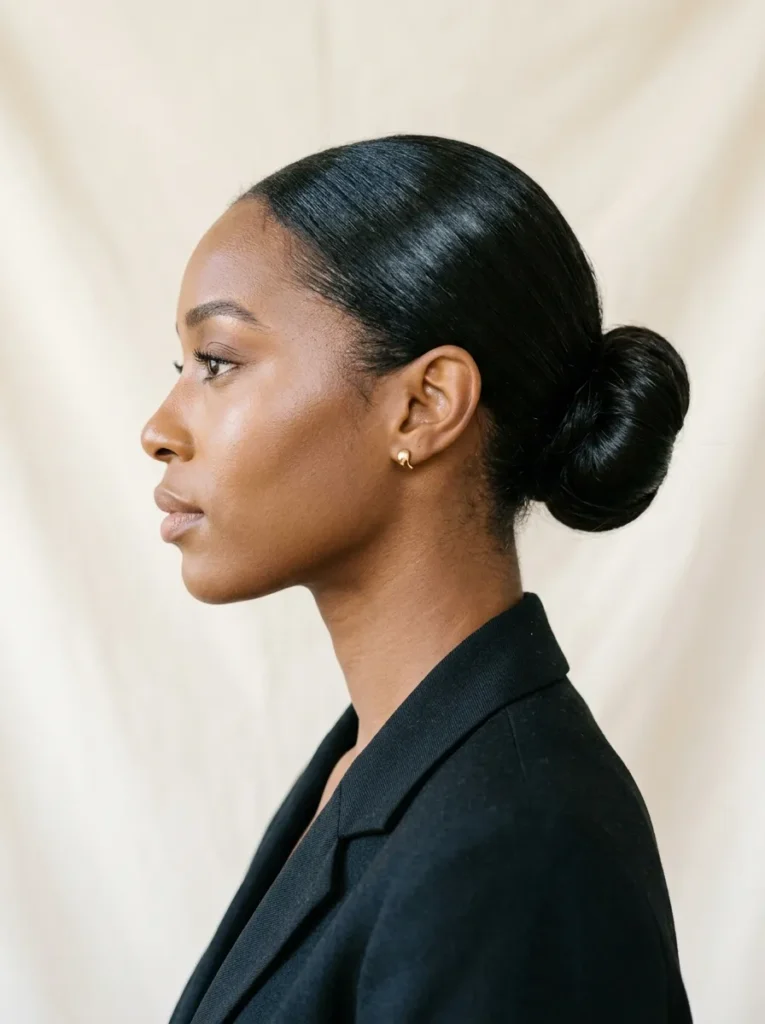
The biggest mistake with a sleek bun is using too much product upfront. You end up with crunchy, stiff hair that looks wet instead of polished.
Apply a smoothing cream to damp hair first. Blow dry it straight with a paddle brush. Then pull it into a mid-height bun, not quite as high as a ballerina bun, sitting at the upper back of the crown. Smooth any flyaways with a clean mascara wand dipped in hairspray. The final shape should look firm but not frozen. This is the bun you wear when you need people to take you seriously, and it works on both straight and heat-styled hair.
Flyaways poking out, bun sitting lopsided, gel leaving visible white flakes along the hairline.
Smooth, reflective surface with a clean hairline. Bun centered and secure. Zero crunch.
Messy Low Bun with Volume
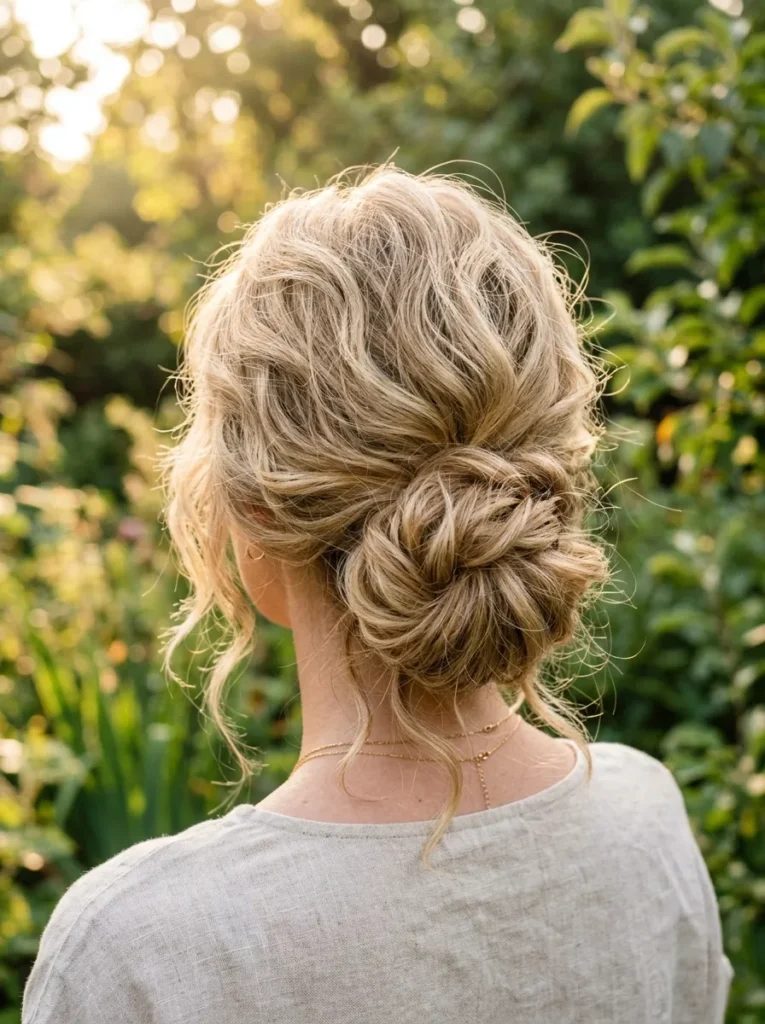
Not every bun needs to be neat. A messy low bun done right looks relaxed and intentional at the same time. The key word is intentional.
Backcomb the crown lightly for height. Gather your hair at the nape without smoothing it down. Twist loosely, wrap once, and pin with the ends sticking out slightly. Pull a few pieces from the crown to create that lived-in shape. If you enjoy elegant updo hairstyles for long hair, this messy version is the casual cousin that still looks dressed up enough for brunch or a gallery opening.
Rolled Updo Bun
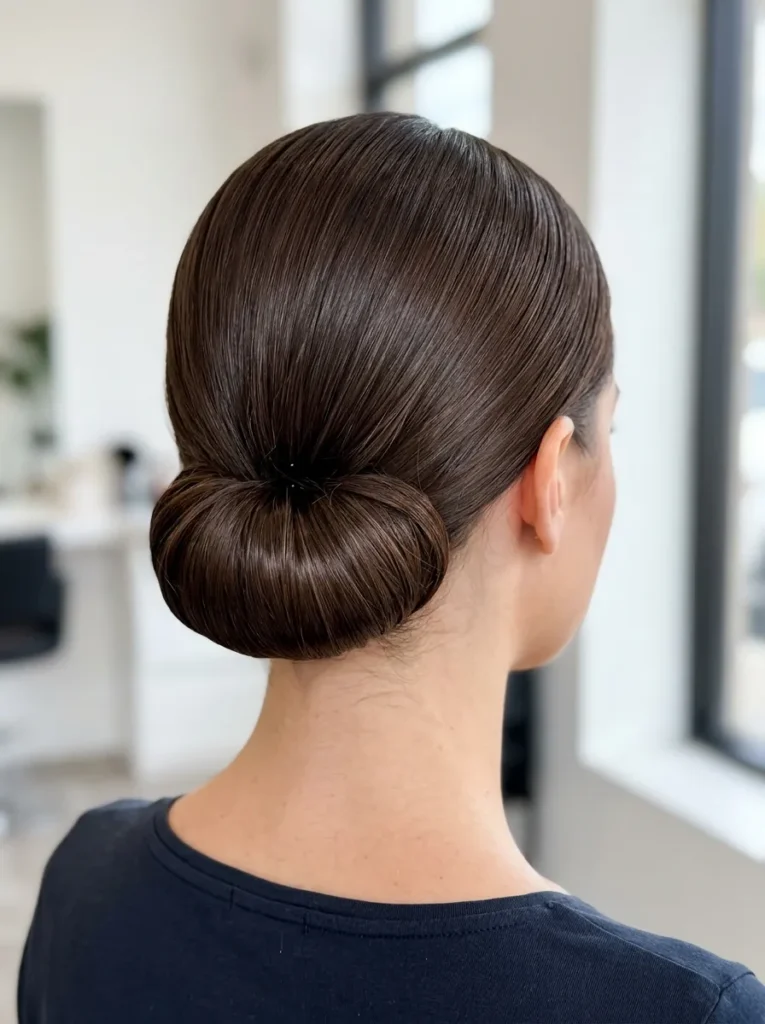
A simple rolling technique turns this into one of the neatest buns you can do without heat. Here is how to get it right.
Gather your hair at the nape. Instead of twisting, roll the ponytail inward by flipping the hair up and tucking it into a pocket against your head. The roll creates a smooth cylinder shape that sits horizontally across the back.
Gather hair into a low ponytail at the nape. Do not use an elastic yet.
Hold the ends and roll the length upward, tucking the hair into a horizontal roll against your head.
Pin along the top and bottom edges of the roll. Mist with hairspray to set the shape.
Twisted Crown Bun
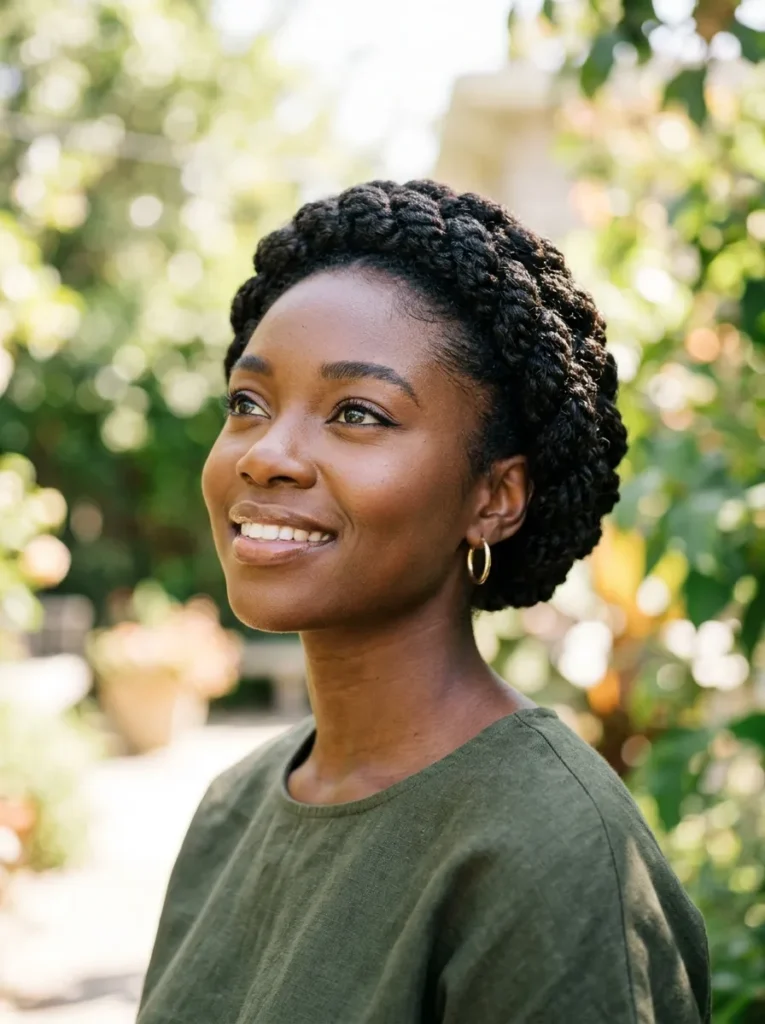
Picture a bun that wraps around the crown of your head like a soft halo. That is what this style creates, and the height it adds is flattering on nearly every face shape.
Divide your hair into two ponytails, one on each side, positioned above ear level. Twist each ponytail, then cross them over the top of your head and pin the ends behind the opposite ear. The criss-cross pattern fills in any thin spots at the crown and gives the illusion of thicker hair. For anyone who loves curly updo ideas, this one looks especially striking on natural curl patterns because the texture adds beautiful dimension to the twist.
Looped Bun with Pins
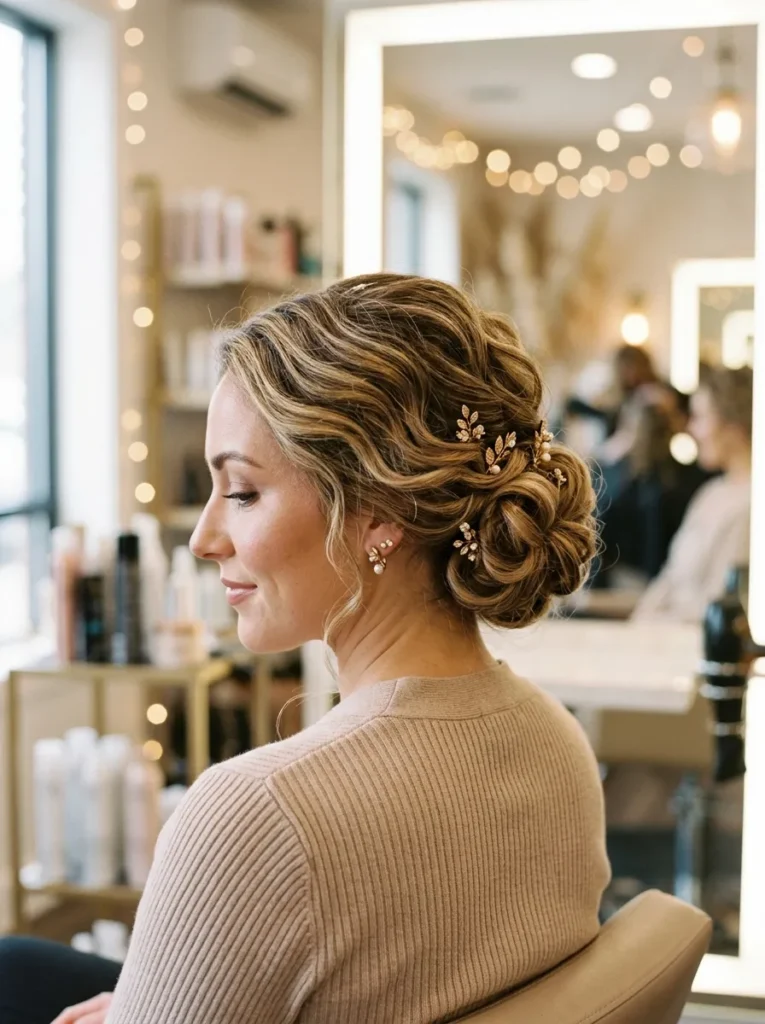
Thin hair disappears inside a wrapped bun. The tighter you twist, the smaller the bun gets, and it ends up looking like a button on the back of your head.
Instead of wrapping, fold your ponytail in half to create a loop. Pin the loop against your head, then spread it open with your fingers and pin the edges outward. The shape is wider and flatter than a twisted bun, which gives the illusion of more hair. Use decorative pins, pearl clips, or small gold barrettes along the base to make the style feel finished. This is one of those styles that photographs much bigger than it feels.
Figure Eight Bun
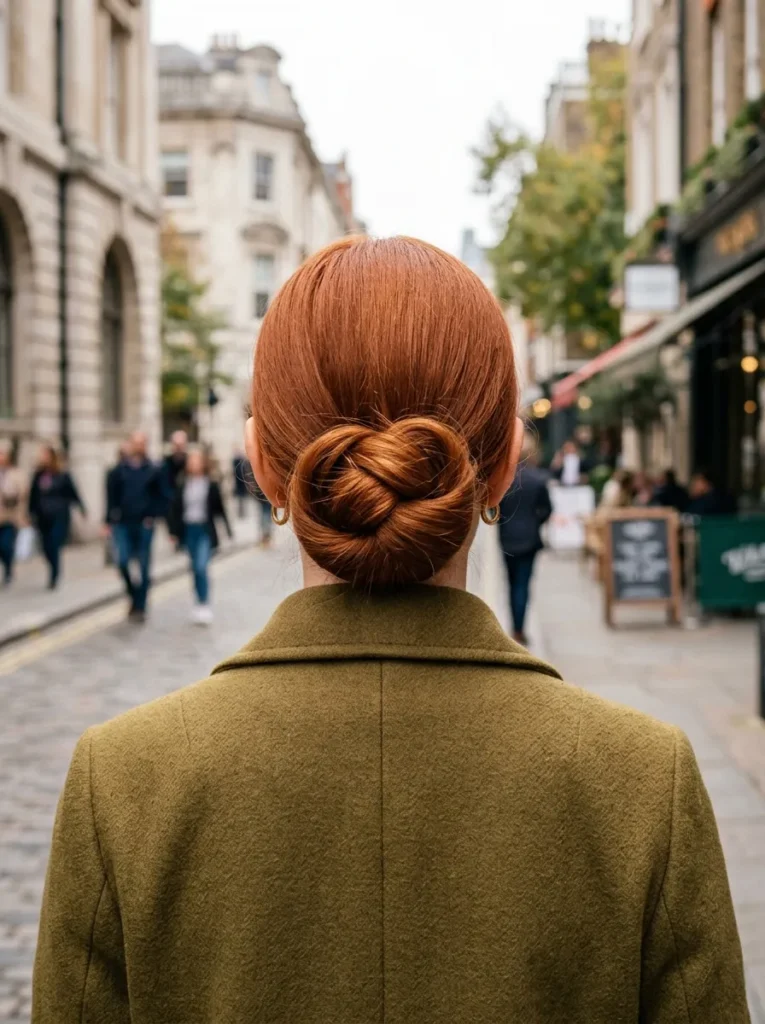
This bun rewards patience. It takes a few tries to master the motion, but once you have it, you can do it in under three minutes with your eyes half-closed.
Start with a low ponytail. Twist the length, then loop it to the right, back to the left, and through the center, forming a sideways figure eight shape. Pin at each crossing point. The overlapping loops create depth and visual interest that a single coil cannot match.
Keep each loop loose and open so the figure eight shape stays visible.
Pin at the crossing points only, not all around the edges.
Do not pull the loops tight or the shape collapses into a regular bun.
Do not use a bun ring. It hides the figure eight entirely.
Soft Ballerina Bun with Ribbon
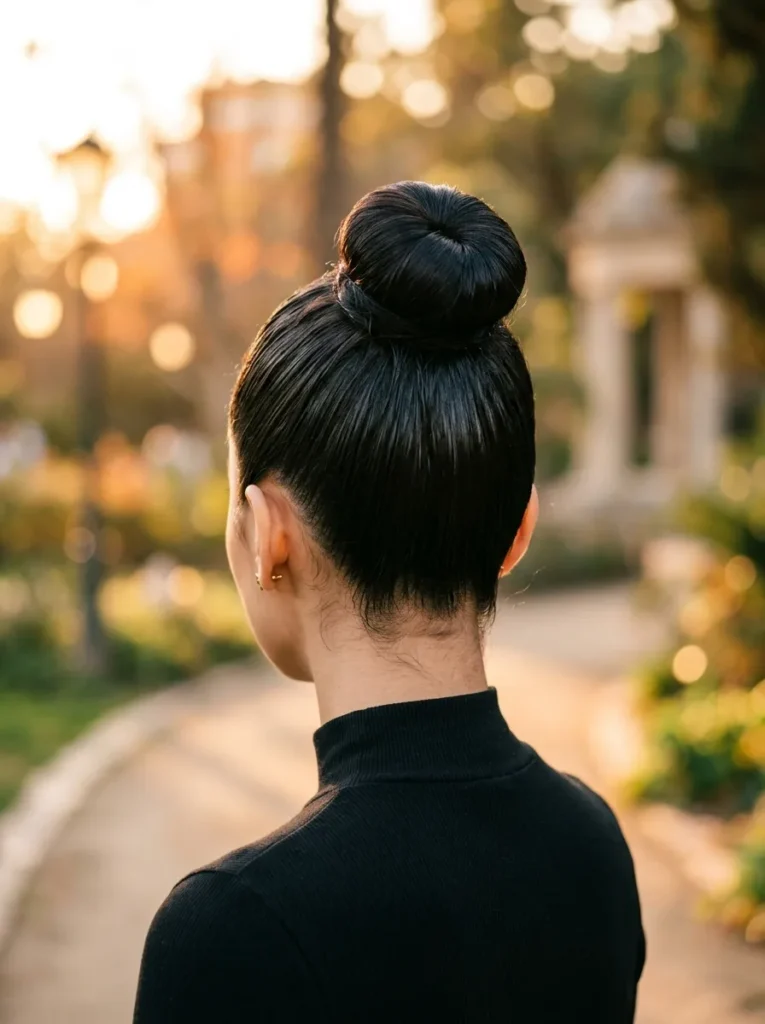
A Saturday morning farmers market, a cotton dress, and a ribbon-wrapped bun. Some styles belong in a specific moment, and this is one of them.
Do a standard ballerina bun at medium height. Before pinning, wrap a thin satin or velvet ribbon around the base two or three times and tie it in a small bow at the bottom. The ribbon adds a focal point that keeps the style from reading too plain. Stick with ribbon that matches your hair color for a subtle touch, or go with a contrasting shade for more visual pop. This one works on all hair lengths from chin-length bobs with a donut form to waist-length hair.
Braided Base Low Bun
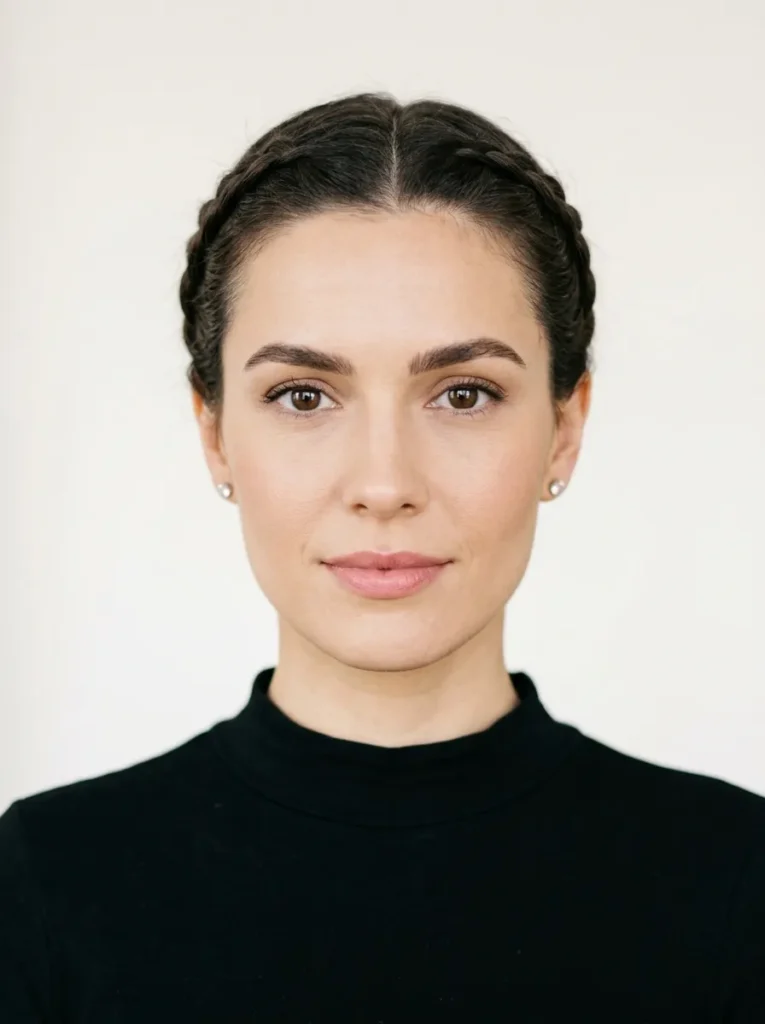
Create two small braids from the front sections of your hair, one on each side. Pull the rest of your hair into a low ponytail at the nape, then add the braids into the ponytail.
Wrap the combined ponytail into a bun and pin. The braids frame the face before disappearing into the bun, which adds structure to the front without making the whole style feel complicated. In my experience, Dutch braids along the hairline hold better than regular braids here because they sit closer to the scalp and do not loosen as quickly throughout the day
What you need
High Topknot with Clean Edges
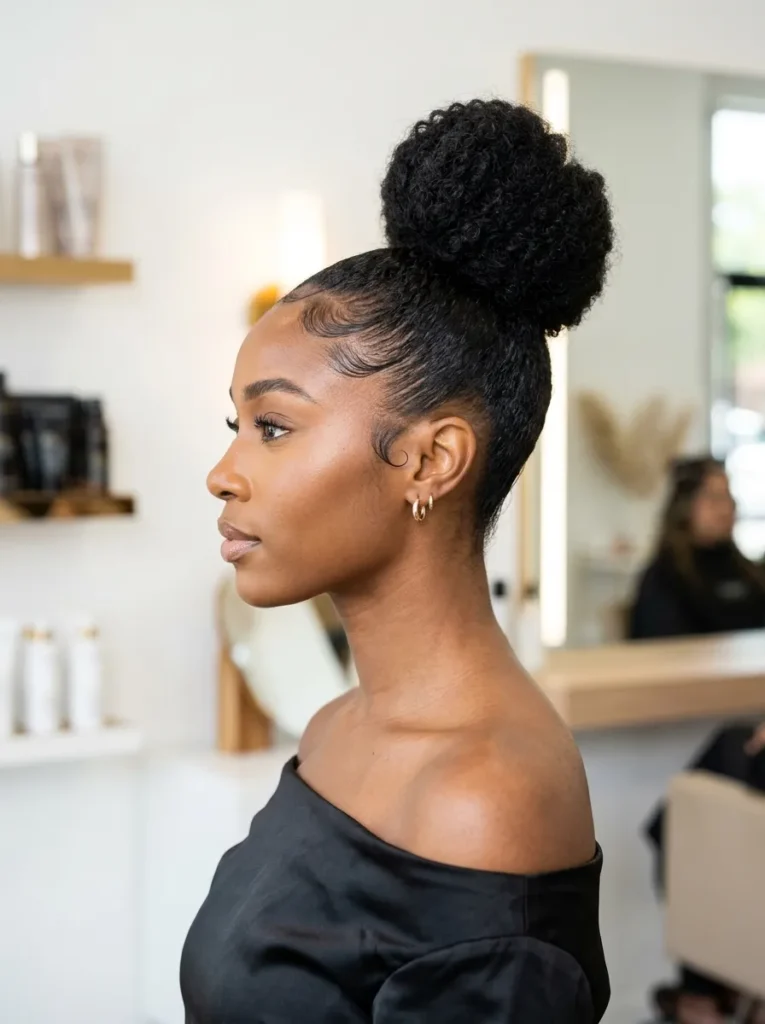
A topknot and a messy bun are often treated as the same thing, but they are not. A topknot sits higher, the twist is tighter, and the edges are laid down smooth. The overall effect is sharper and more deliberate.
Flip your head upside down and brush everything toward the very top of your head. Secure with a strong elastic. Twist the ponytail tightly and wrap it around the base. Pin from multiple angles to keep it centered. Use edge control along the hairline and a soft bristle brush to smooth the baby hairs into place. If you are exploring updos for medium length hair, this topknot is one of the most reliable options because it does not require much length to look full.
Pearl-Pinned Chignon
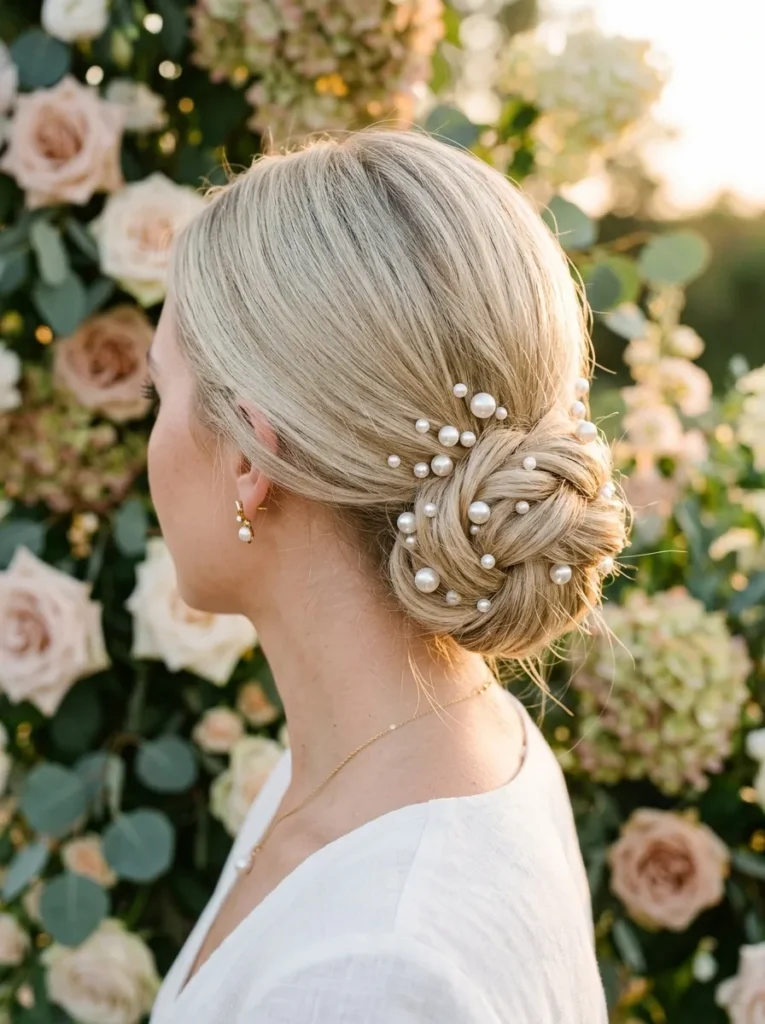
One detail changes the whole personality of a basic bun. Pearl pins turn a regular chignon from everyday to event-ready in about ten seconds.
Style a low chignon using the classic technique. Then place three to five pearl-tipped pins along the edge of the bun, spacing them unevenly for a natural, scattered look. Avoid placing them in a perfect row, which reads costume-like.
Tucked Under Low Bun
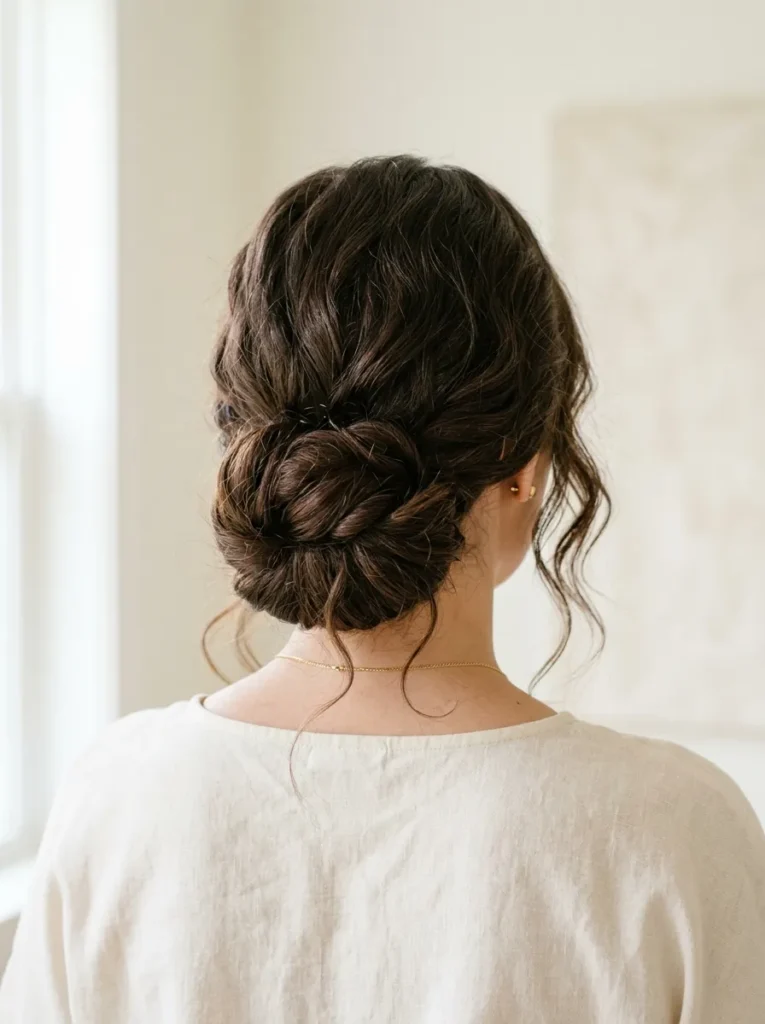
Thick, coarse hair holds this style better than any other texture. The density fills out the tuck naturally, and the weight keeps everything anchored without extra pins.
Part your hair in the center. Twist each side backward toward the nape, crossing the two sections over each other. Tuck all the ends under the crossed twists and pin flat against the neck. The finished shape is wide and low, sitting above the collar. This bun hides all the pins and elastics completely, which makes it look like one of those styles that happened on their own. No decorative clips needed.
Sculptured Swirl Bun
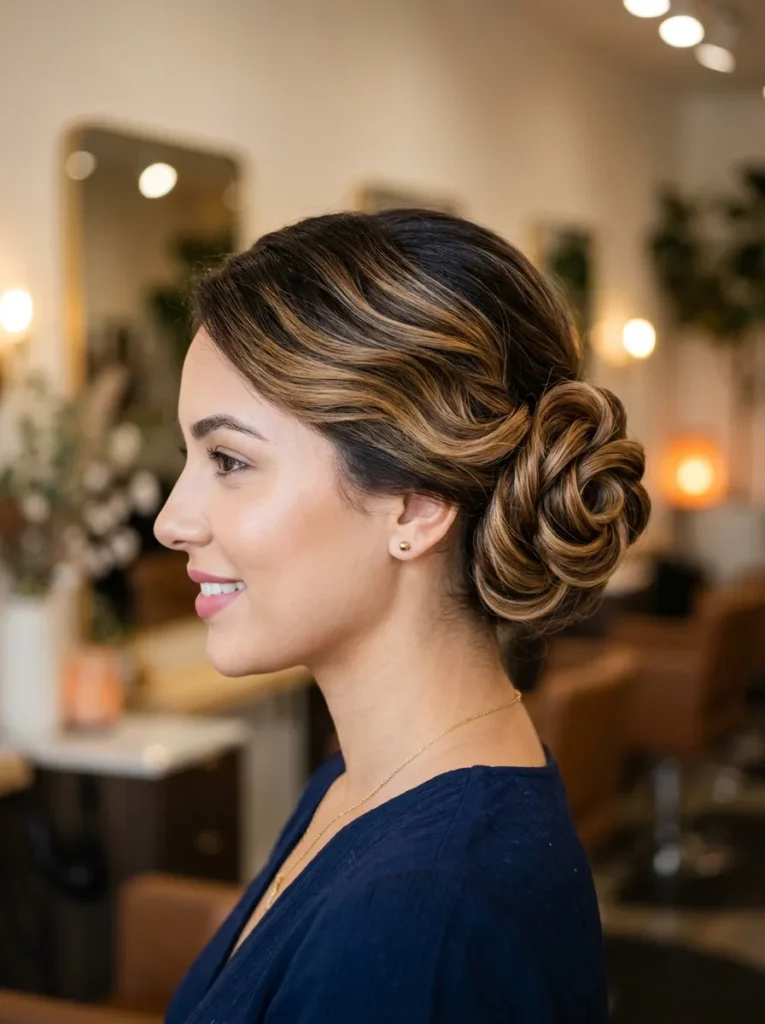
Most people think you need long hair for a show-stopping bun. That is not true. A sculptured swirl creates visual impact with medium-length hair because the swirling pattern fools the eye into seeing more volume.
Divide your ponytail into three sections. Twist each one separately, then arrange them in overlapping swirls around the ponytail base, pinning as you go. Each swirl sits slightly off-center from the last, building an organic, rose-like shape. The key is letting each twist stay loose enough that the swirl has visible dimension. If you are looking for more romantic bridal updo ideas, this sculptured approach translates beautifully into wedding hair with the addition of a few small flowers tucked into the swirls.
Wrapped Ponytail Bun
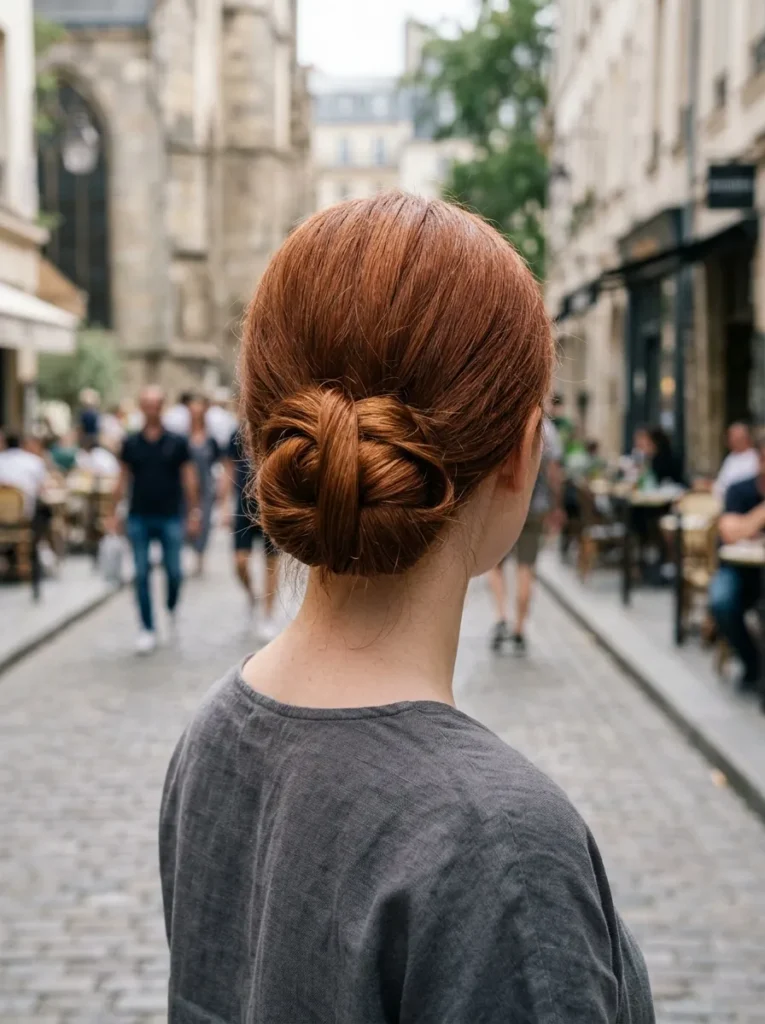
Start with a secure mid-height ponytail. That ponytail is doing all the structural work here, so make sure the elastic is tight enough to last.
Take a small section from the ponytail and wrap it around the elastic to hide it. Pin that piece in place. Now take the remaining ponytail, fold it in half, and pin the folded loop flat against your head. Fan the loop open slightly with your fingers for a wider bun shape. Finish with a light-hold spray. This is the quickest bun on this list, and it still looks clean enough for a dinner reservation or a last-minute event.
The fold-and-pin method works on every hair length from a short bob to waist-length hair. Shorter hair creates a tighter loop. Longer hair fans out wider. Both look intentional.
Final Thoughts
A good bun does not need to be complicated. It needs to be placed well, pinned securely, and matched to the occasion. The 20 elegant bun hairstyles here give you enough range to cover everything from a Tuesday morning meeting to a Saturday night event.
Pick one or two this week and see which shapes suit your hair texture and face best. Once you find your favorites, they become second nature. Save this list for the next time you need a polished updo that takes minutes but looks like it took much longer.
Frequently Asked Questions
How long does an elegant bun take to style?
Most of these take five to fifteen minutes once you know the shape. The folded and twisted versions are the fastest, while pinned chignons need a few extra minutes for smoothing and securing.
Do elegant buns work on short hair?
They do, with a smaller loop and a few extra pins. Shorter hair makes a tighter bun, and a low chignon or a folded bun holds well at bob length.
What pins hold a bun best?
U-pins grip more hair than straight bobby pins, so use them for the base. Add a couple of bobby pins at the edges for flyaways, and finish with a light spray.
Can I wear an elegant bun every day?
Yes. Rotate the placement between low, mid, and high so the same spot does not take the strain every day, and loosen the elastic at night.
How do I keep a bun from slipping?
Start with second-day hair or a little texture spray, pin into the base rather than the surface, and cross two pins for grip. A bun that feels snug at first usually settles into place.